Hallway

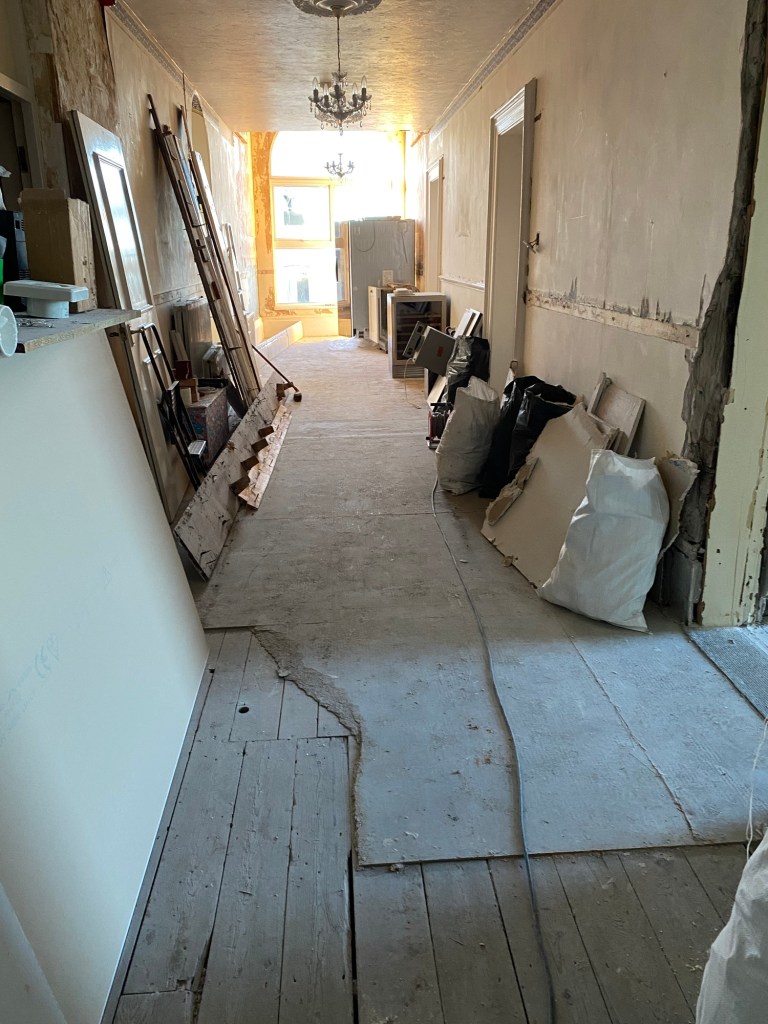
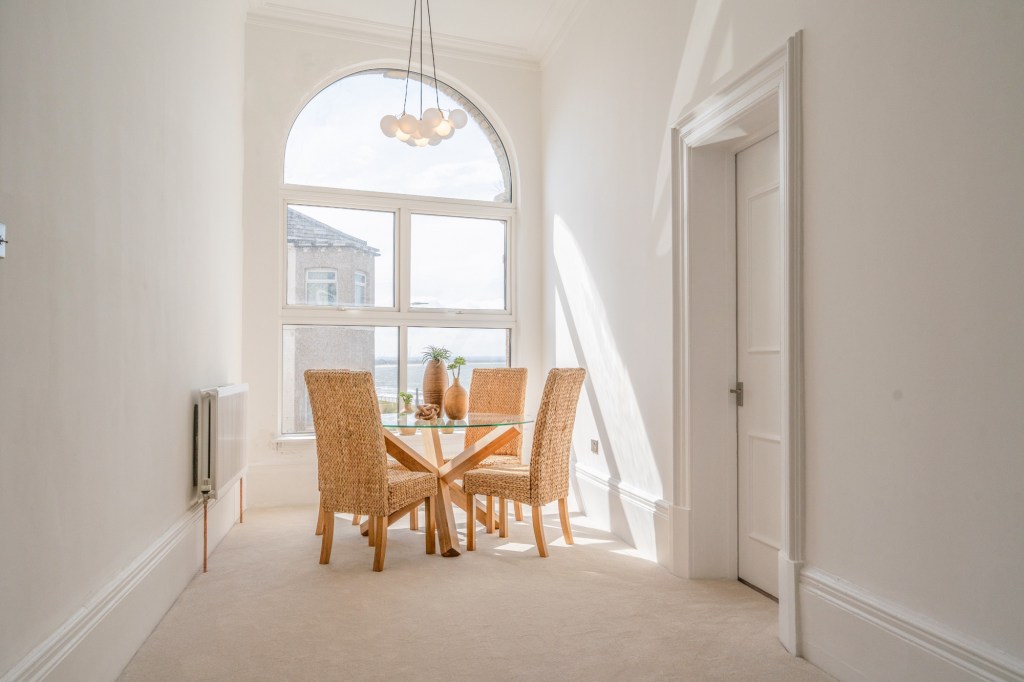
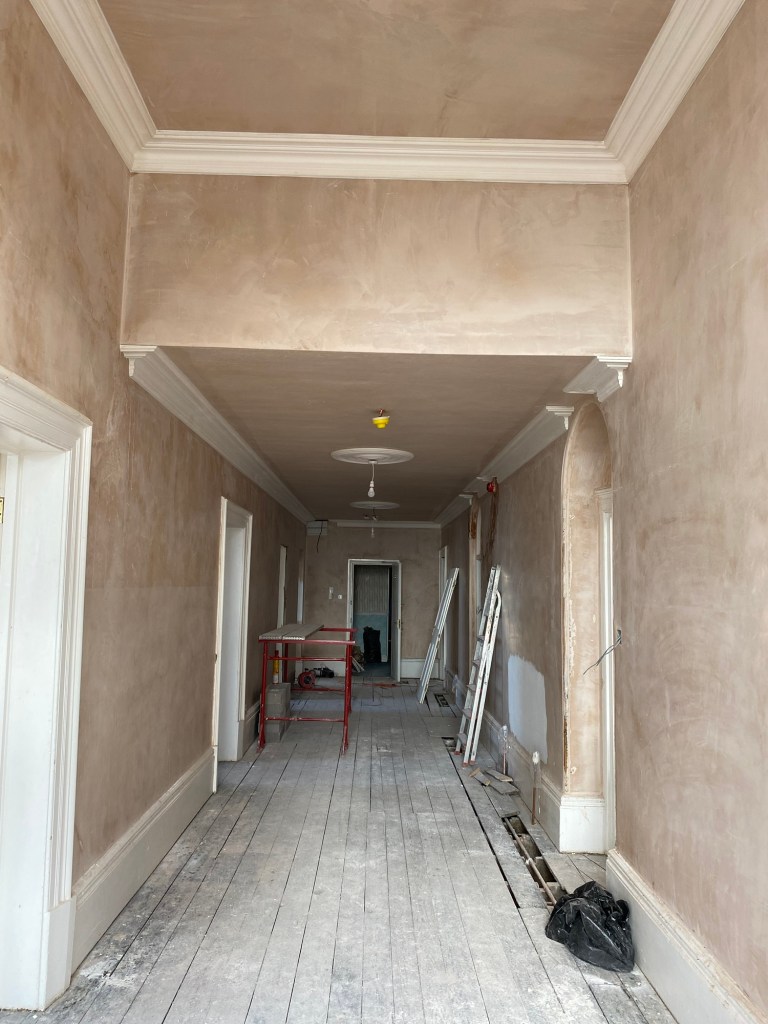
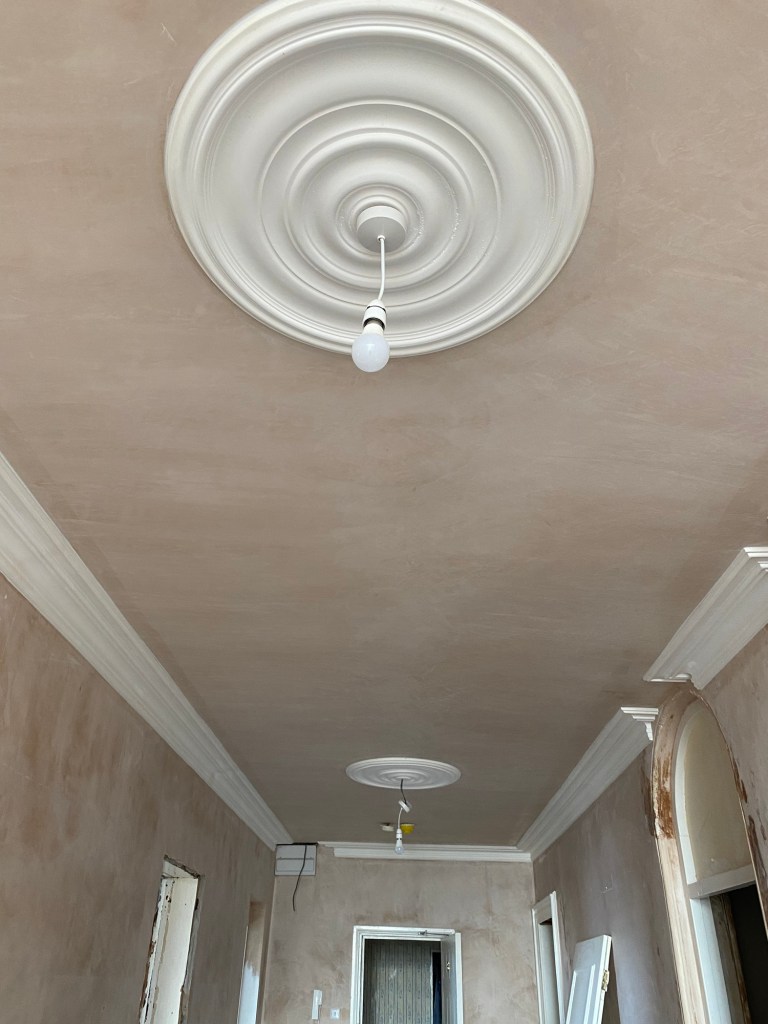
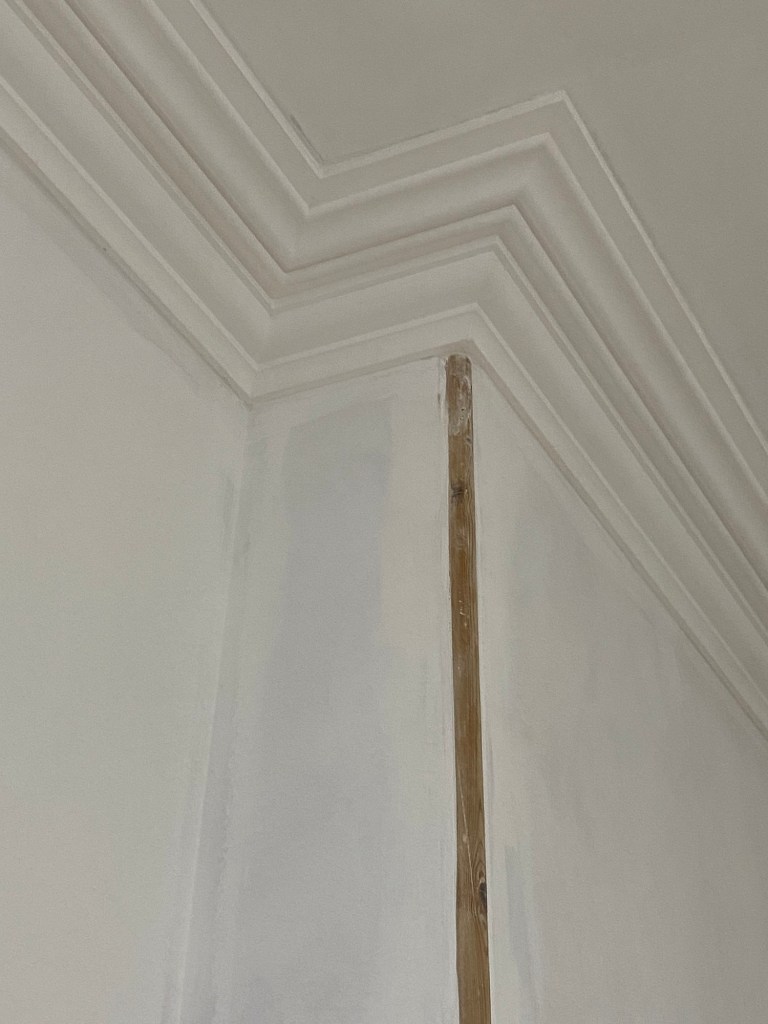
This hallway is 2.5 metres wide by 15 metres long and would have been part of the original hotel corridor when it was built.

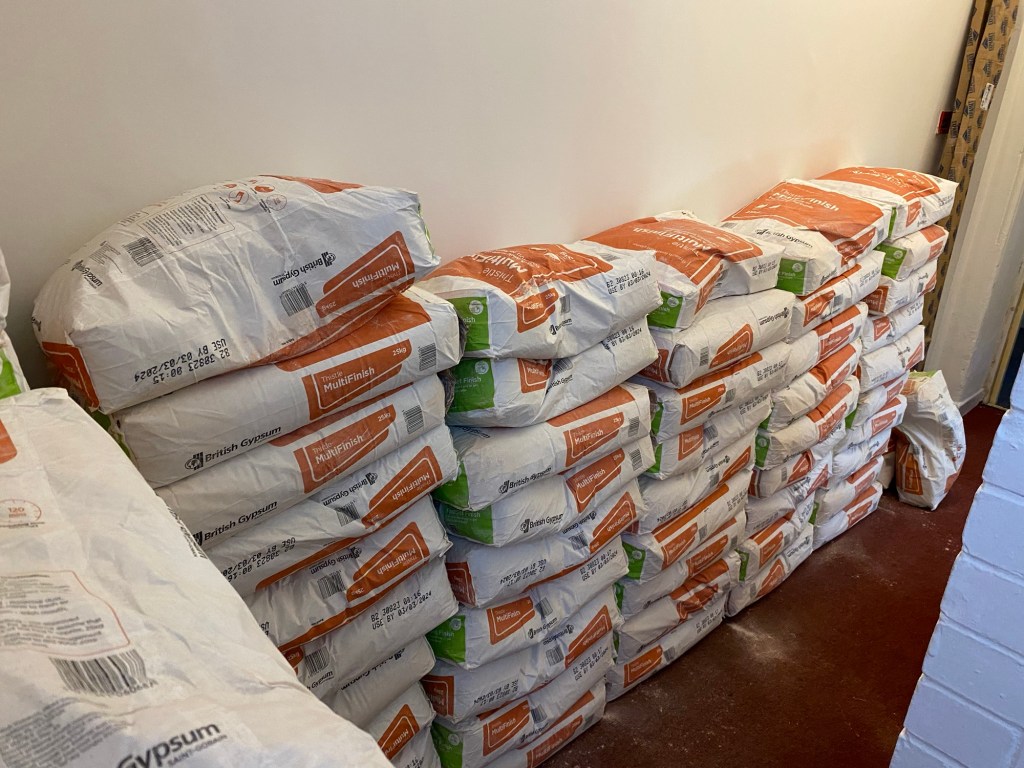
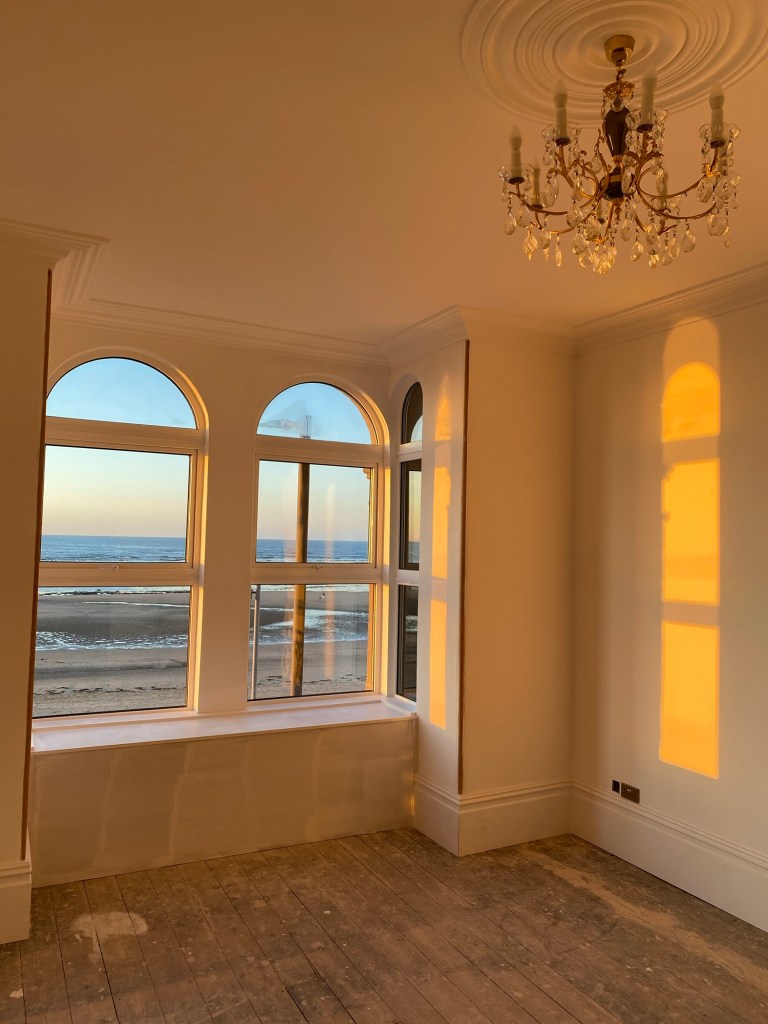
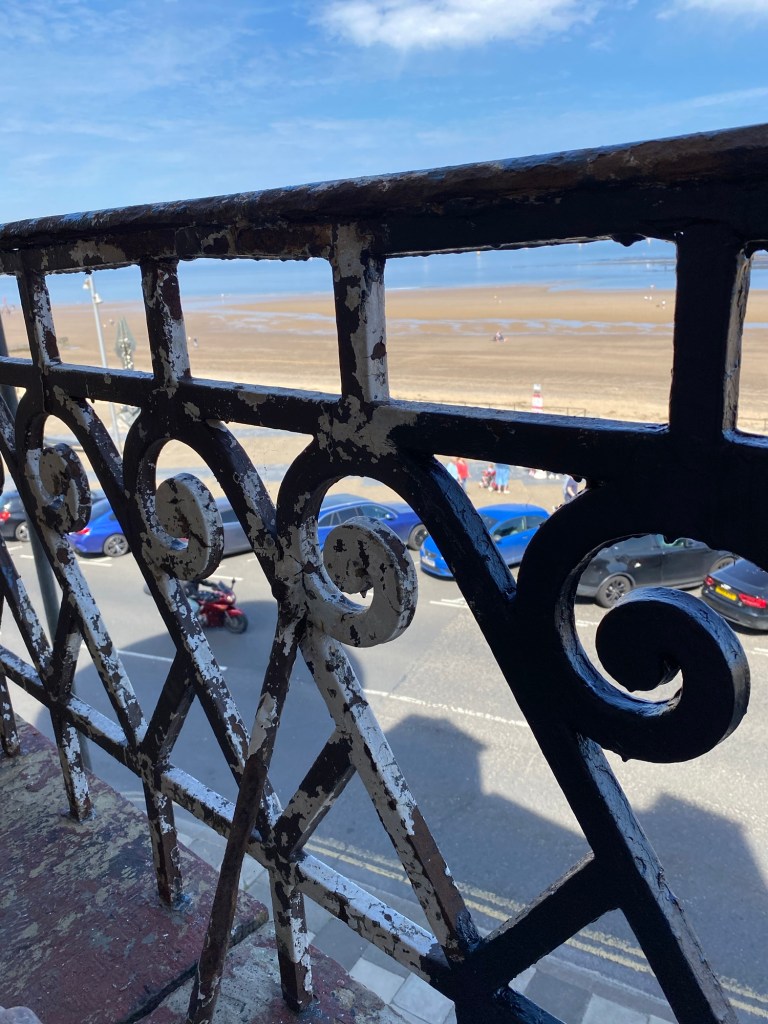
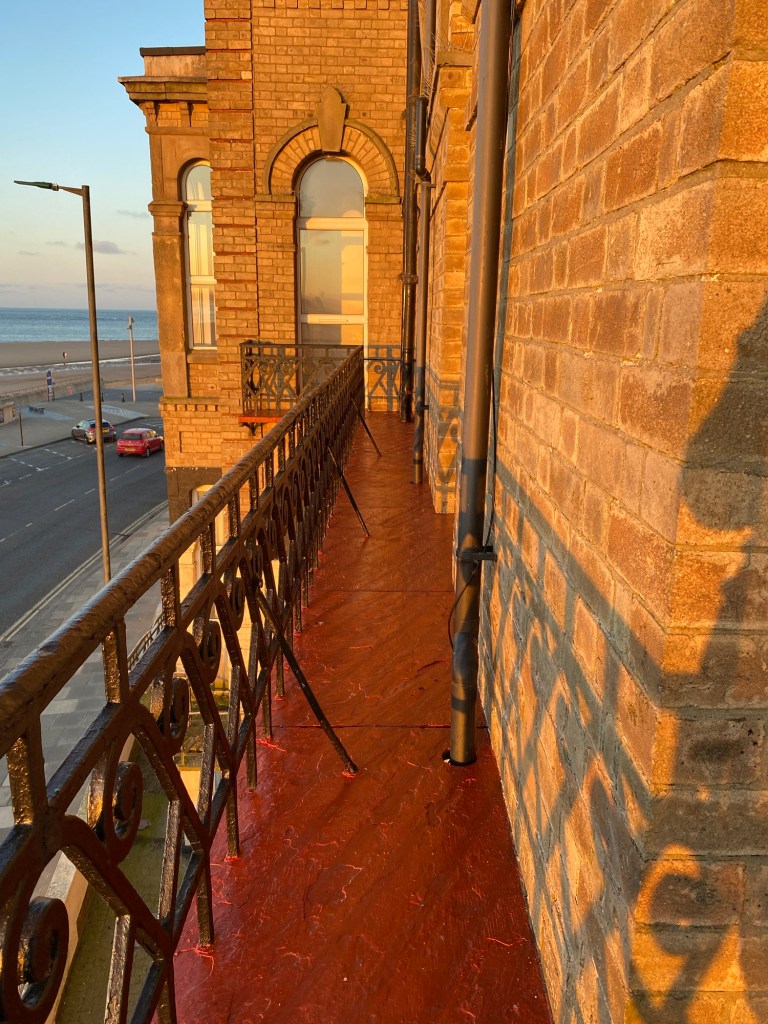
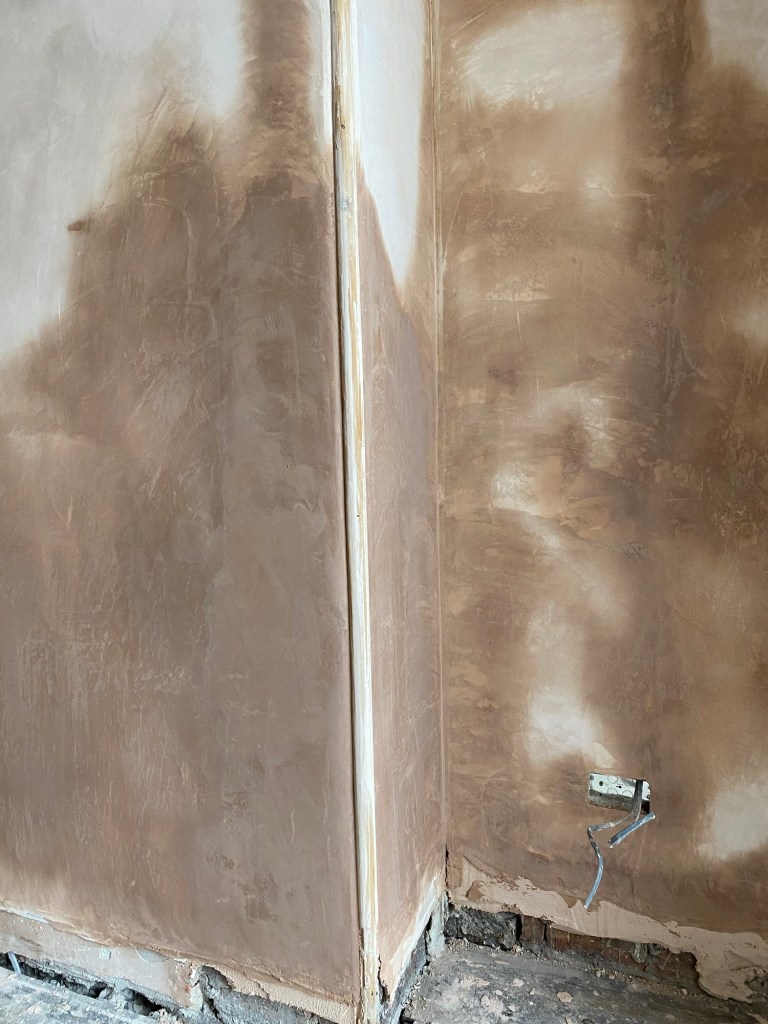
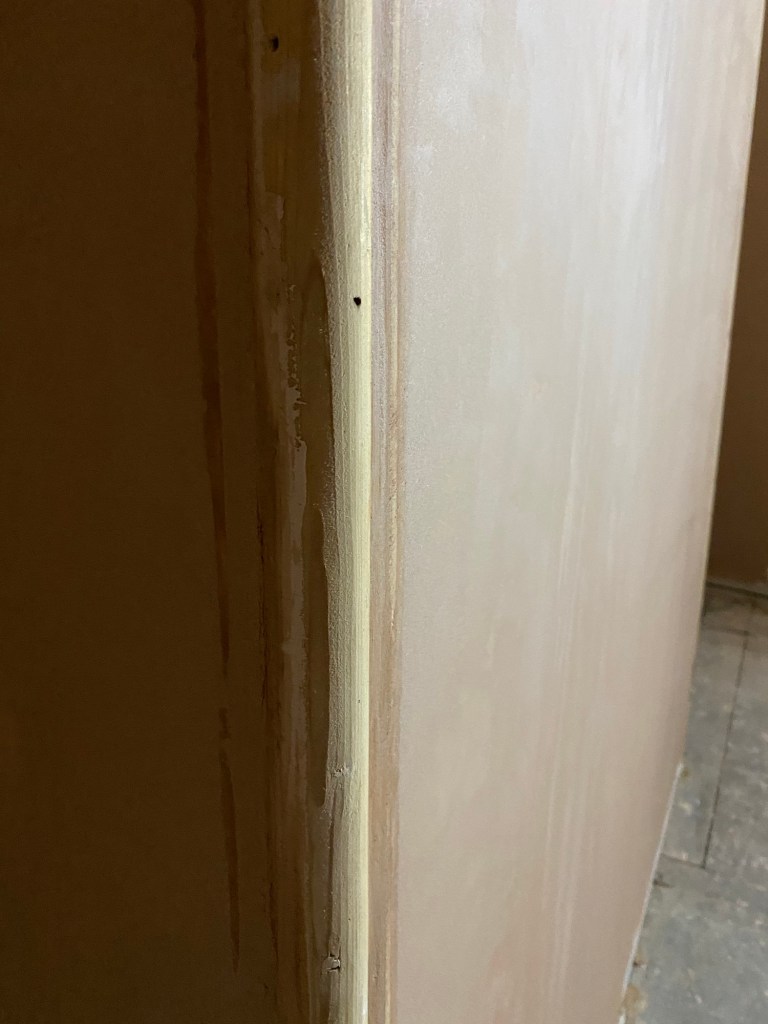
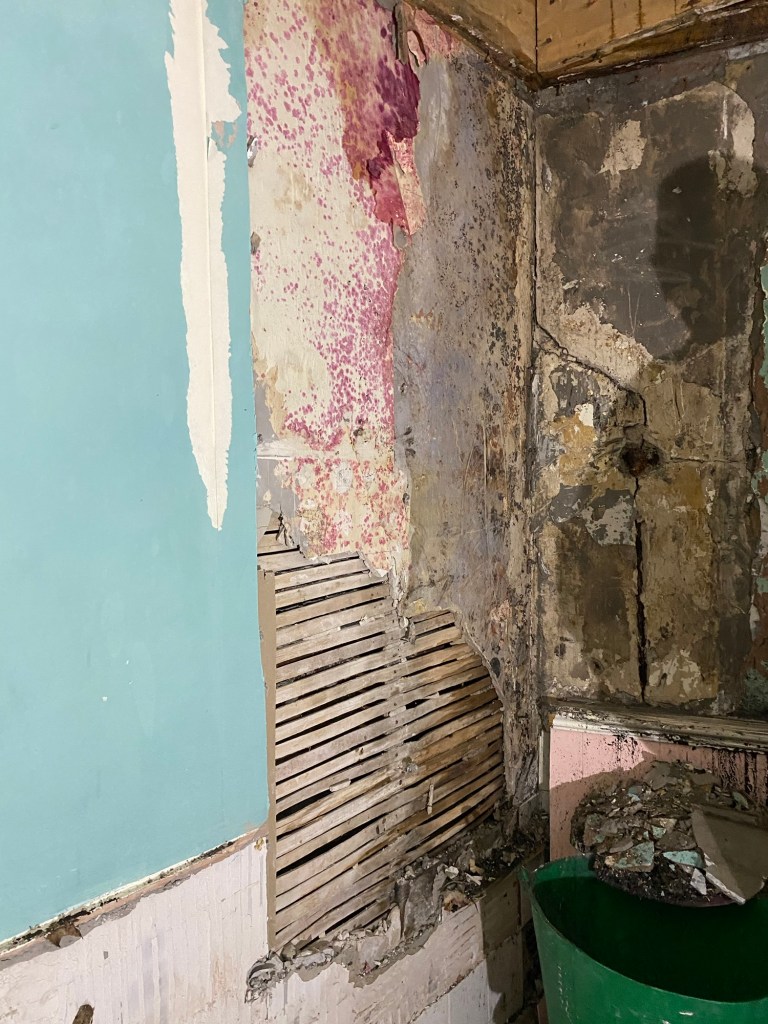
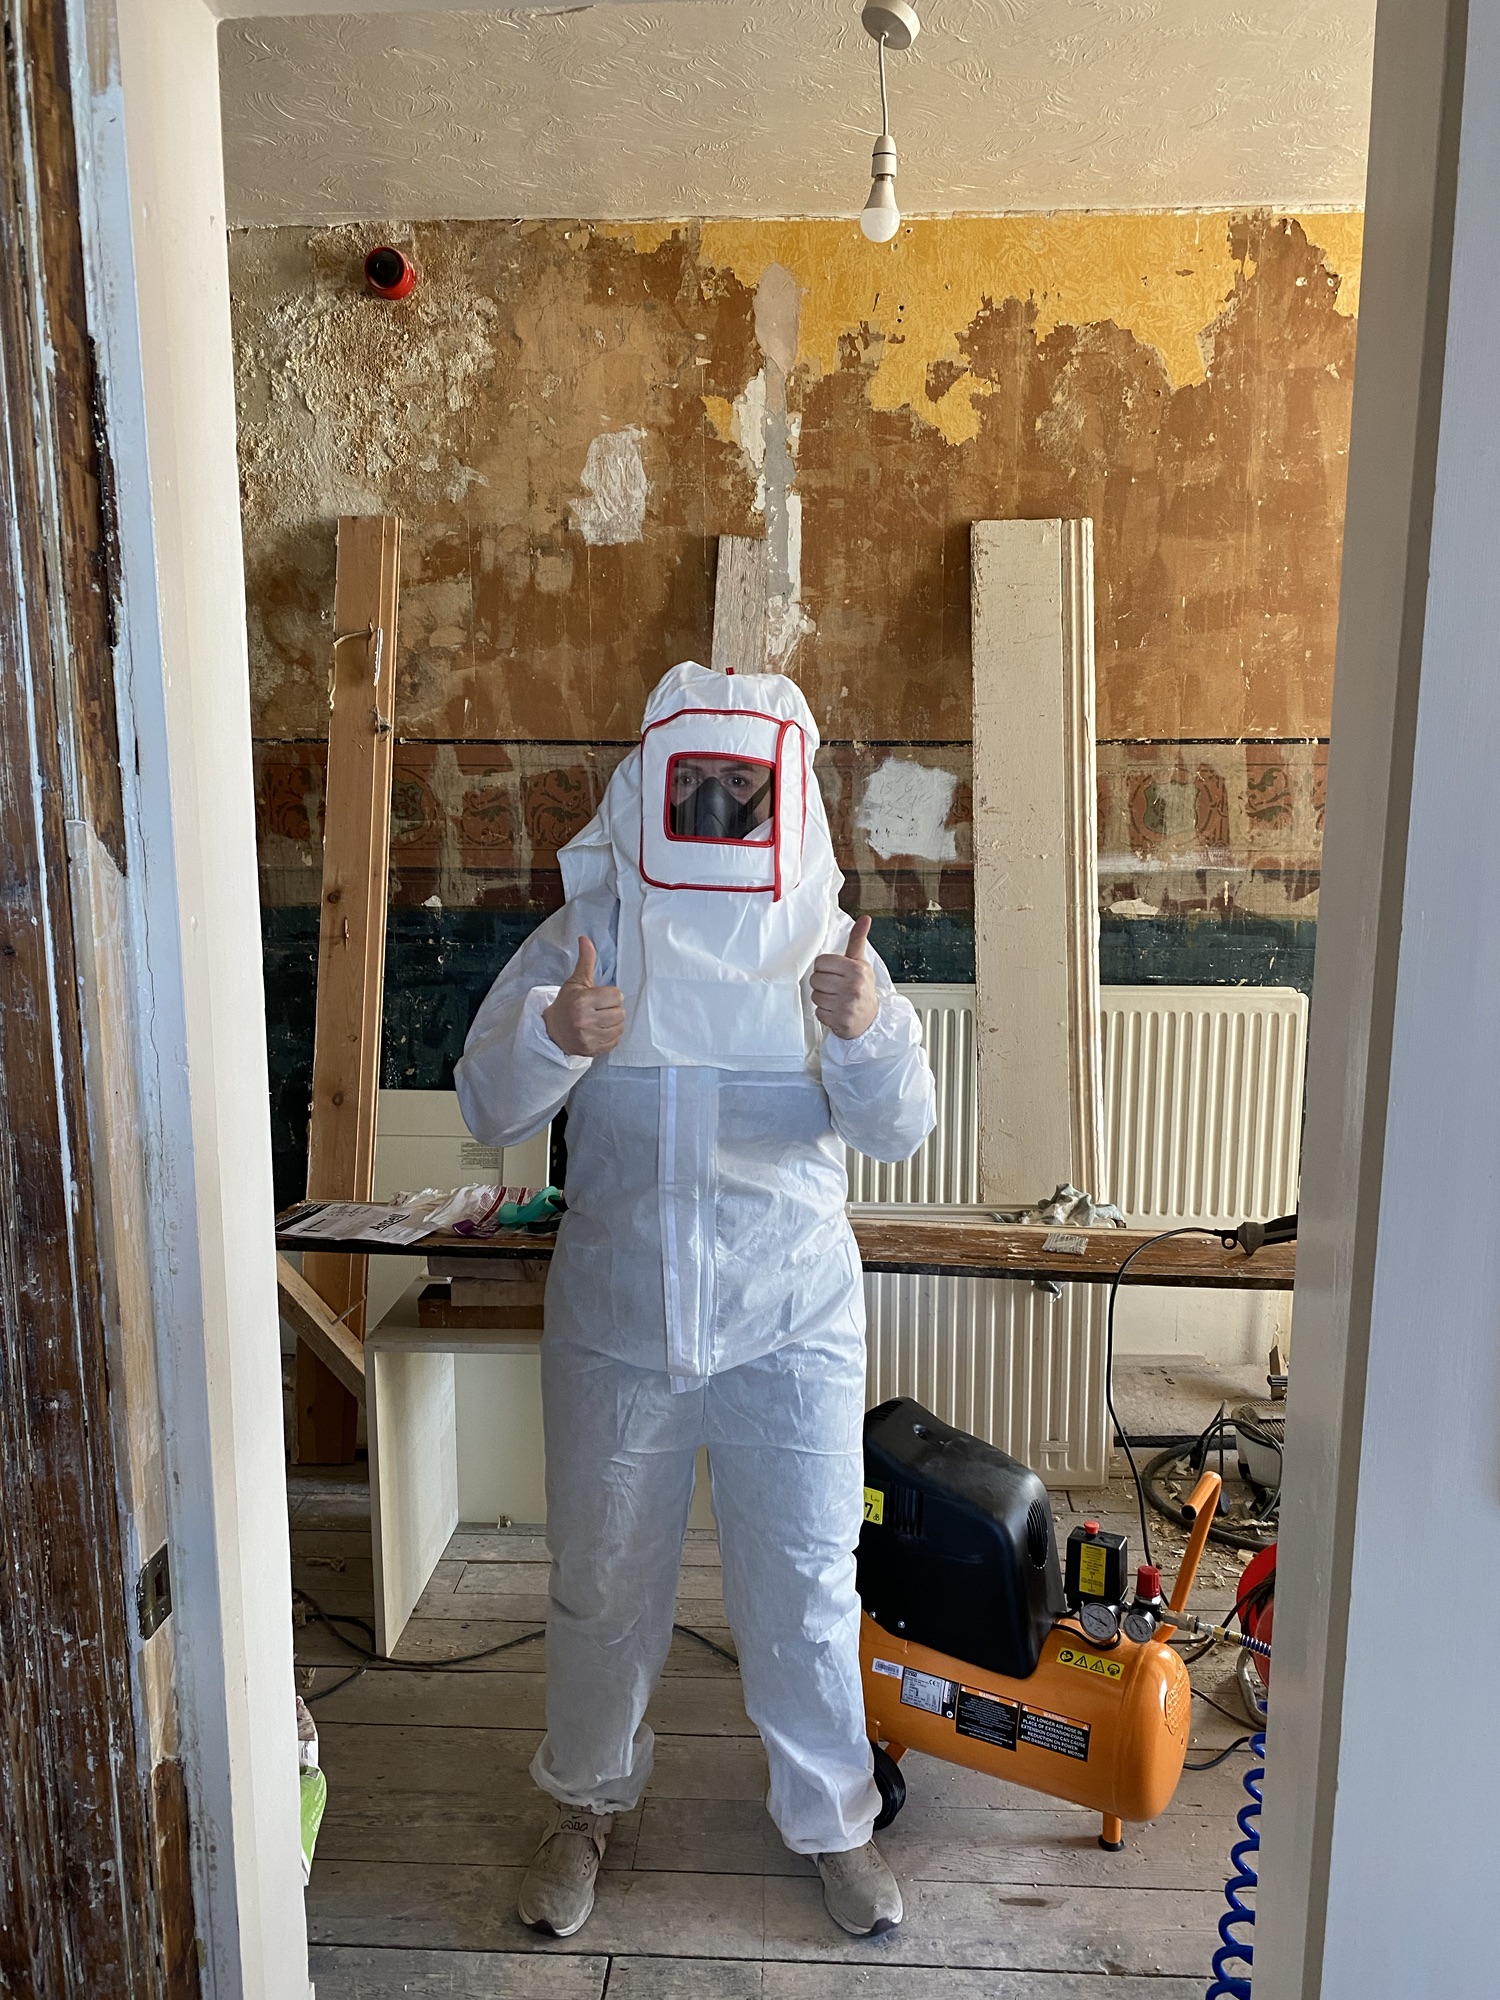
I’ve added some pictures from the beginning right through its development.

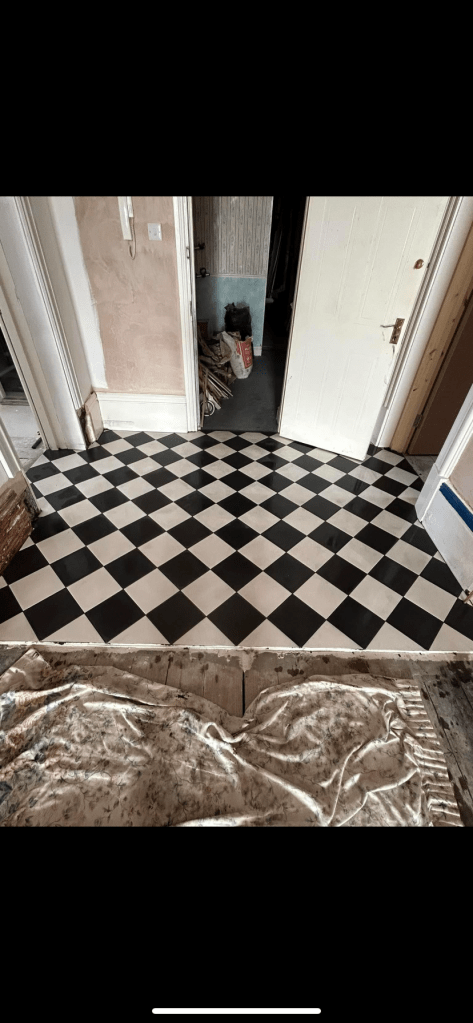
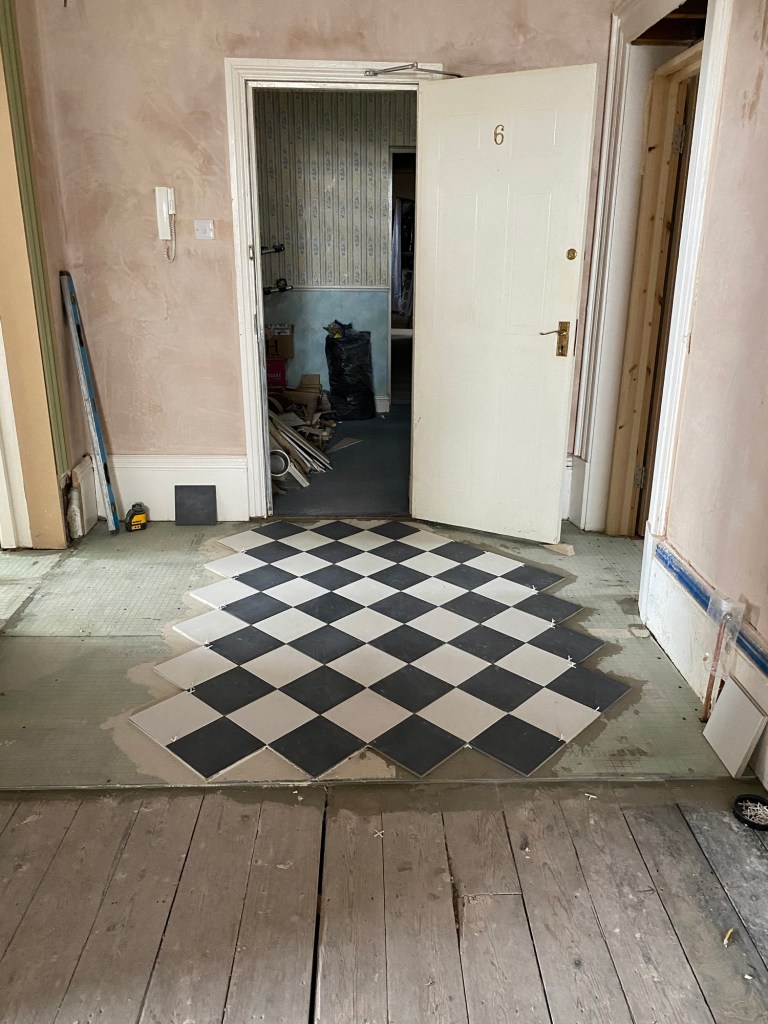
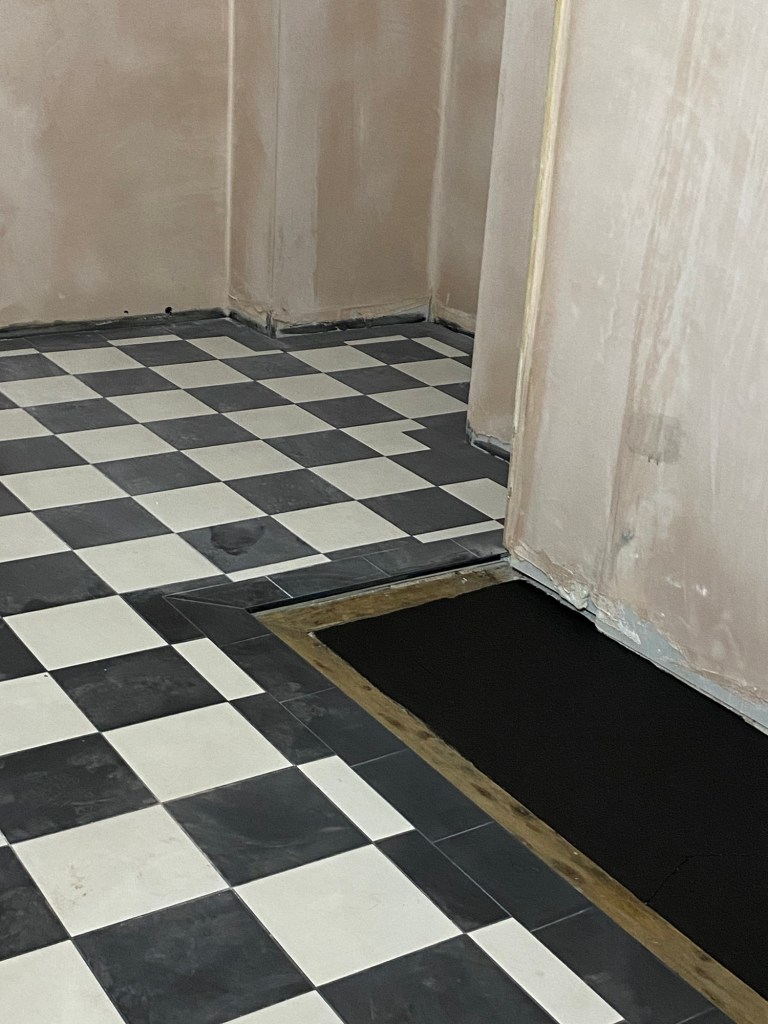
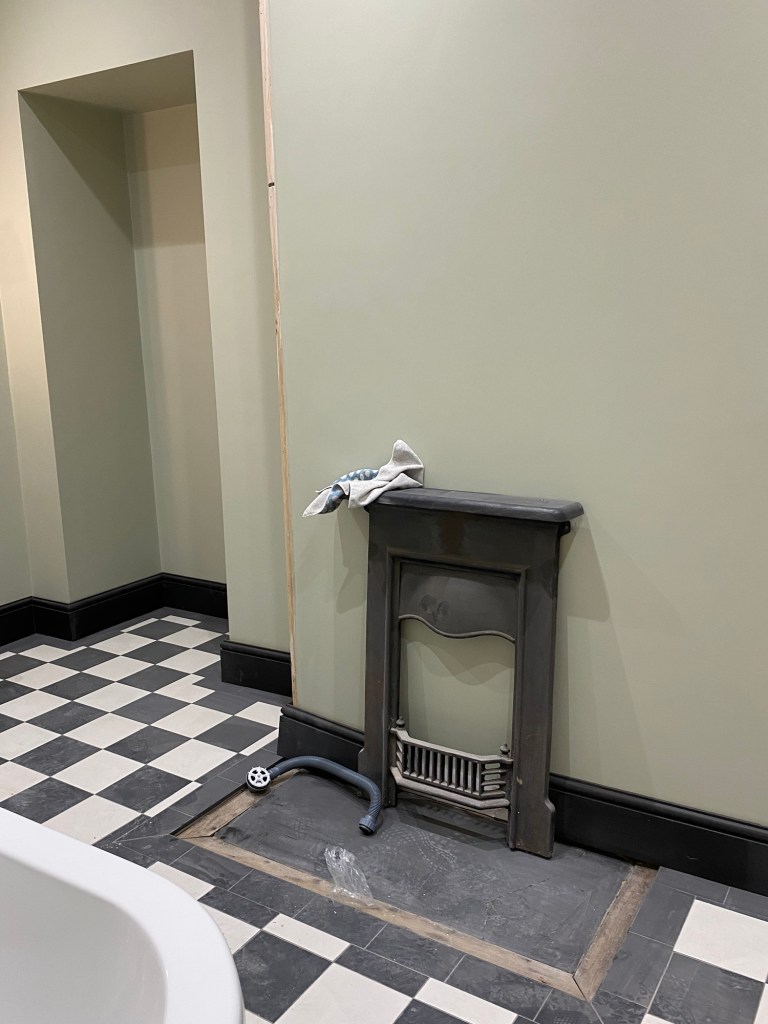
Jonny Lawton from Cleveland Quality Tiling laid the chequered tiled floor for me at the entrance. This was not only for impact, but also practicality. The utility room is entered from the tiled floor so dirty jackets, shoes, bikes can be put into this area keeping the rest of the flat clean.

Master bedroom update

Just a quick note to show you the progress with the main bedroom.

I decided to fit a window seat in this room and I have to say it’s pretty special! It’s a straightforward window seat but the view from here is nothing short of amazing 🀩 after a full day working on the flat usually finishing very late I take 10 minutes to sit with a cuppa and look up the coastline. I think I want to move in here myself now. This is one special flat.

Hearth recovery

So we found the original fireplace and hearth in the family bathroom which I have decided to use as a feature in the room. The hearth is a slab of stone with a wooden border around it. I could have put some new Victorian style fire tiles over the top of it but I feel it’s only right to celebrate it in its original state. I have scraped as much of the old paint, lumps and bumps as I can then given it a good scrub with sugar soap. Once dried out I have used Frenchic β€˜Blackjack’ on the stone. Just one coat on at the moment and I’m still to get into the edges but will sand and varnish the wood edging first so the whole thing is protected. There are cracks and some small holes in the stone but I love it as it is. Just a couple of pics for now so you get the idea.

Curvy

Some of the skirting boards in the flat are original and have been restored as I have previously mentioned however there hasn’t been enough for every room and certainly not enough for the lounge. We also had the task of fitting new skirts around the curved wall in the lounge (the turret part).

We decided to get in the experts for this and Dan Barker came to the rescue. It certainly wasn’t the easiest of tasks but he got there with some clever tricks. lots of cuts were made to the back and front of the skirt. The back to take the strain of the bend, the front so that as it bent there were gaps at the front for the wood to squeeze back together. Then…..lots of filling for me. 😳

I’ve added a small video below showing one of the pieces being fitted. Top job Dan Barker Joinery πŸ”¨πŸͺšπŸͺ›

What a view

Hi everyone, I’m sorry we have been so quiet on here. The truth is that I have been so crazy busy with this renovation that I simply have not had time to sit down and write anything. In the last couple of months we have worked very hard to meet deadlines. So I wanted to show you what we have done with the balcony. It consists of sandstone slab which is cantilevered into the building and wrought iron railings. Both are original to the building and have stood the rest of time in some of the most challenging weather conditions you can get.

I have added some before and after pictures. The paint was non existent on the floor and the railings were flaking badly. Everything was jet washed down, then wire brushed to get as much of the old off as possible. Then a decent coat of black outdoor metal paint was applied to the rails and the floor painted tile red with non slip floor paint. It may not be perfect but I love it 😍 hope you do too…..

Look up

So it finally looks like it’s starting to come together. The β€˜Classic Plaster Moulds’ team returned to complete phase 2 of the ceiling work and it looks amazing 🀩

This is the quality of detail that this apartment deserves and is getting. Thank you to the whole team, Peter, Bob, Will and Louie your skill is second to none.

Quirky!

An original feature found in this apartment are the rounded edges on all of the fire breasts and two doorways. They have all been filled in and then wallpaper covered over them. I have painstakingly removed the filled in edges and sanded the staff beads. The plasterer has then had the challenge of cutting back in the quirks….not easy! It certainly takes an experienced and talented plasterer to achieve it. So what is a staff and quirk?….

A staff bead, is a 1 inch dowel with approx 1/3rd shaved off the back, this is set on an external corner by a joiner on site, fastened to wooden plugs which were set into the brick or wood frame. Plaster was run up to the corner then “quirked”. In architecture a quirk is a small ‘V’ shaped channel used to insulate and give relief to a convex rounded moulding, it is used to hide the eventual small crack that will form between the staff bead and the plaster.

Utilising the space

Well we spent the whole Easter weekend sorting this room out ready for our talented plasterers to swoop in. So if you can remember, this was a family bathroom with no natural light and a smaller room with a window which stores the gas meter. We took down the wall, removed the suite, replaced 3 separate ceilings, took out two doorways, removed wood and tiles from the walls and re boarded the whole room. We still have a bit more to do but this will be a fantastic utility and store room. With pipes put in to use a washing machine and loads of room to store, coats, shoes etc

Who ya gonna call πŸ“ž

There are absolutely amazing architraves and skirting boards in this apartment. 160 years of original hardwood craftsmanship.

They are all thick with years of paint and I have been lovingly stripping them down piece by piece. It’s amazing how much detail there is when you remove the layers.

However they still need that bit of extra help so I’ve purchased a sand blasting machine to get into all of the detail. Some of the woodwork will be painted white again to match the feel of the room and some will be left stripped, sanded and oiled to reveal their true beauty.

What do I remind you of? ……

Ghostbusters, Welder or a scientist from E.T?