Another discovery

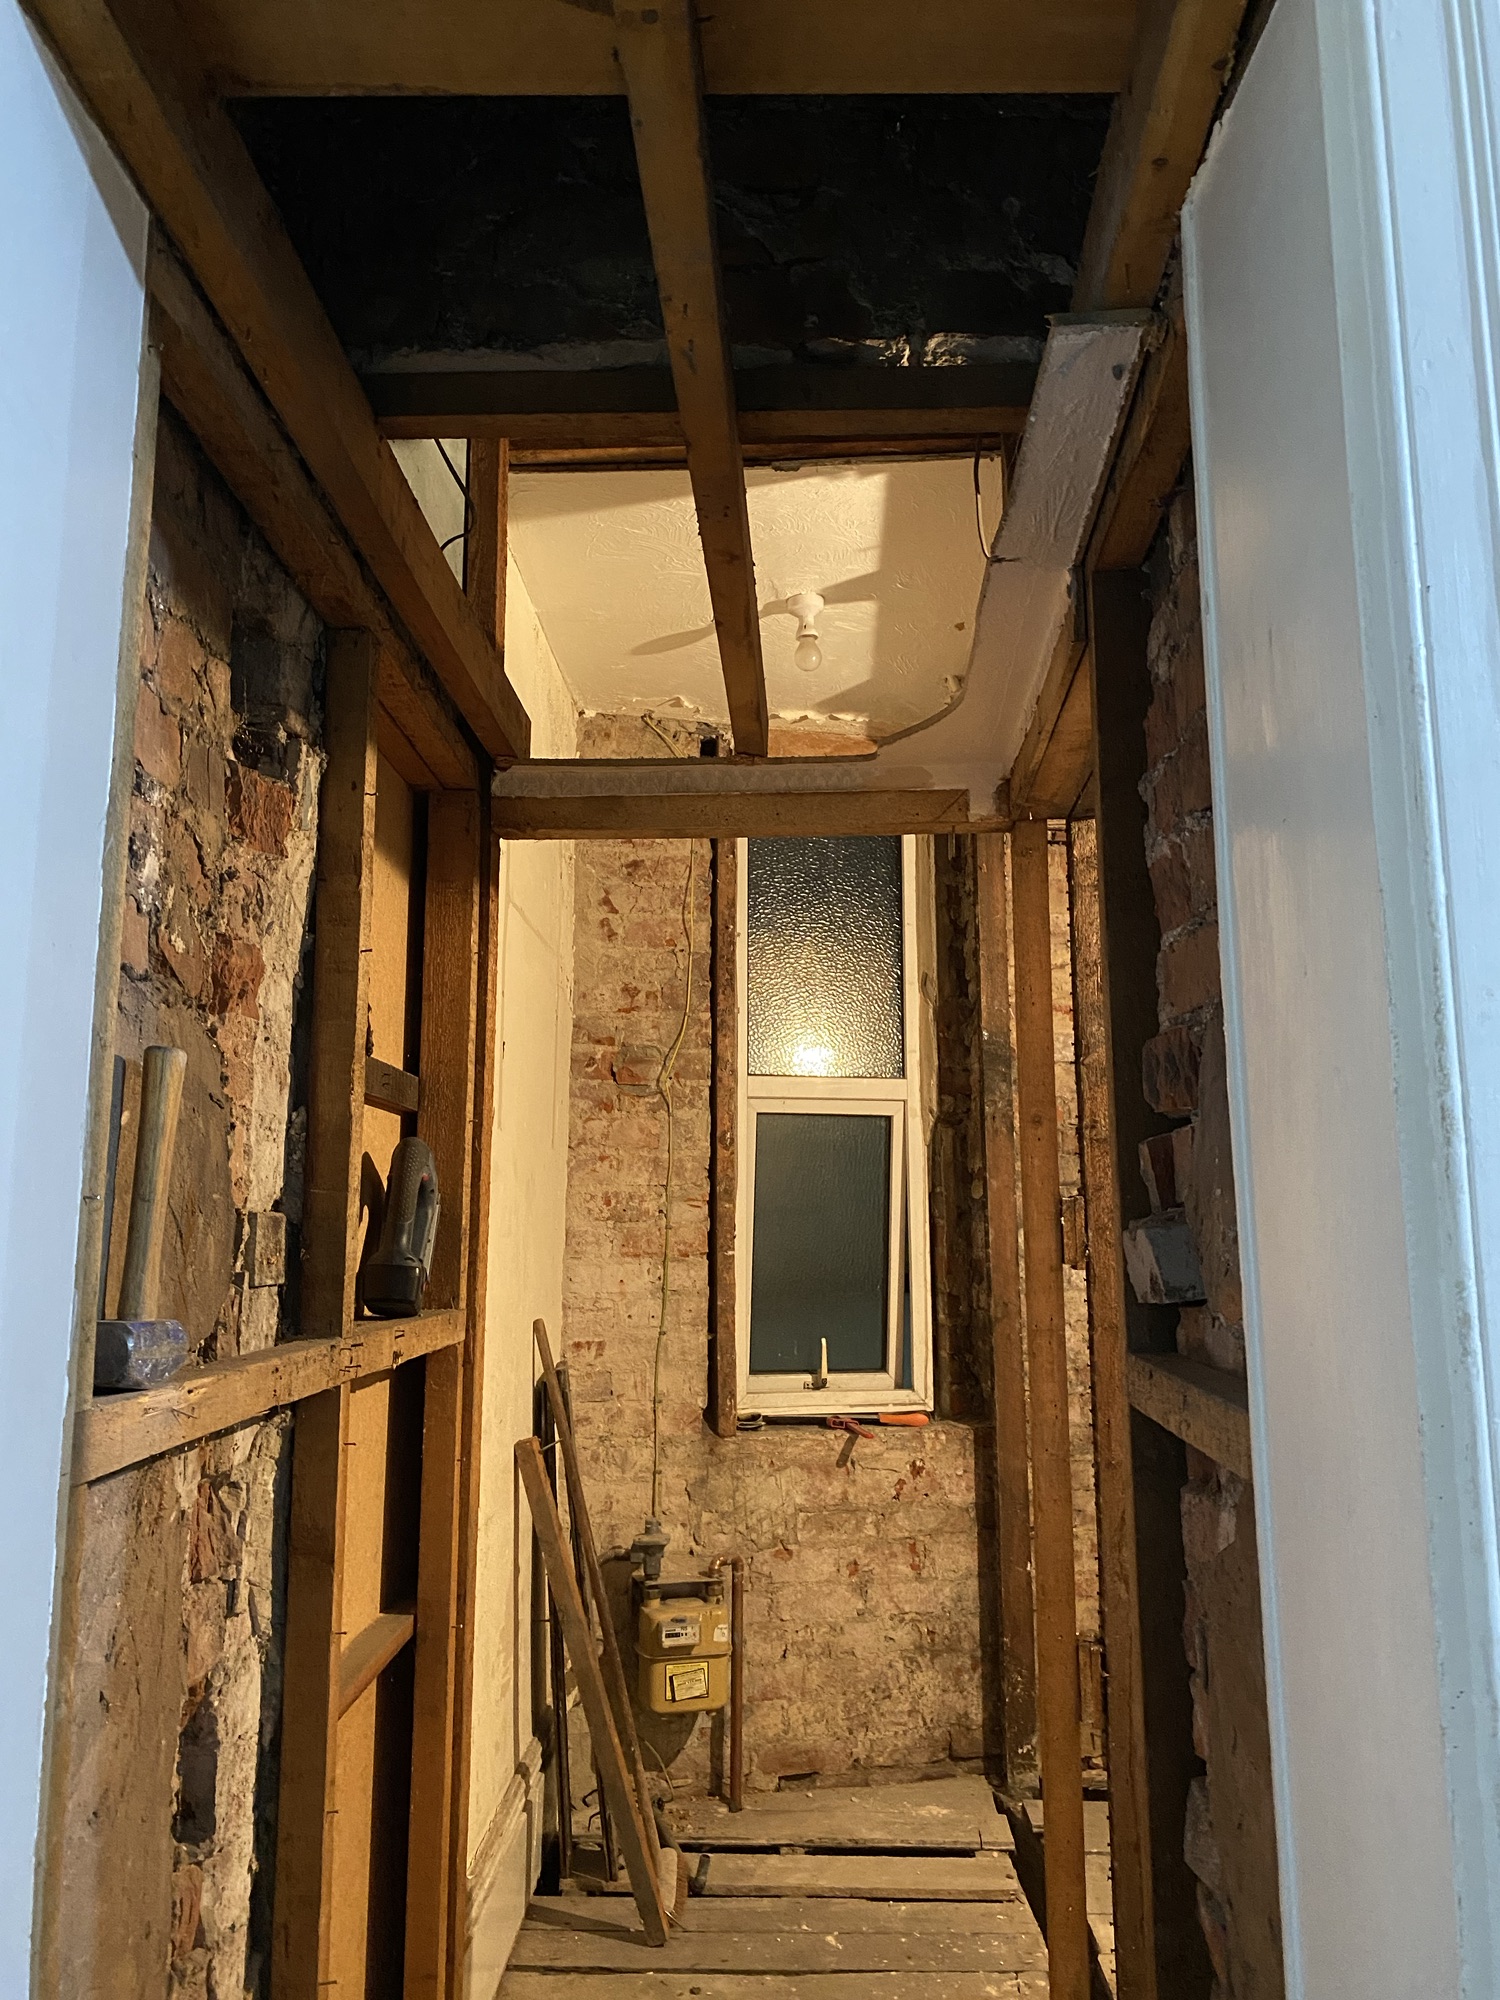
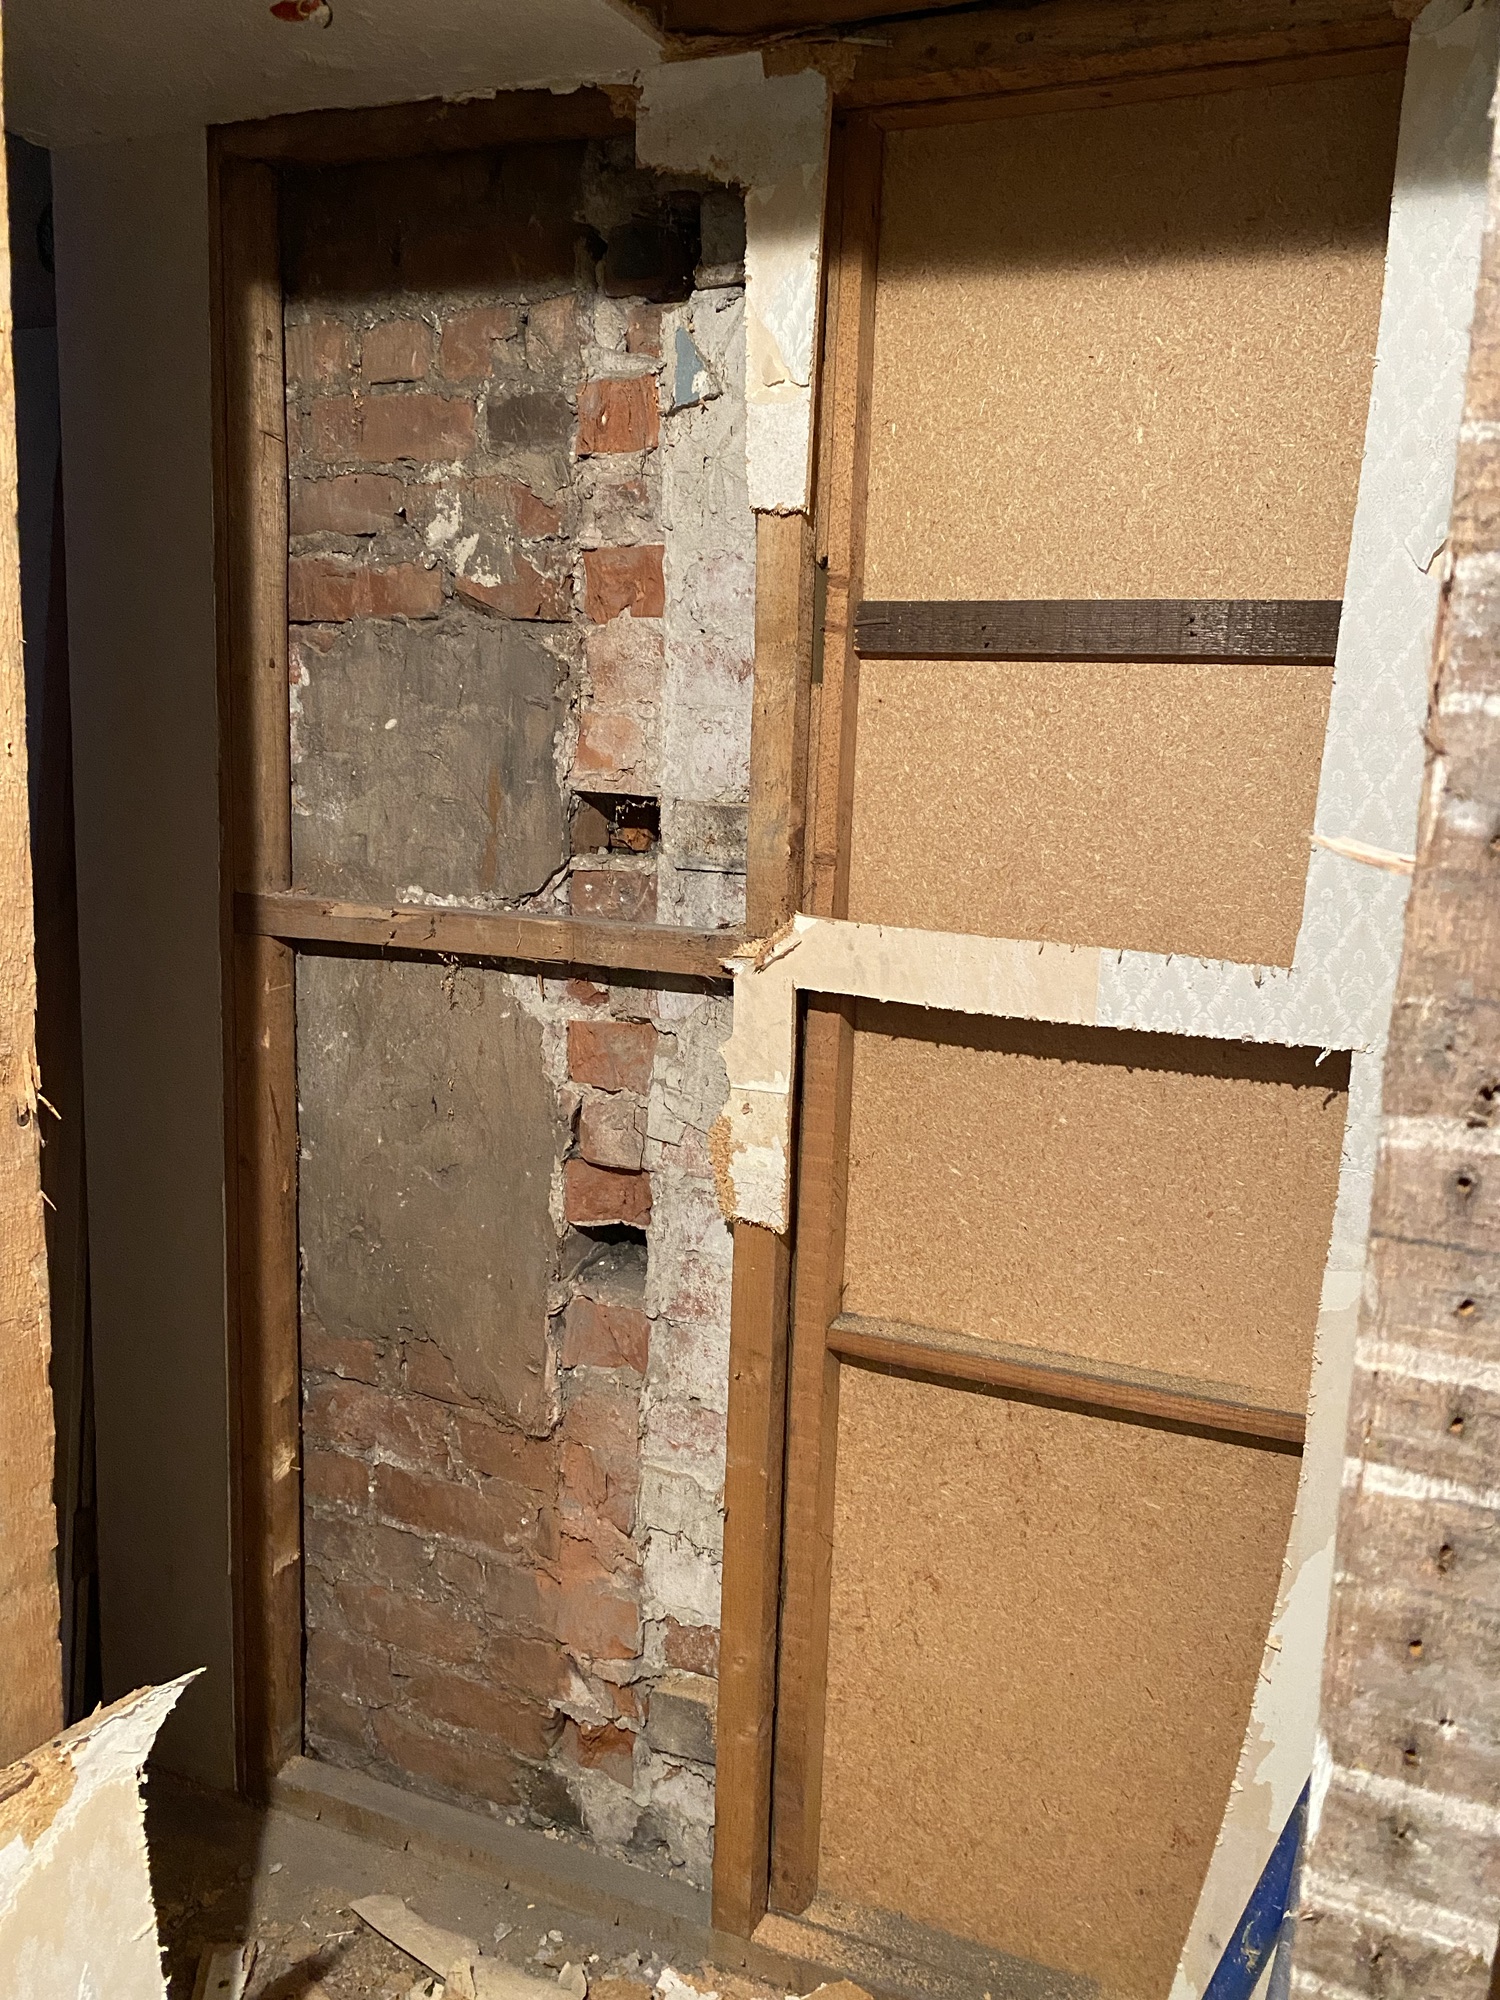
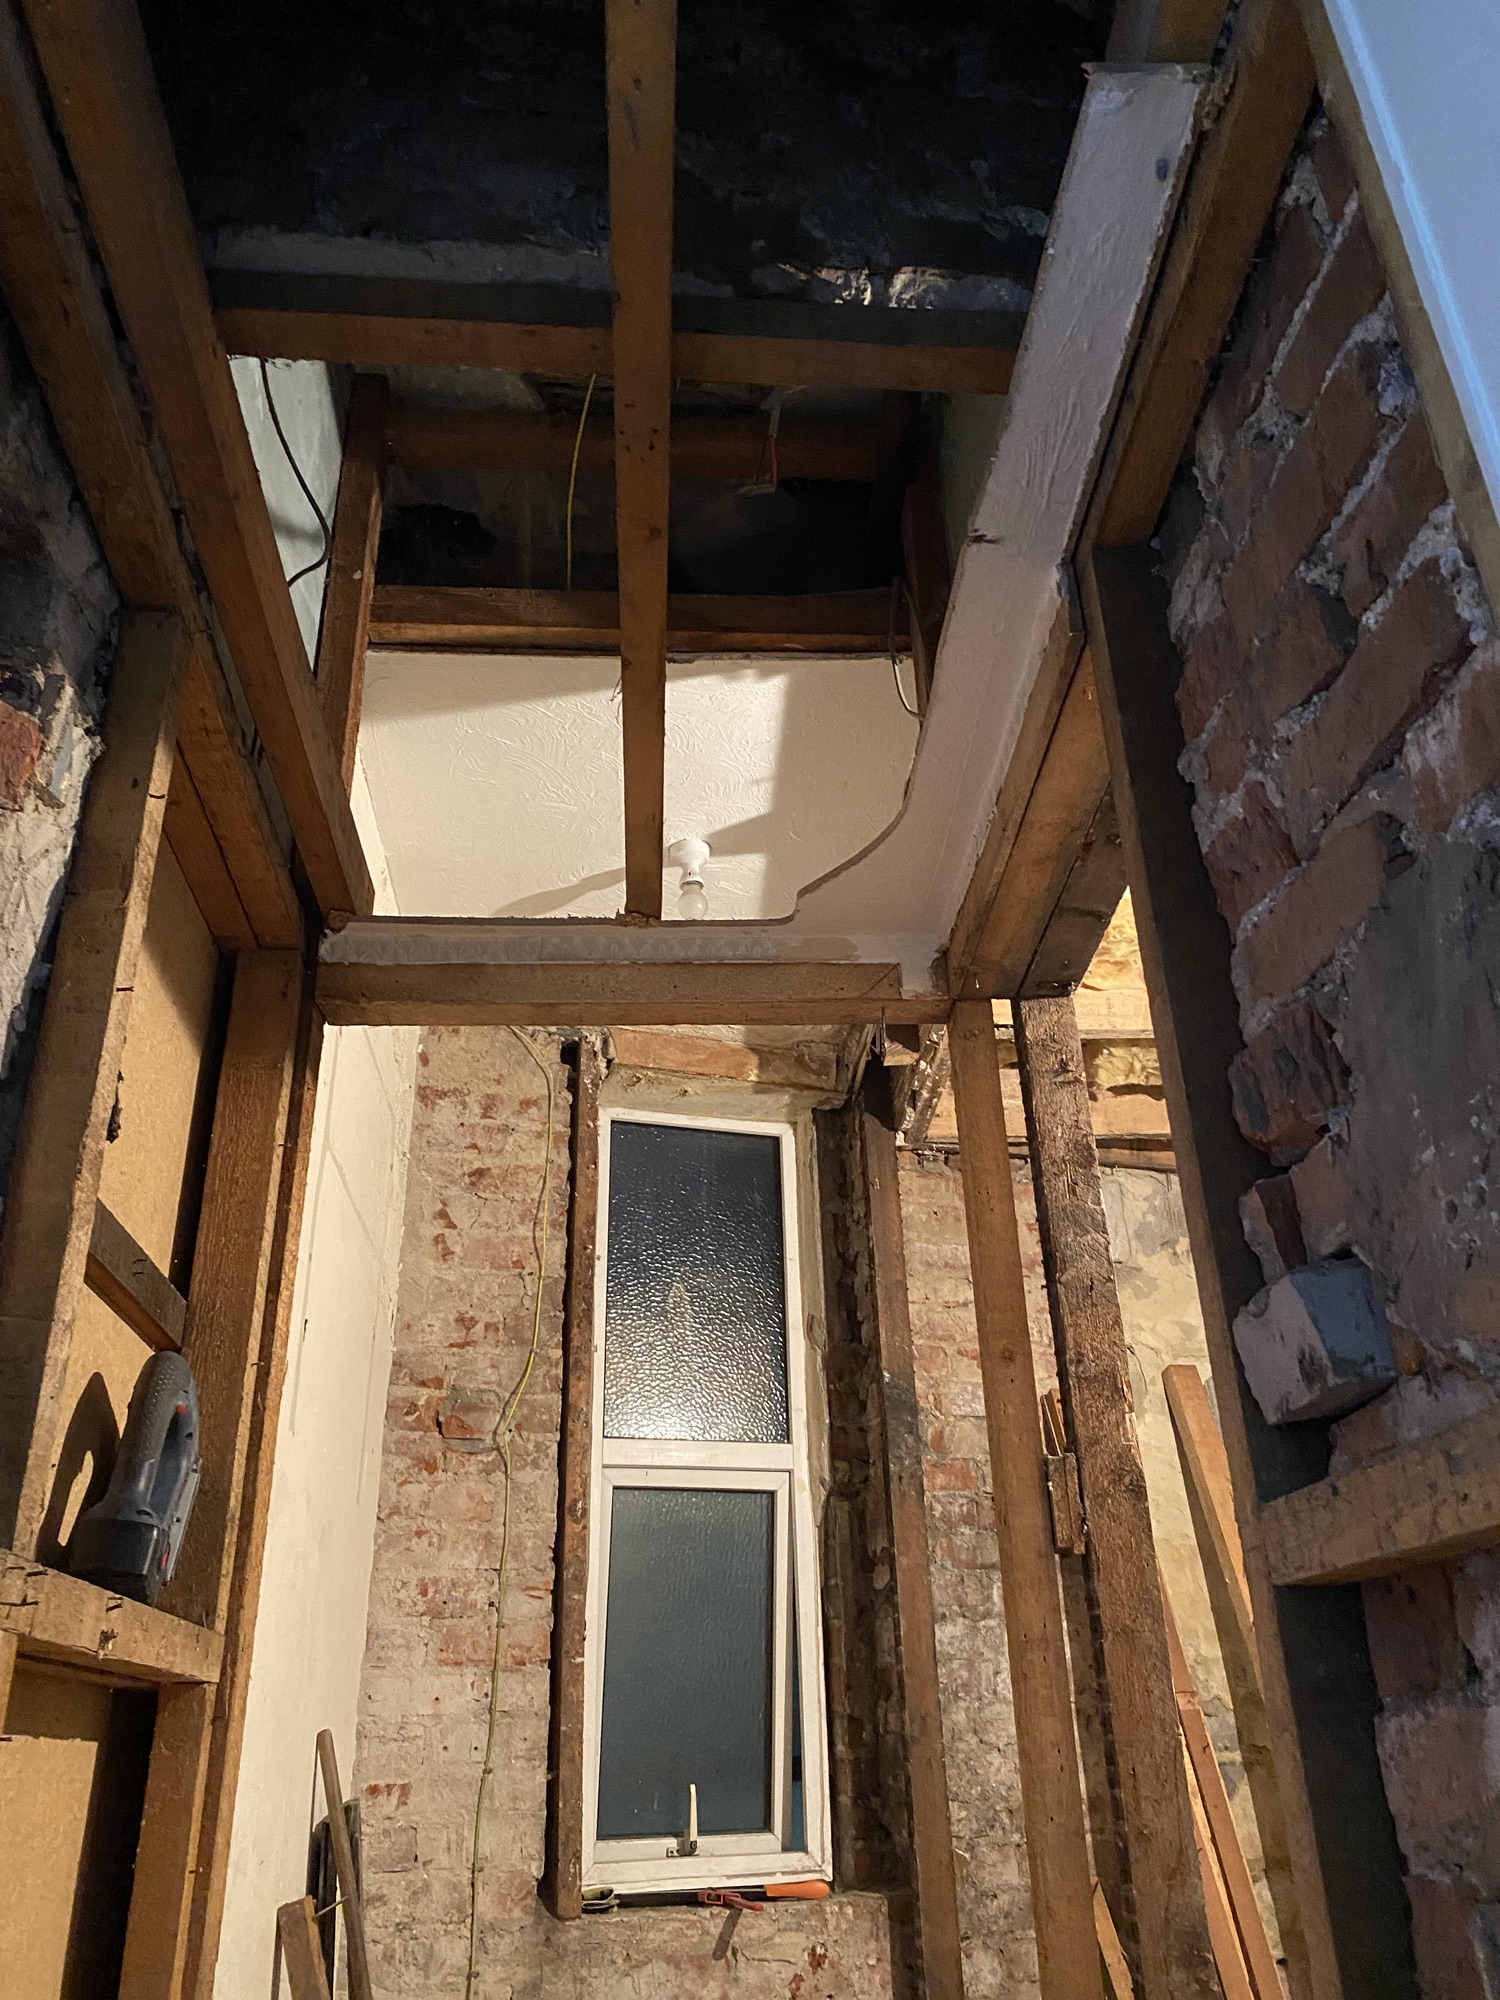
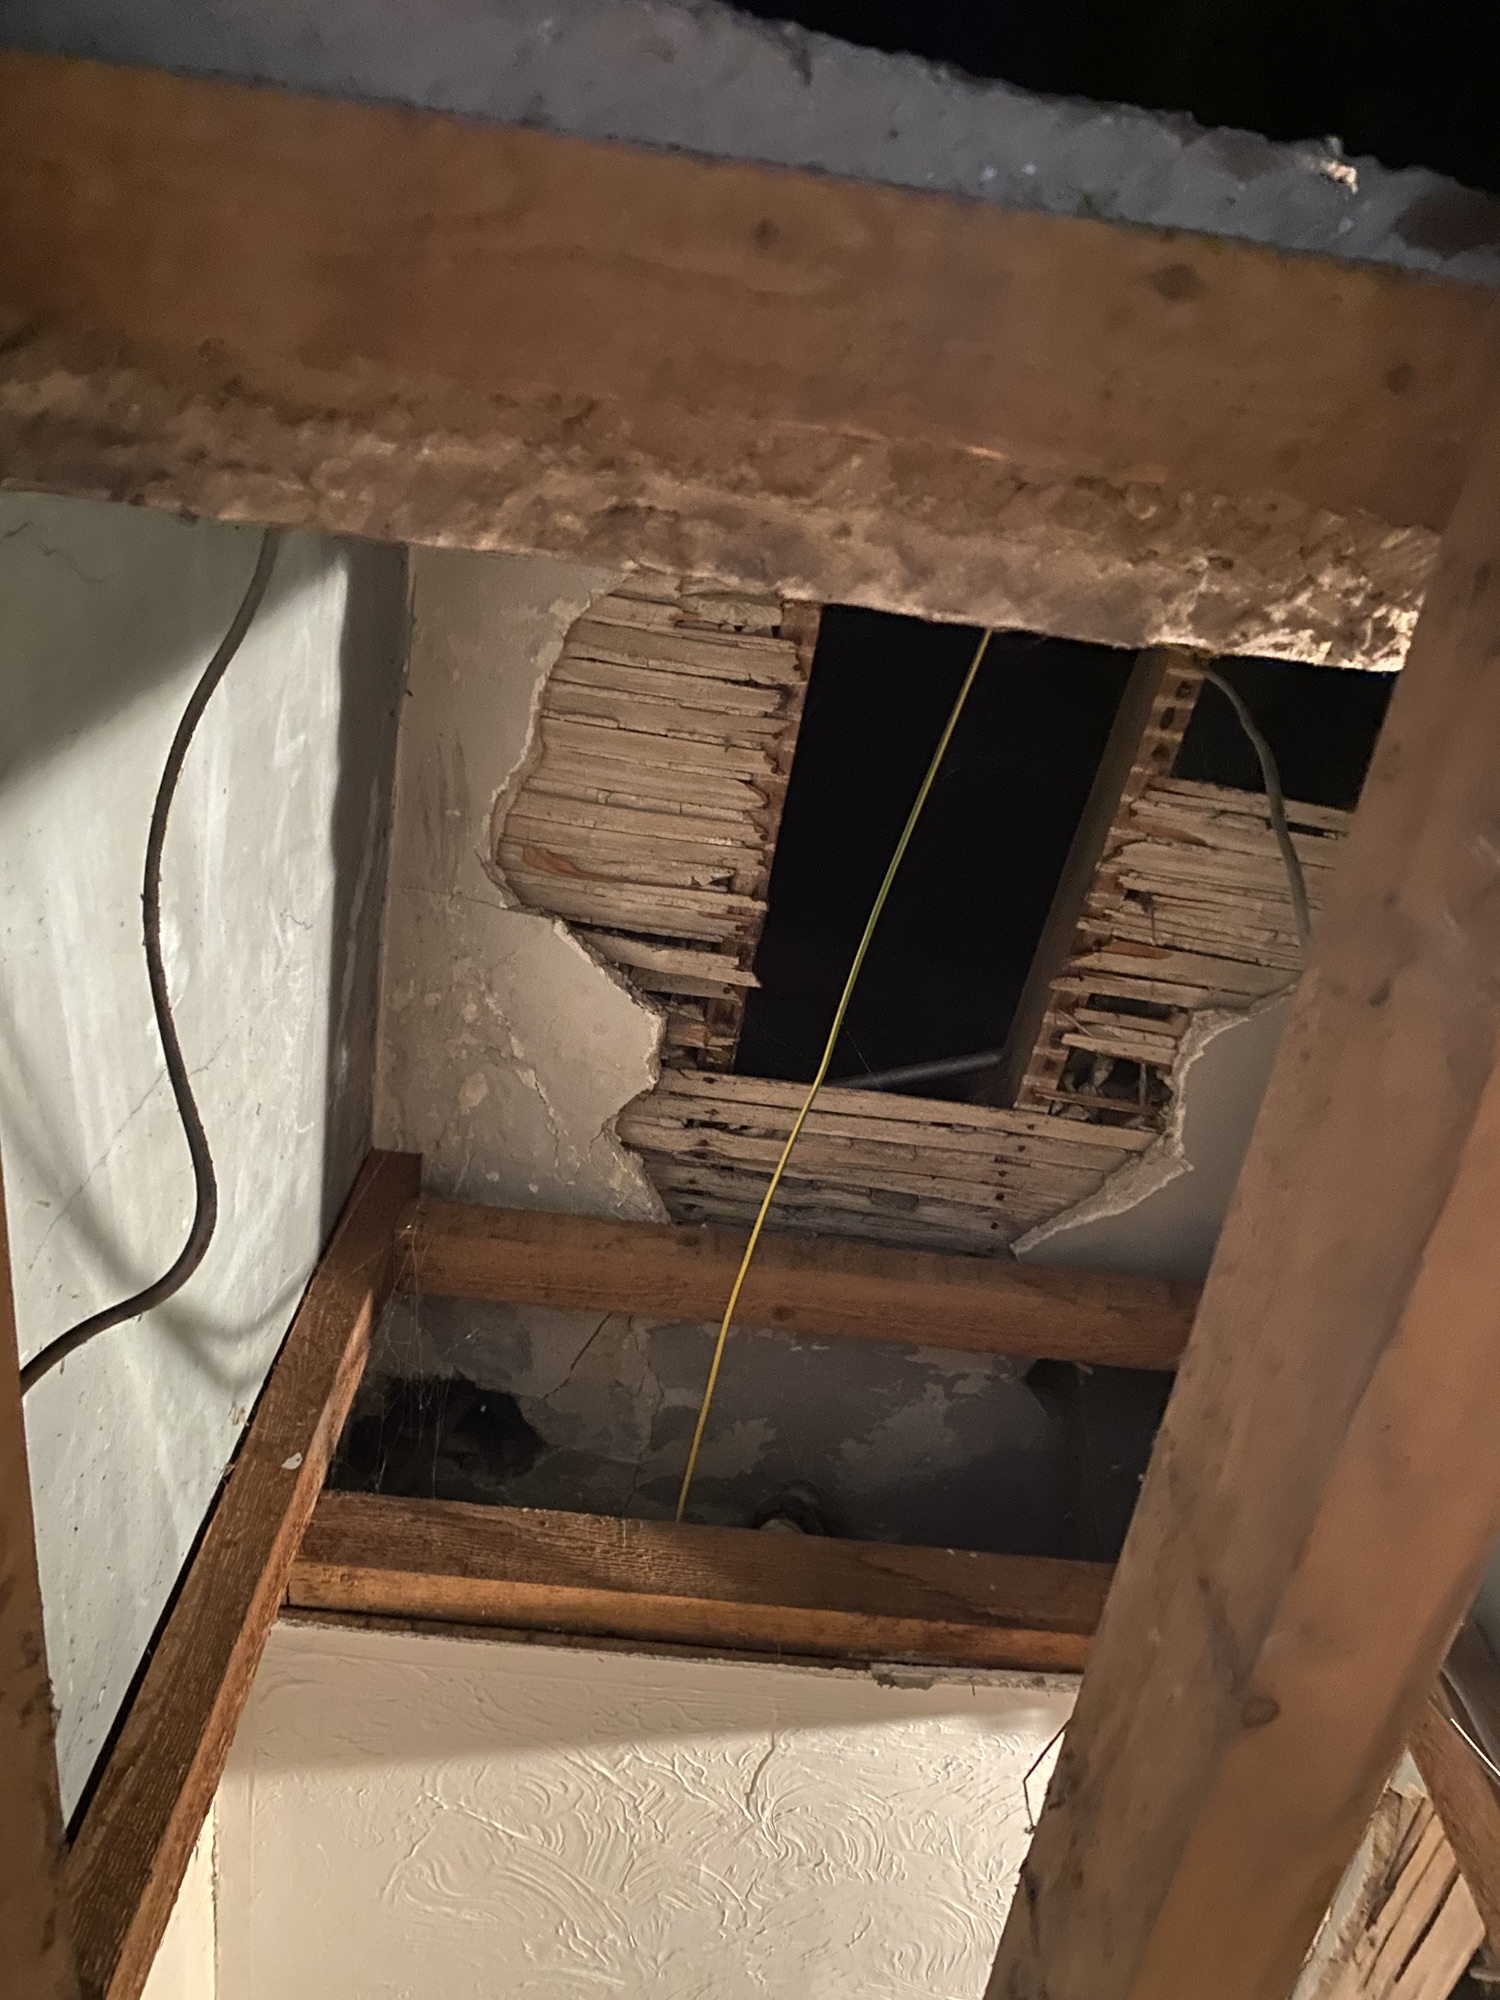
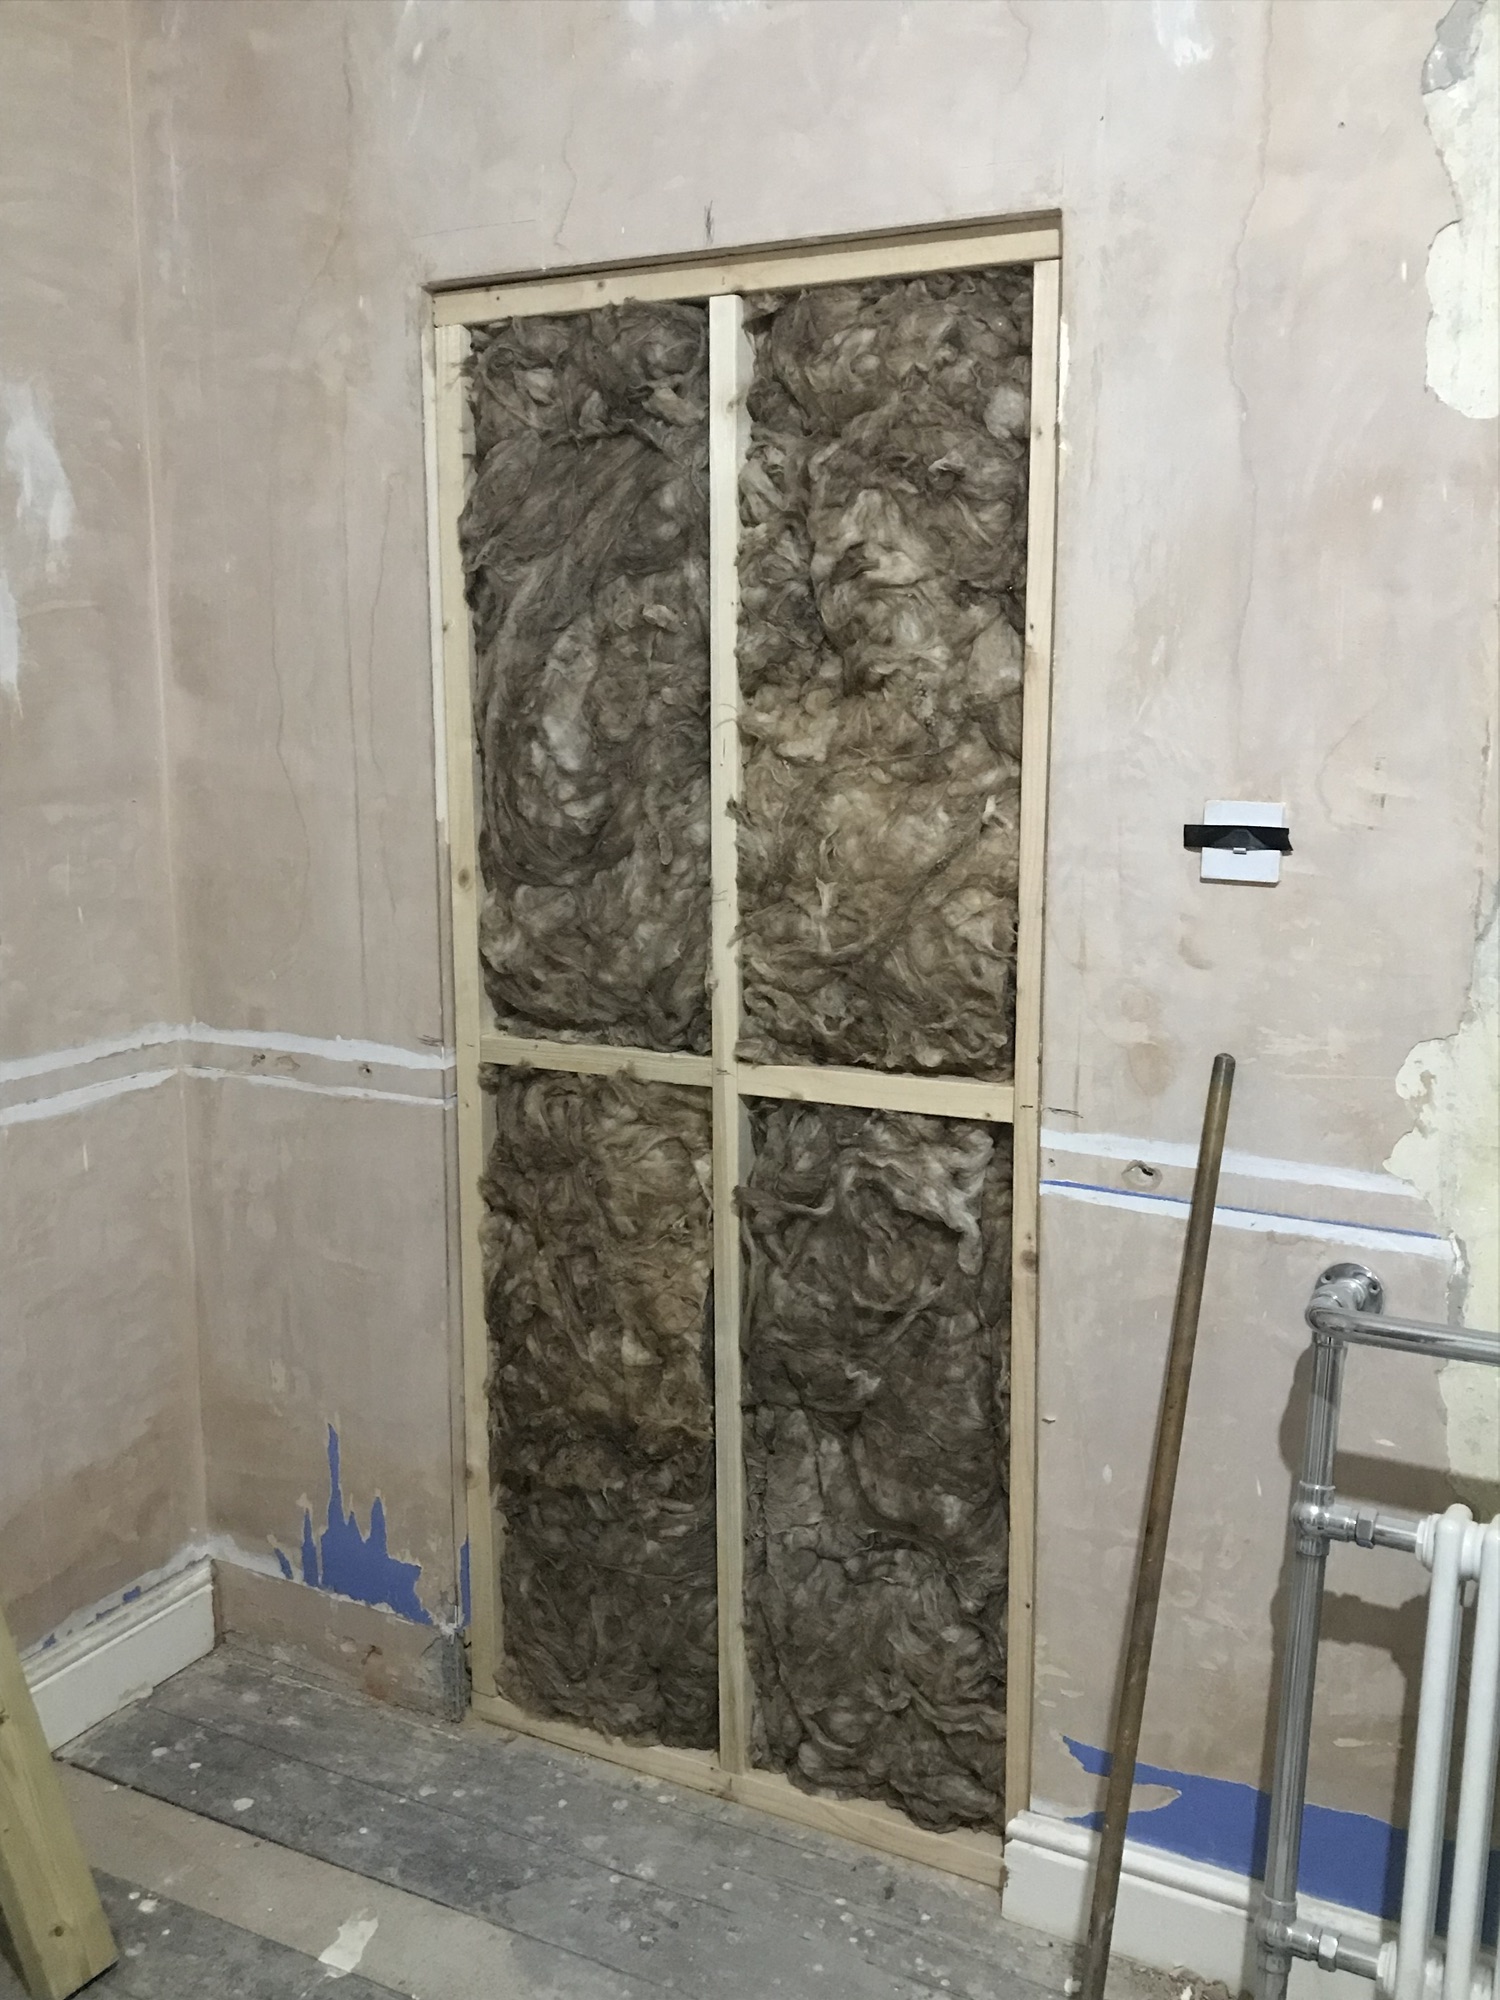
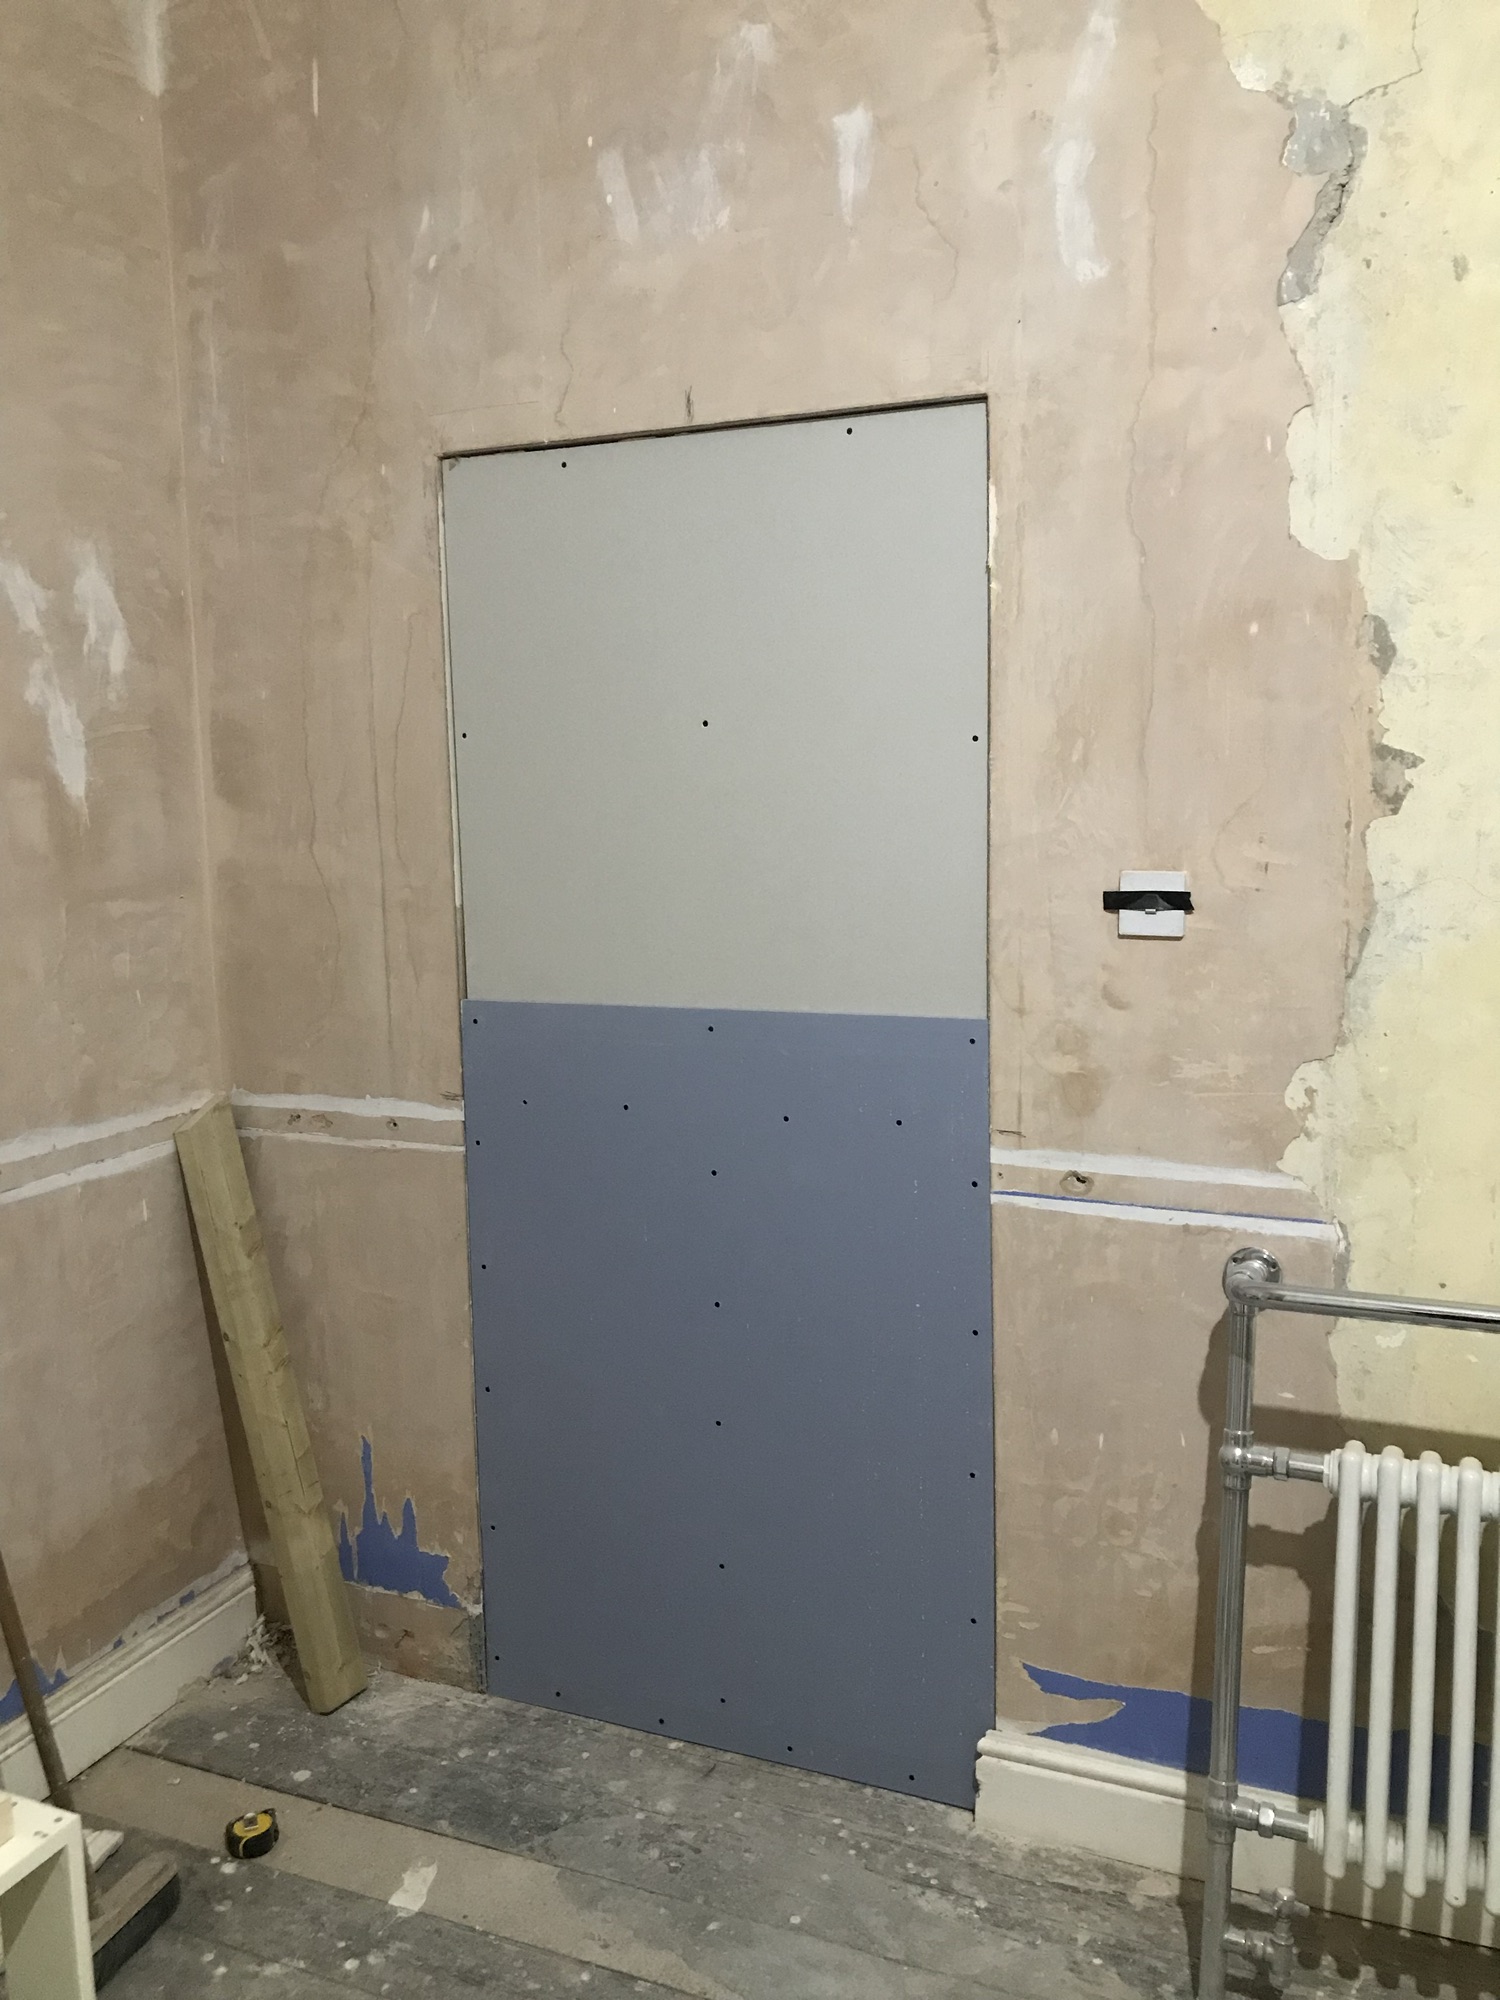
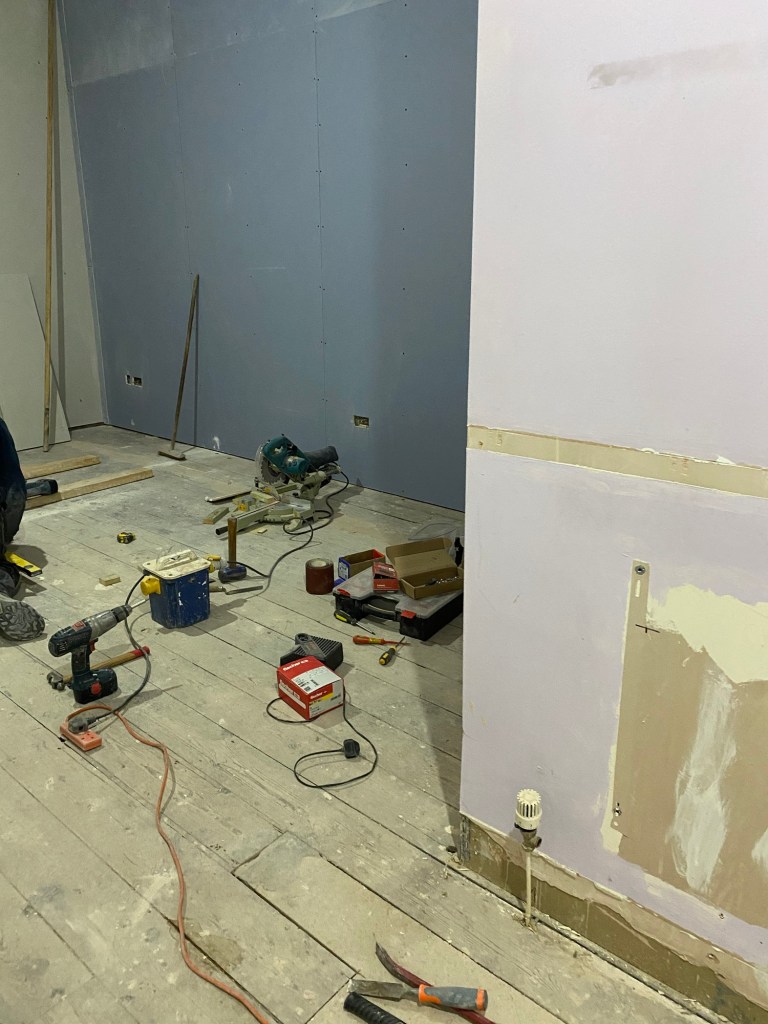
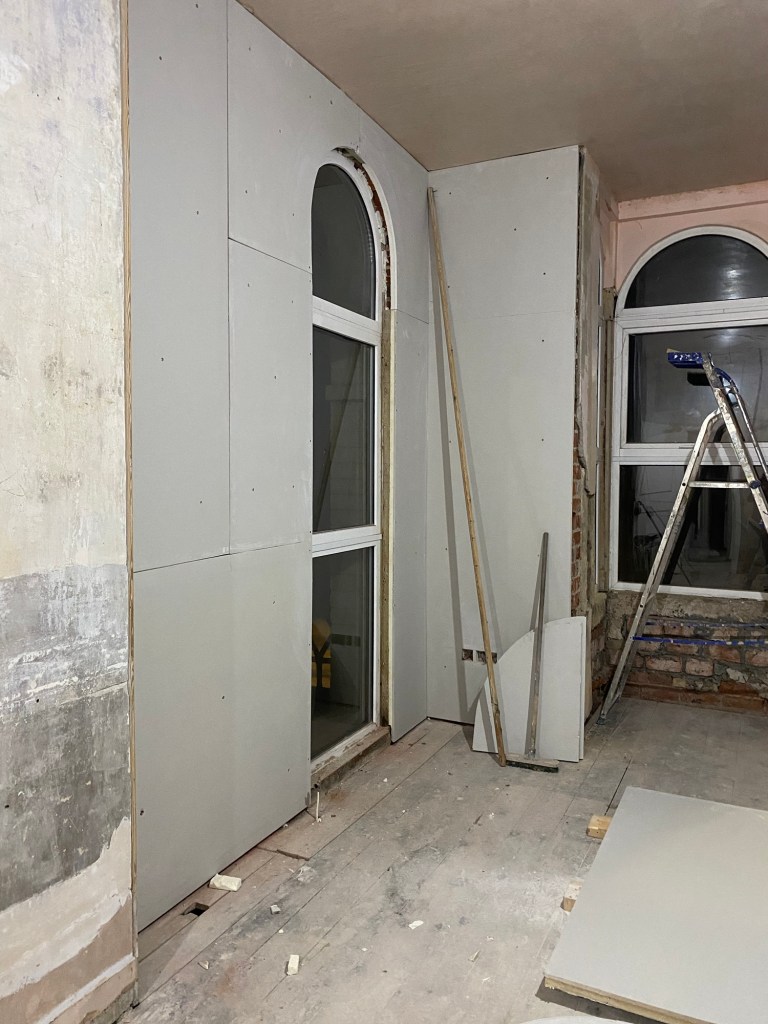
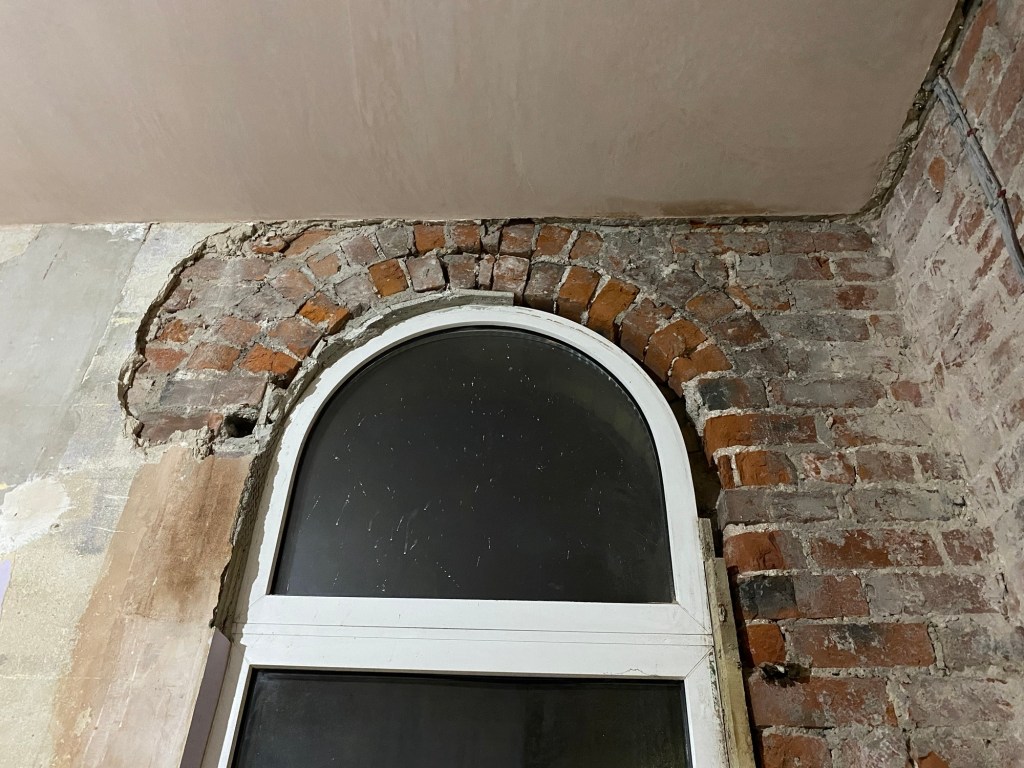
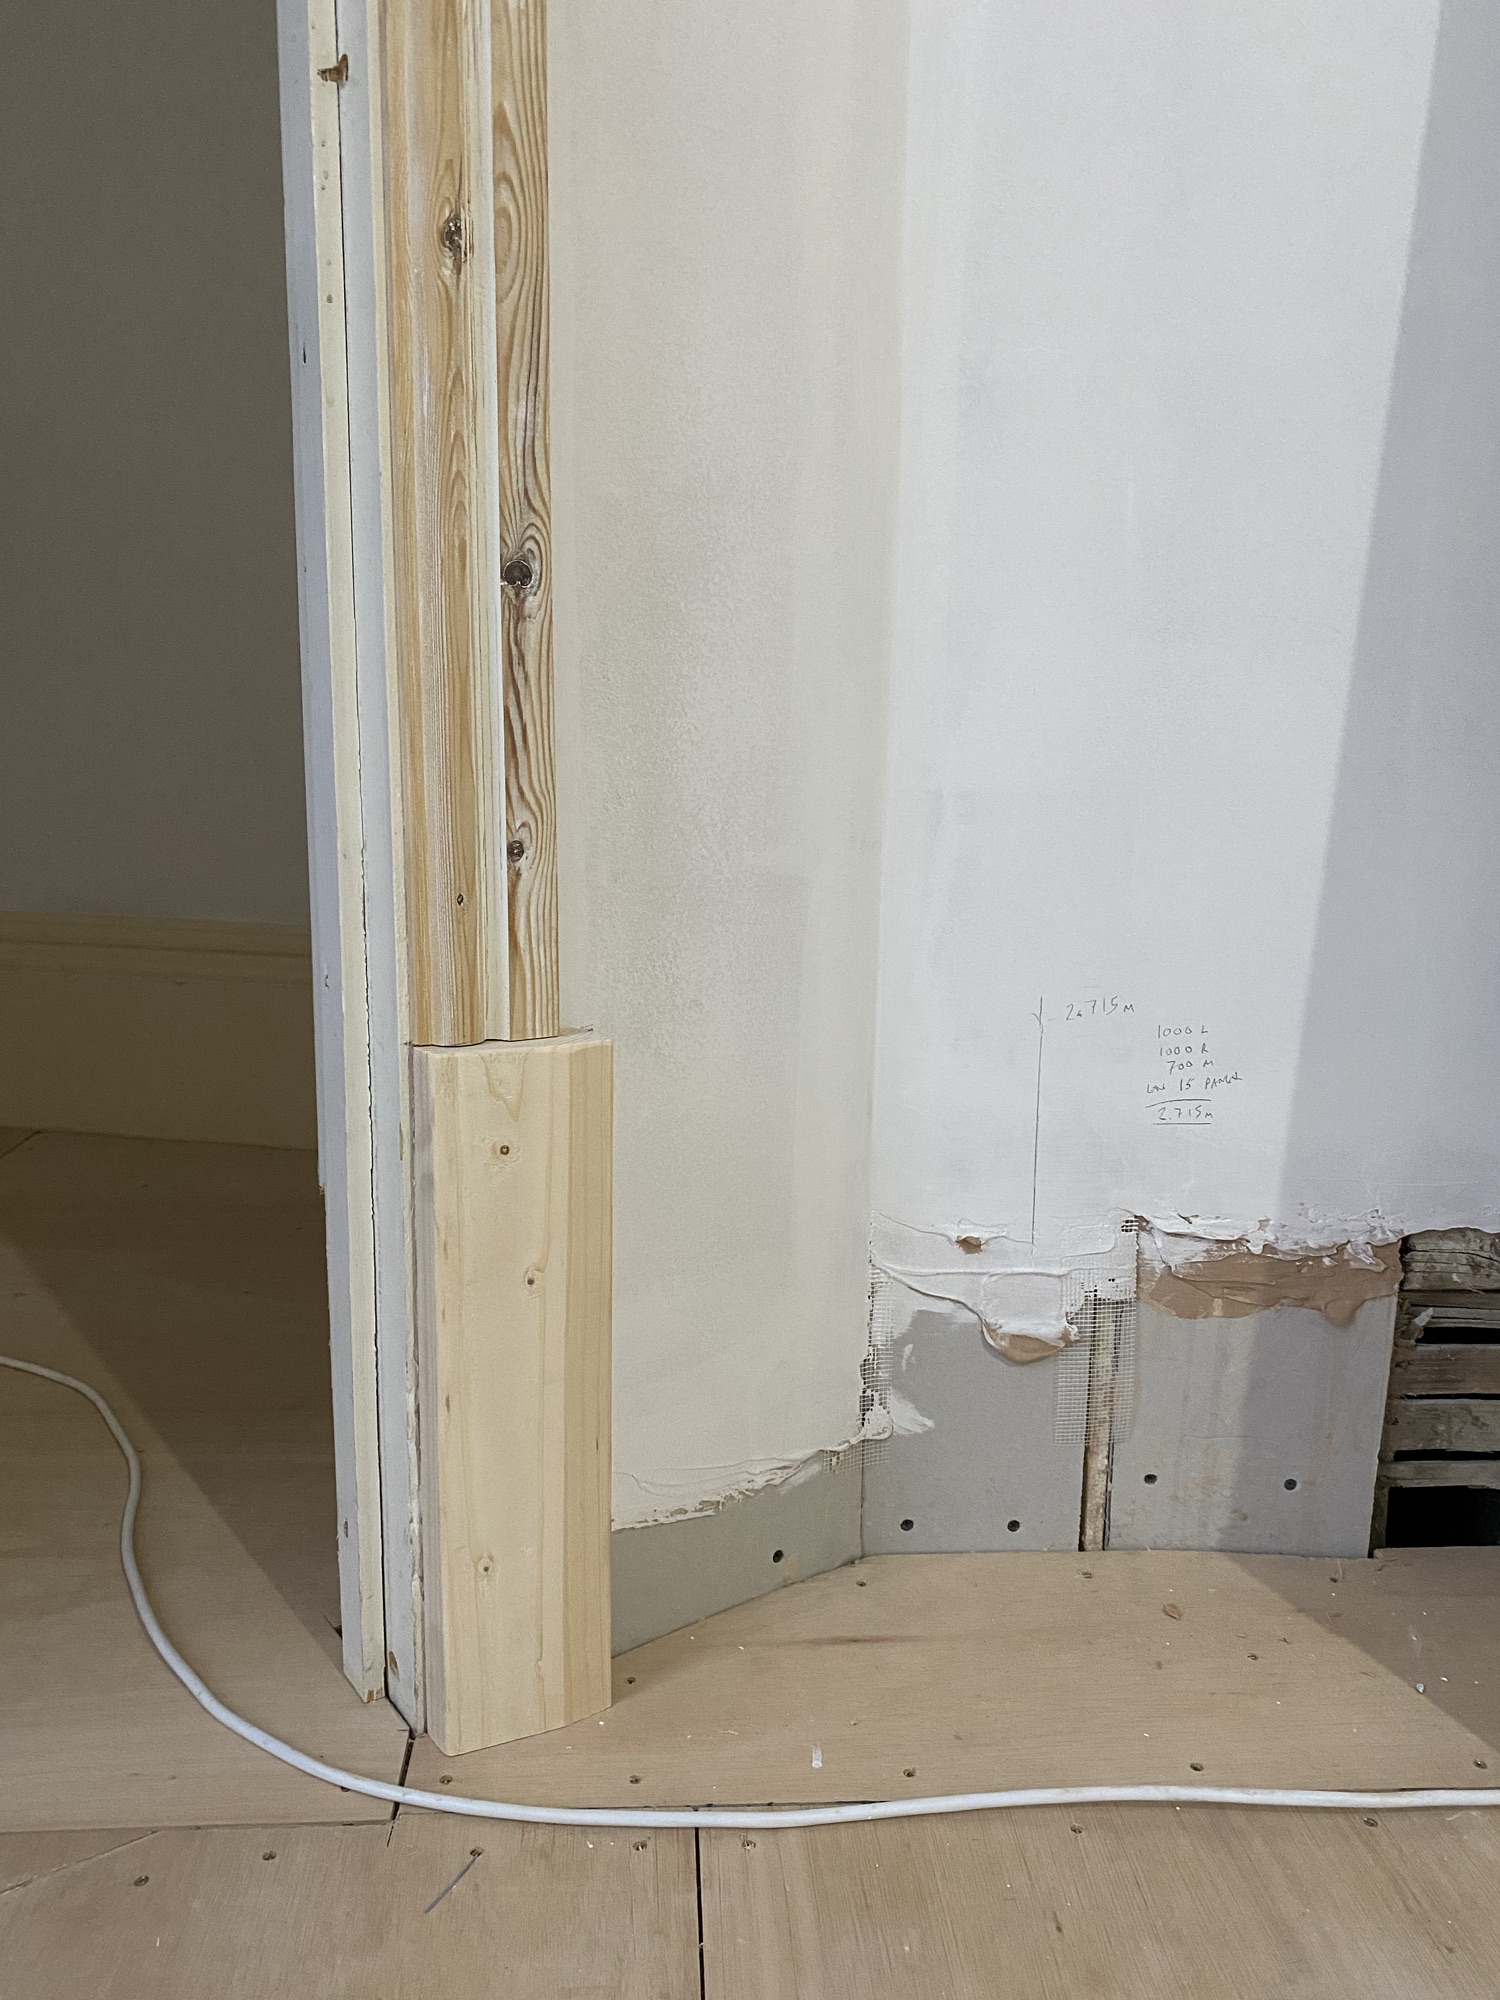
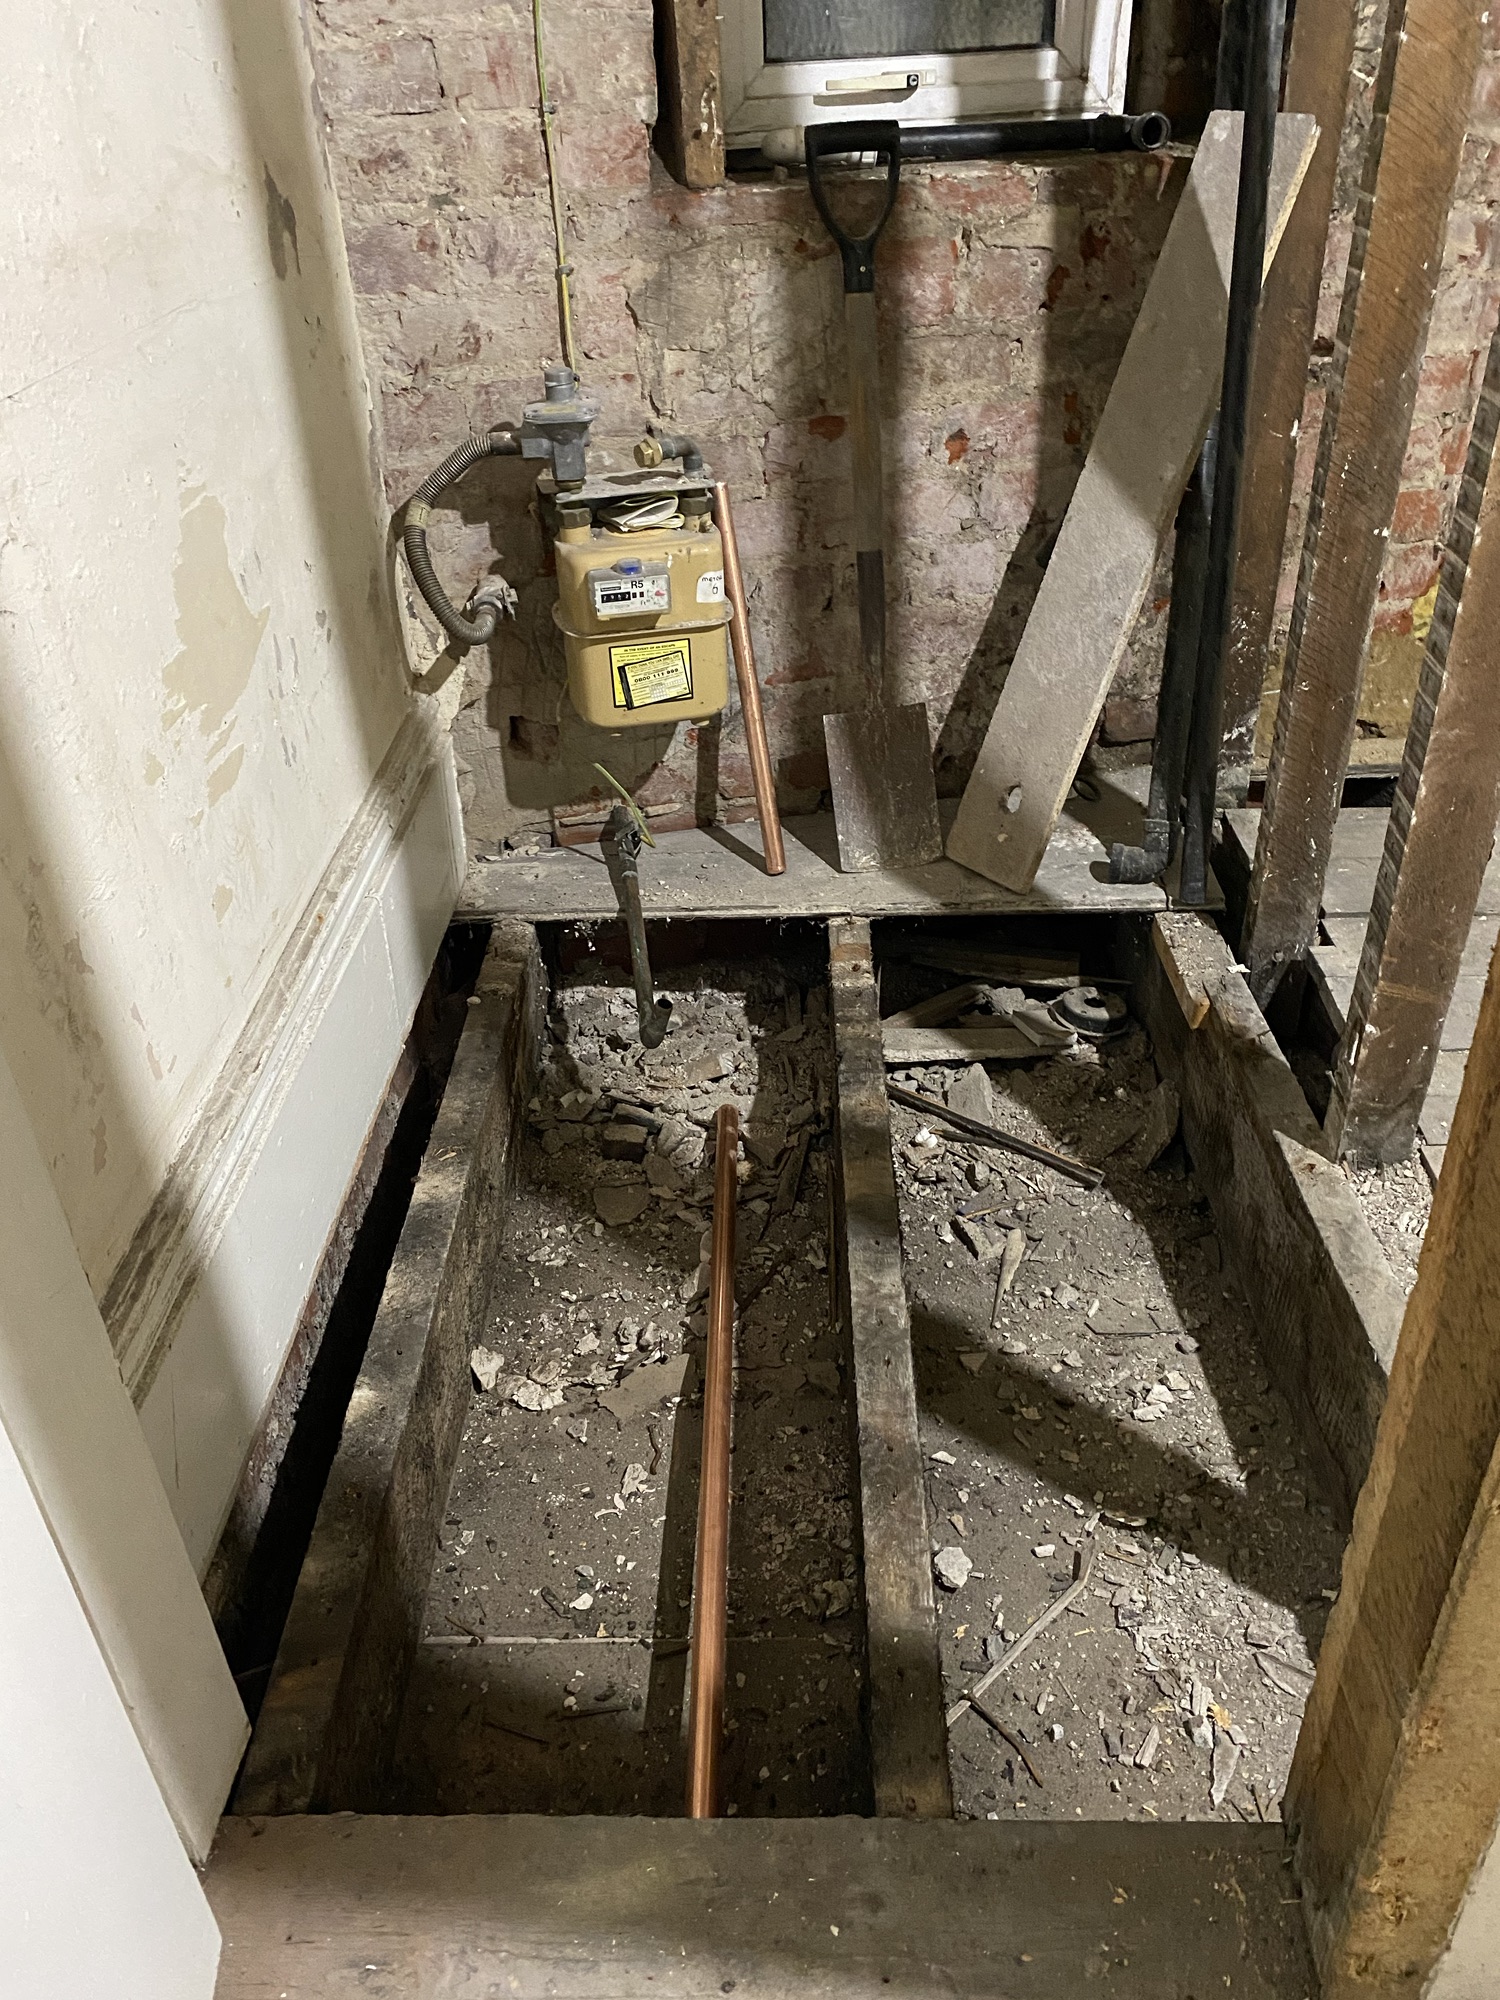
On our journey preparing the utility room we found yet another vast space in the ceiling! I’m not sure what it was for, it’s not a chimney as the brickwork is too clean. It is vast and we can’t see the top. Previous builders have cut through the brickwork to make a doorway into the space which when we bought it was a full bathroom. We have uncovered an old doorway which would have led straight onto the stairwell. This was blocked up using chipboard! Big fire hazard which had the potential to block the stairwell. So this will now be blocked correctly with pink plasterboard which is used to slow down any potential fire. They are usually used on ceilings in flats or you can double up ordinary plasterboard to achieve the same.

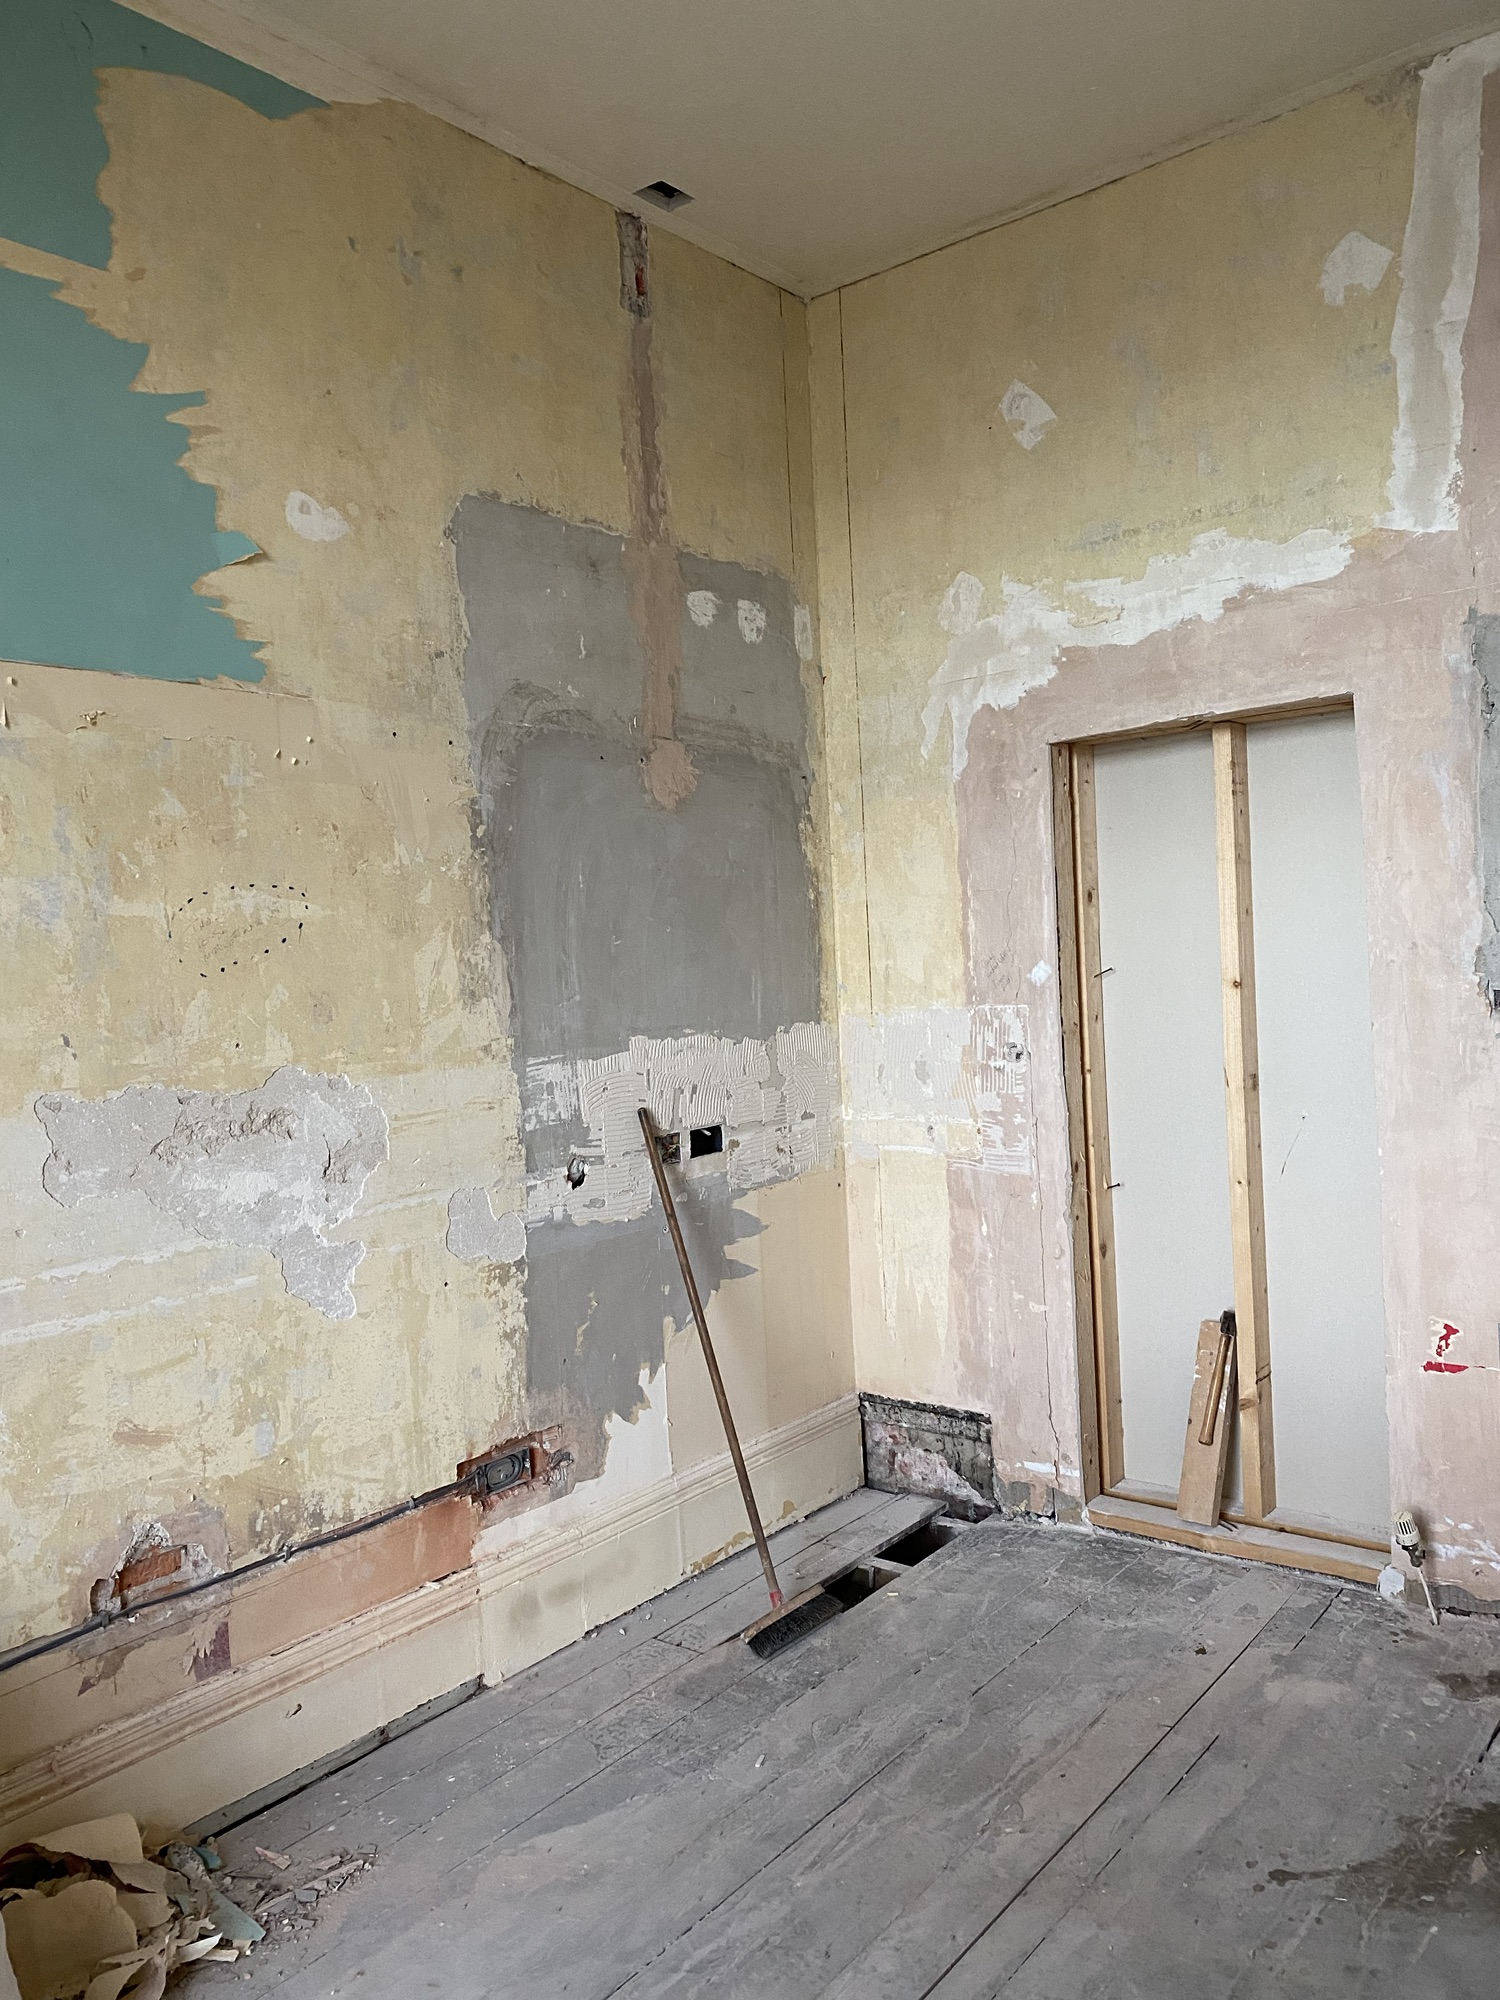
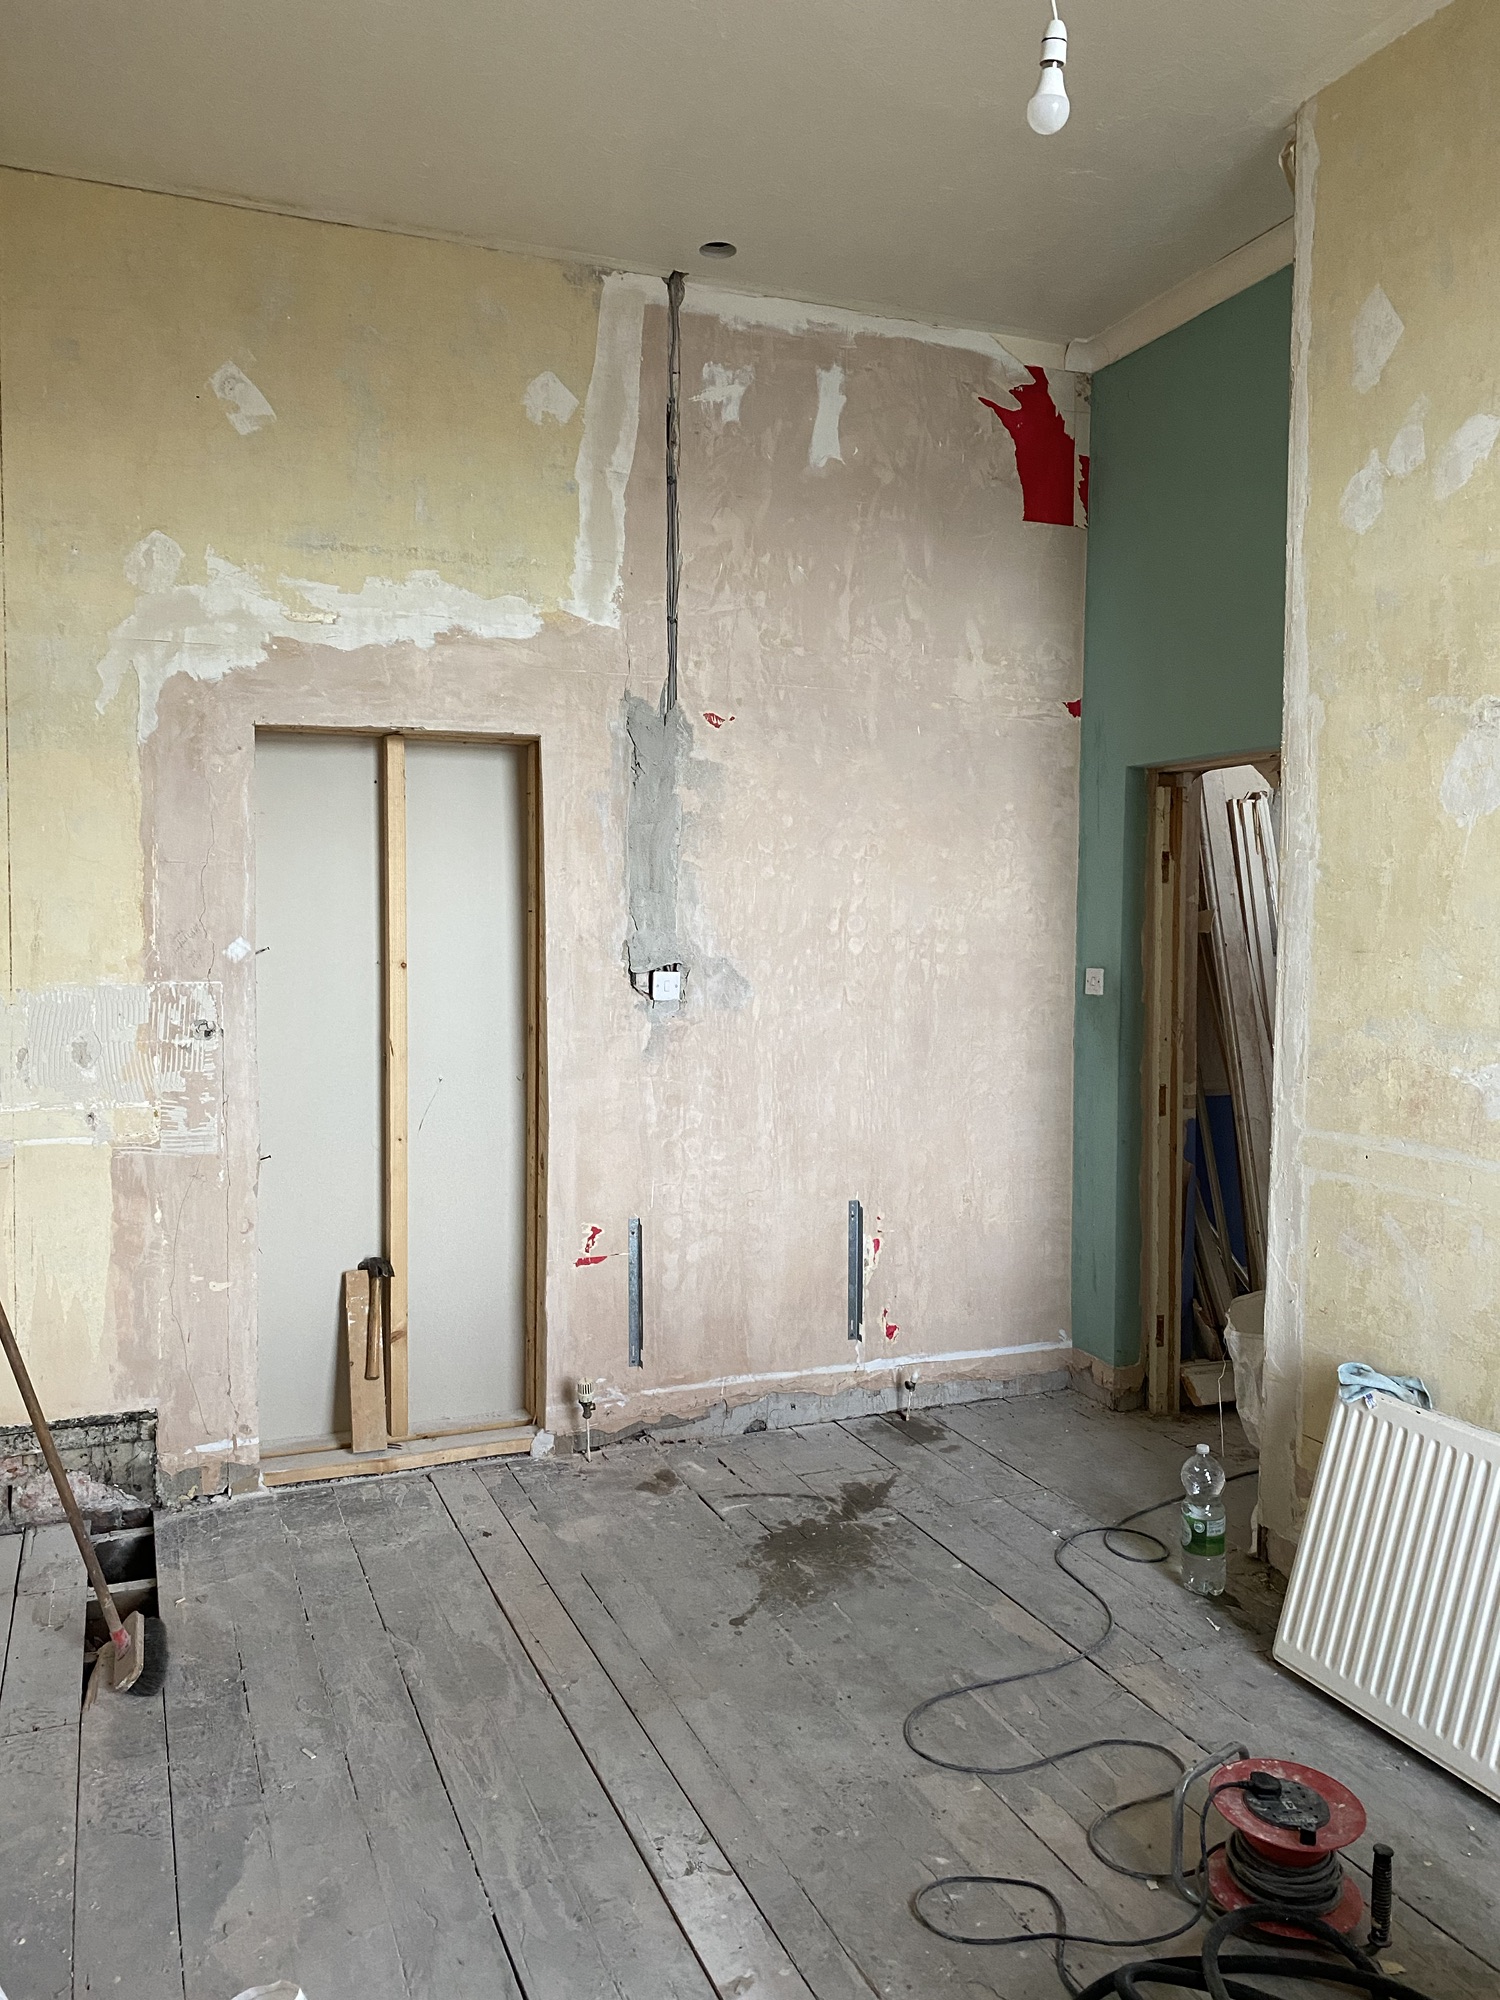
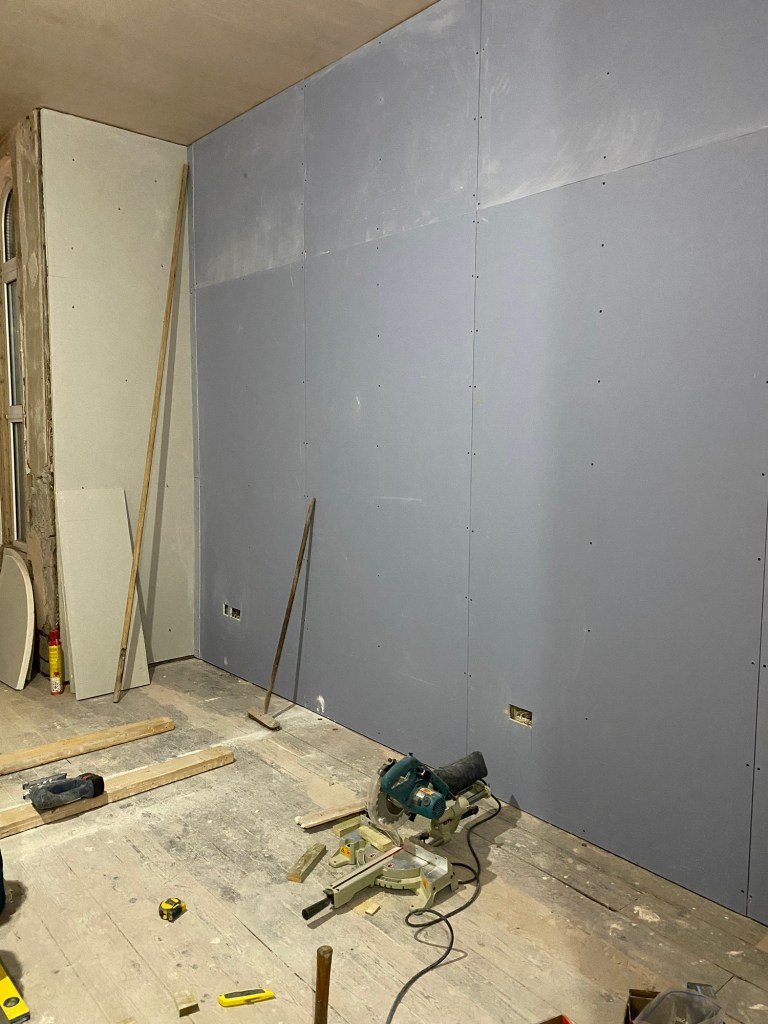
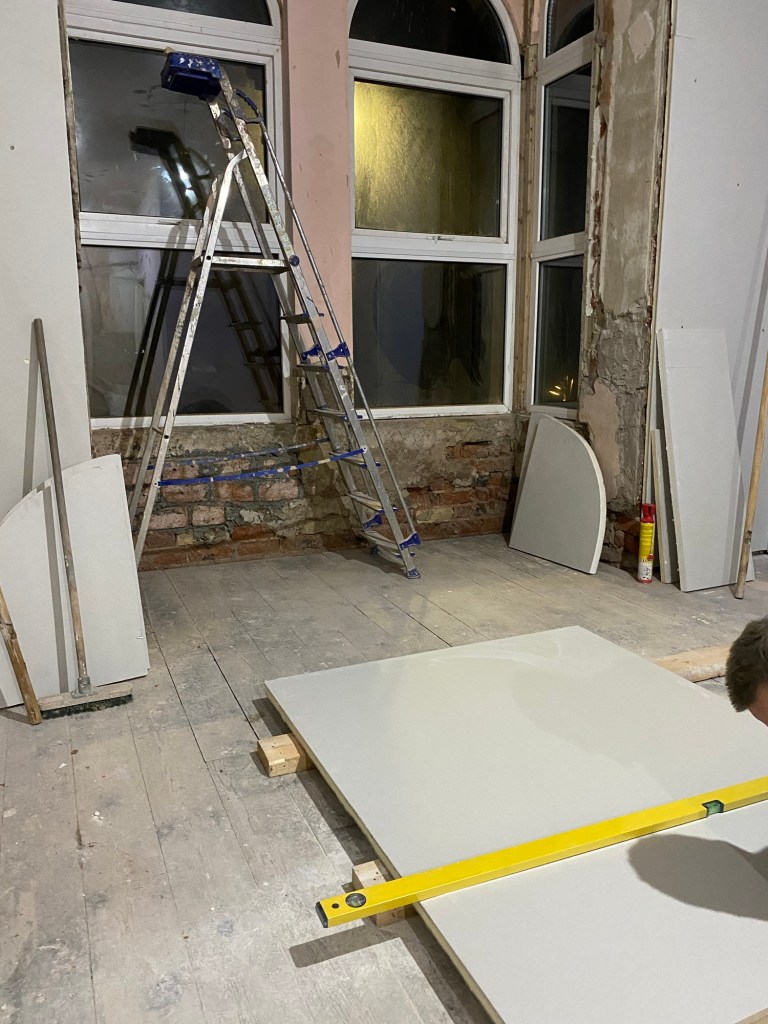
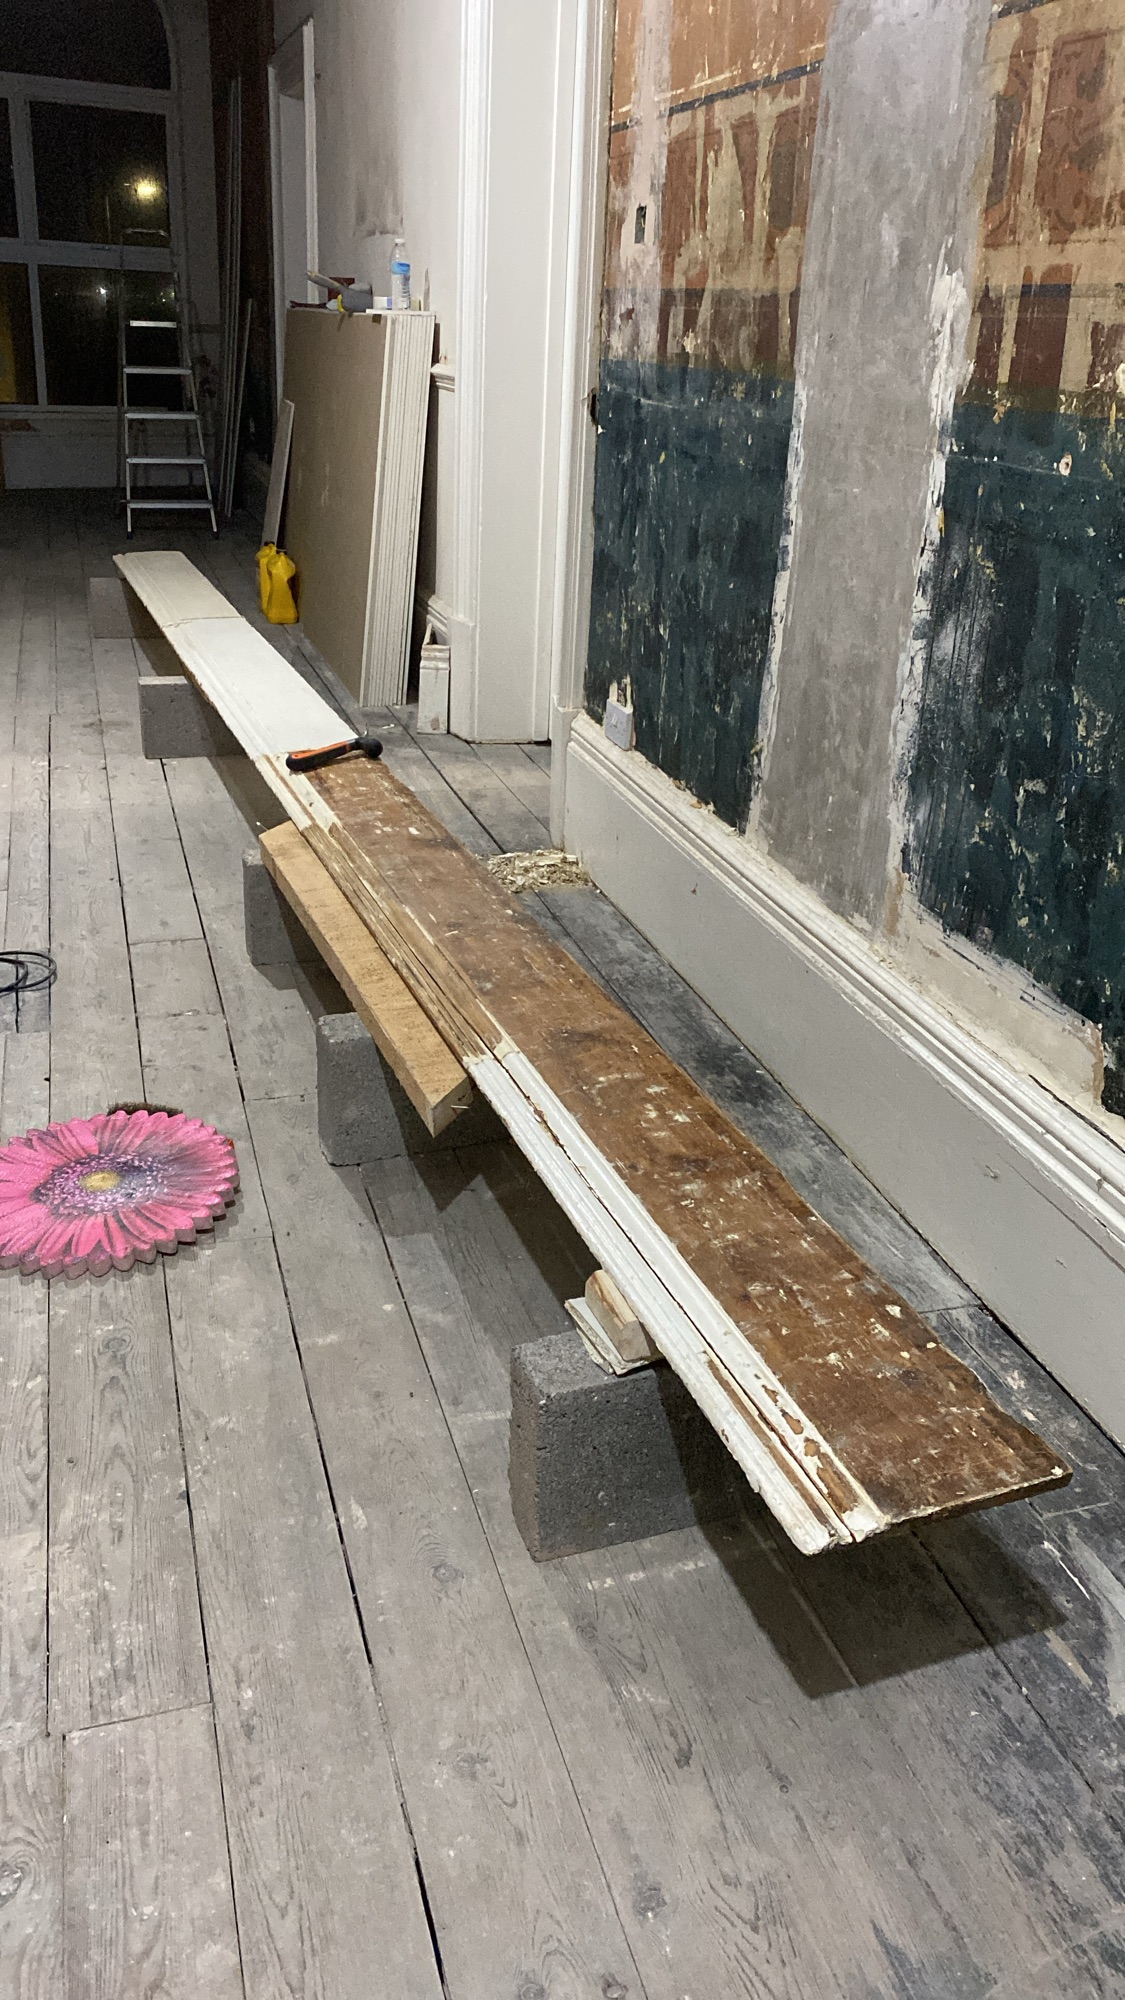
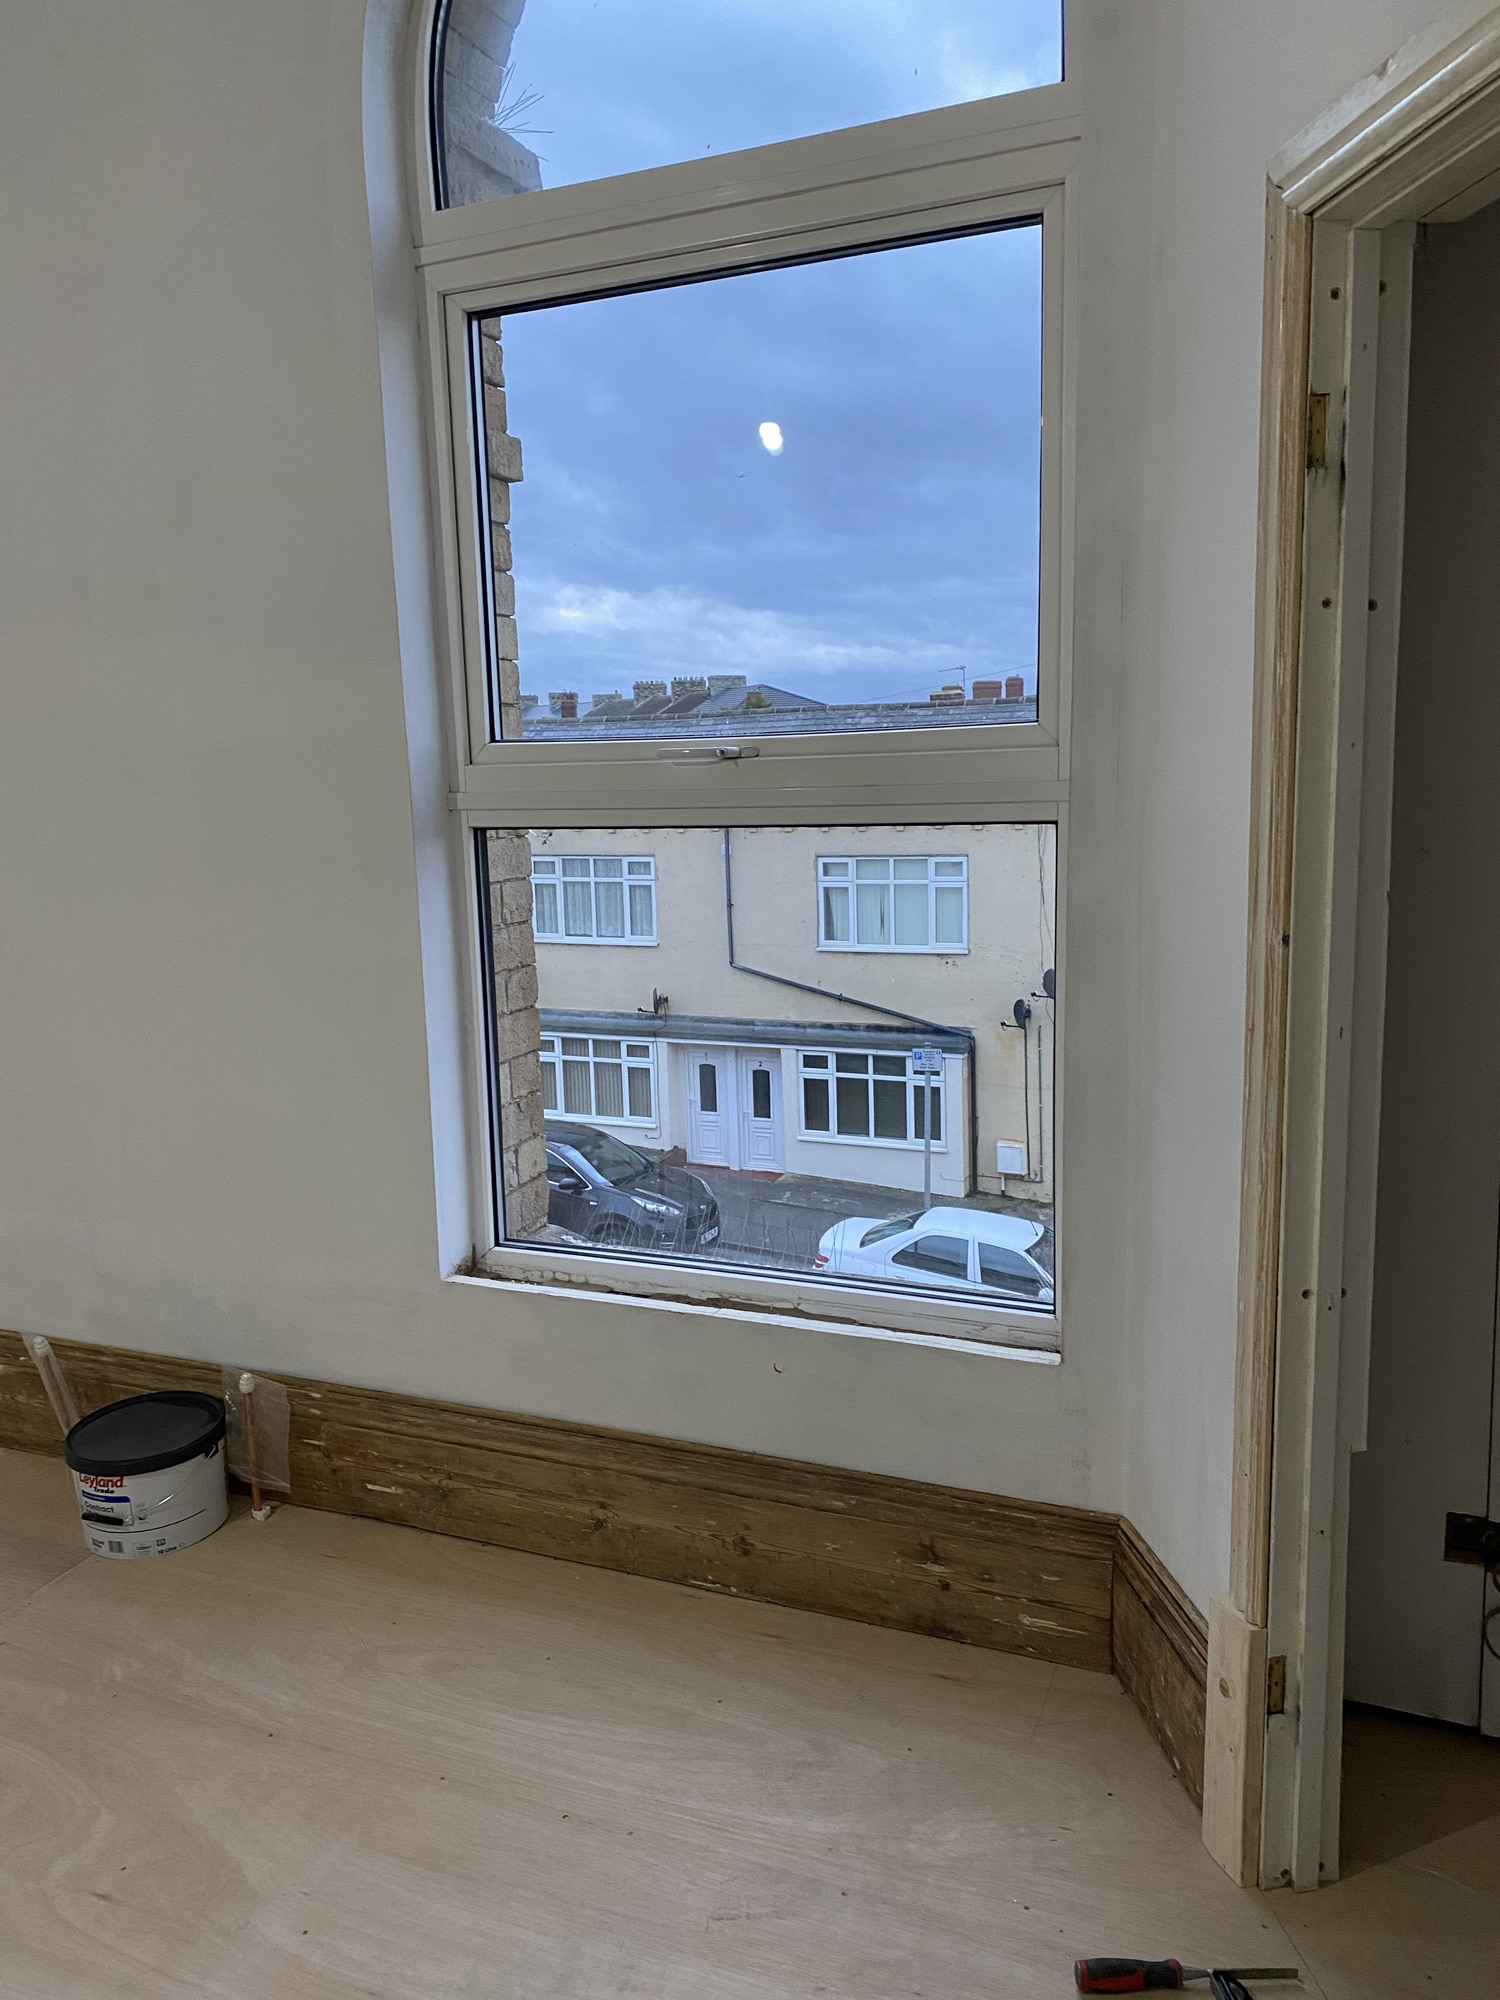
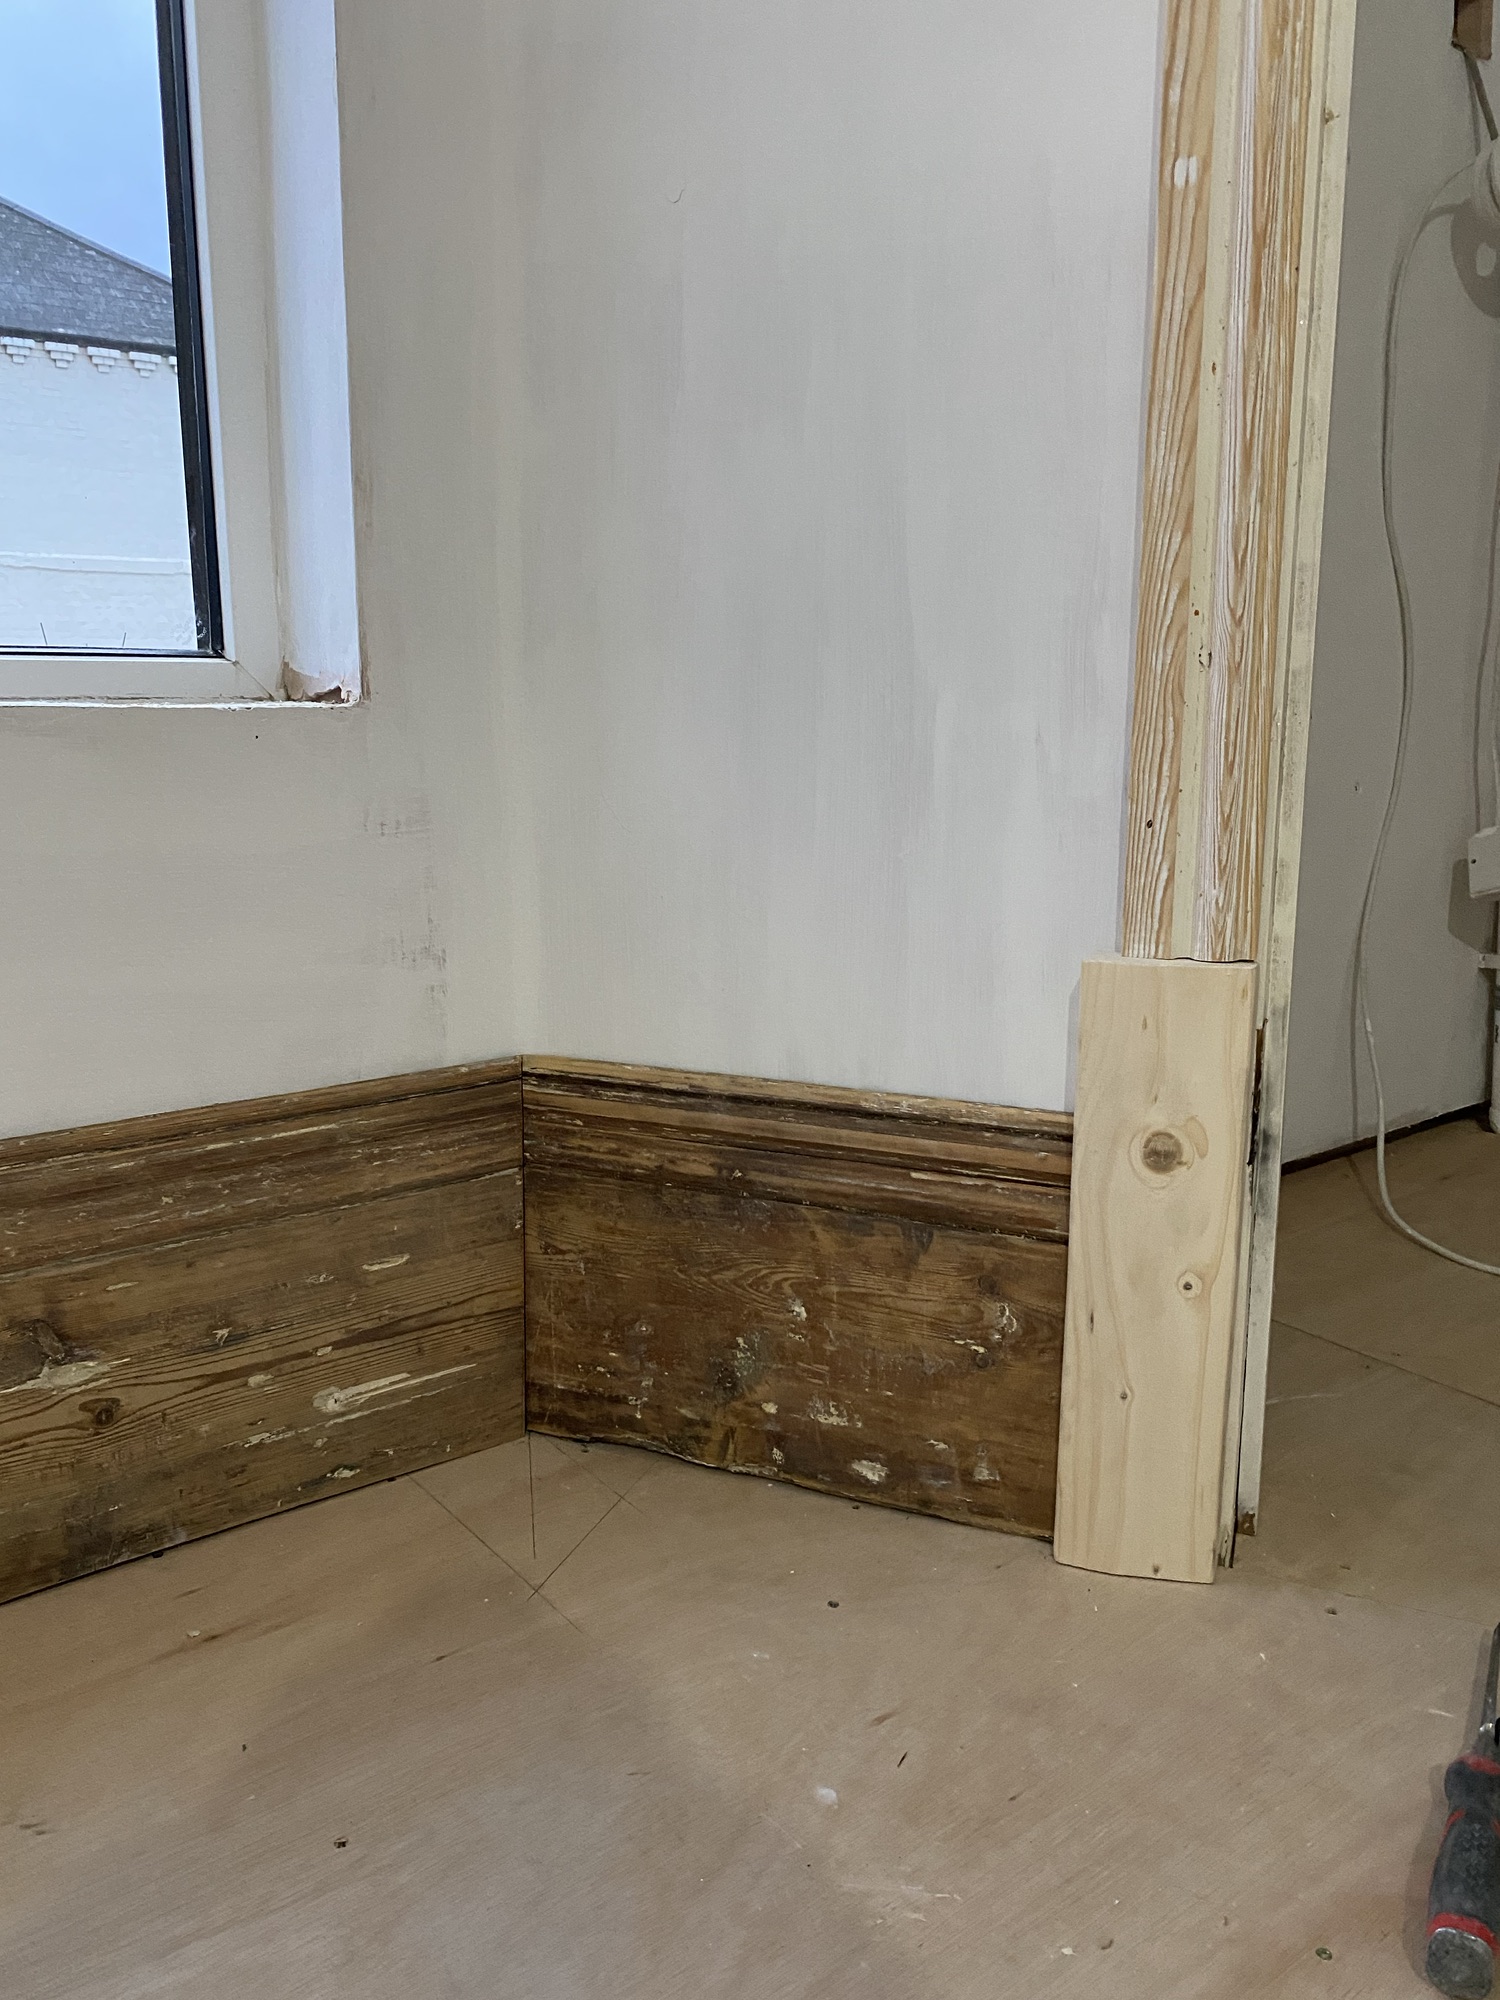
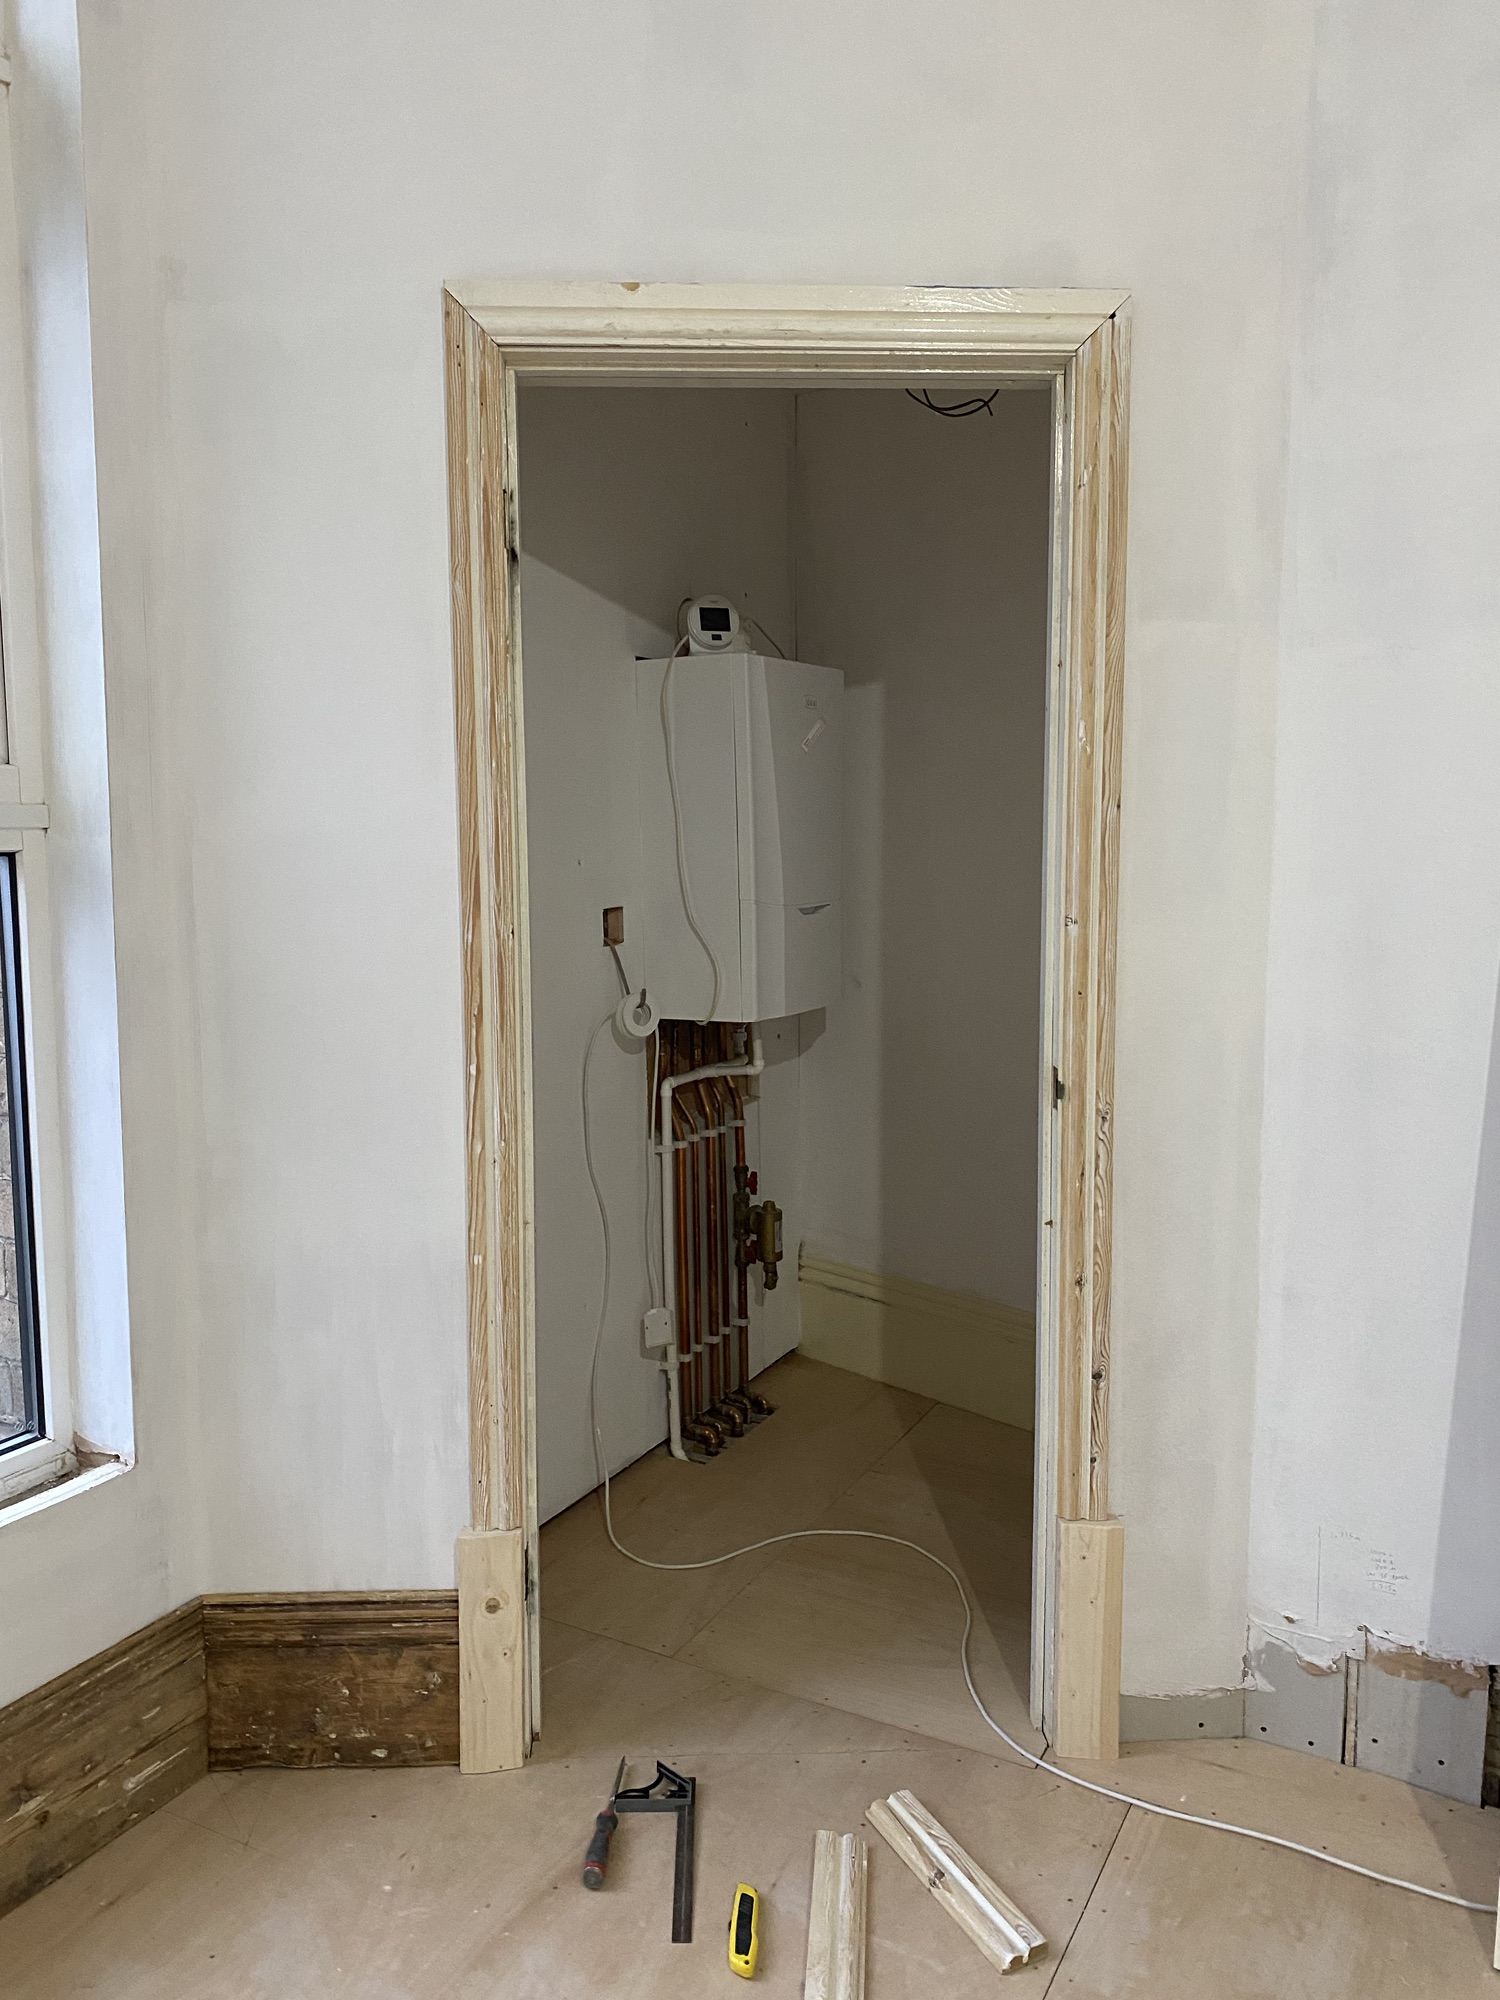
The rest of the room will be worked on today. Tiles are now removed, though a lot just fell off as soon as you touched them. All walls and ceiling will be boarded for a smooth insulated finish ready for plastering. We will complete taking out two doorways to make one large room.

This will be a great space for storage, coats, shoes, bikes, washing machine etc. A great working space!

Doorways

Due to reconfiguring some of the rooms we thought carefully about the access to each room for its new use and which doorways we didn’t need anymore. In Bed 2 (which used to be the kitchen) we opened up an old doorway leading straight from the hallway and blocked up the doorway which led from that room into Bed 3 (previously the dining room).

The process for this isn’t too difficult. If in doubt there are lots of instructional videos on YouTube.

Take photos of your framework so you know where the frame and noggins are in case you want to fasten anything to the wall (like a picture) at a later date. Some further noggins (cross pieces were added after these pictures were taken).

Master bedroom

Prep work is now starting with the walls and ceiling in the master bedroom. This means removing the old plaster ceiling roses, insulation boards fitted to outside walls for extra warmth and protection against the elements. All skirting boards and radiators removed. The skirting will be replaced with some of the boards salvaged from elsewhere in the apartment. The largest wall is adjacent to the next apartment so this has been double boarded with acoustic plasterboard and insulated. The two staff beads on the corners of the chimney breast have been uncovered. We have sanded these back to the wood ❤️ although they will get a new coat of paint. The arch above the floor to ceiling window was not in great condition so this has also been repointed. All ready for a fresh coat of plaster throughout.

Getting the work surfaces ready

We completed installing the units that will have the quartz fitted to them and called in the experts. Gary from ‘Solid Granite Surfaces’ did not disappoint.

All of the quartz has been measured, adjusted, cut and polished to fit exactly onto the units making this the perfect working kitchen.

There are lots of choices for kitchen worktops now and your choices should be considered carefully not only for cost, but also looks and ability to withstand your day to day routines.

If you’re wondering which type of kitchen worktop is best for you, make sure you visit somewhere that you can see a variety of work surfaces and run your hand over them. Your worktop is a huge part of your kitchen that you absolutely have to get right both practically and aesthetically.

Kitchen update

Evening everyone! Well we are still working hard on the new kitchen. New light fitting which will hang over the island is installed. Walls/ceiling/cornice are complete. Wall units are in but not fully installed yet. The island units will go in tomorrow then the granite specialists are coming on Saturday to install the granite work surfaces. Then the top units can be installed. So here are a few images of where we are at right now.

Things to consider when installing a kitchen:

Your ‘work triangle’, are your sink, hob and fridge all within easy reach?

Do you have enough space to walk comfortably between unit runs/ open doors/reach in without bumping into anything.

Have your electric and water/drainage been suitably planned and located in the room.

Do you have enough lighting in the room for different tasks? Cooking/ambience/reading etc

Ensuite update

Happy Sunday! I thought I would show you what we have been up to as I haven’t published much in the last couple of weeks. Some of the rooms are coming on leaps and bounds now and it’s great to start seeing things coming together. I chose a plain tile for the wet areas and also tiles for the floor which have a wood effect. I used some of the floor tiles as skirting boards as well, giving it a slick look with nothing protruding at floor level. The toilet waste and pipes have been lowered under the floor so no boxing in. The sink has been moved into the centre of the wall and the door for the ensuite will be changed to open out into the bedroom giving a lot more space. There was also a radiator behind the door, we have relocated this to the other side of the doorway so now your towel is in easy reach when you step out of the shower. All of the tile work has been finished with a brushed nickel trim. The cornice work really sets the room off nicely. I hope you like it.

Many thanks to Jonny Lawton from Cleveland Quality Tiling for doing an amazing job with the tiles. I would thoroughly recommend Jonny for any tile work you need. He is professional, punctual, tidy and hard working. Both jobs that Cleveland Tiling have done for me so far have been top quality! Catch him on Facebook 👋

Skirting around the subject

A while back I started removing some of the original skirting boards, most of these are 14” high. I spent many hours removing 150yrs of paint from them. The many layers of paint were covering all of the carved detailing. I intend to repaint them all white however the detailing on them will be much clearer.

So today, we had the pleasure of cutting the boards to size ready to be fixed in the kitchen. We have also cut in new timber block plinths at the bottom of the architrave surrounding the pantry door and the same around the kitchen door. This has already been really hard work but I think of it as a labour of love ❤️

We are getting there…

After a quality review on the plaster work in the kitchen we decided that it needed further work to meet the grade that we wanted. Quality all the way with this renovation.

So here we are again, mist coat completed, walk in pantry nearly completed. Window wall completed with new deeper arches around the windows. Screed all removed from the floorboards, boards all secured. Plywood floor done as a sub floor in preparation for the ‘Amtico’ floor to be fitted.

Next step..I can’t wait for this bit! On Monday the handmade plaster cornice and rose work will be fitted by Classic Plaster Moulds.

Cooking on gas

Well, at least you may feel like you’re cooking now that the heating system is all done. Along with the boiler being relocated to the new kitchen, new larger piping has been installed under the floor from the gas meter in the utility room down the hallway and through into the walk-in pantry. Larger pipework has been used to increase the gas flow allowing the system to work more effectively.

Another radiator has been installed in the hallway, making the total three. A new vertical radiator will be installed in the kitchen and new pipes installed to the other hall and lounge radiators making them more efficient and aesthetically pleasing.

Jack Williams was the amazing gas engineer who came to do all this work. He owns and runs TR Heating Services and covers Redcar and the wide surrounding area. I cannot recommend Jack enough, punctual, polite, tidy, professional and great communication. He offers a great service at a competitive price.