Original fireplace found

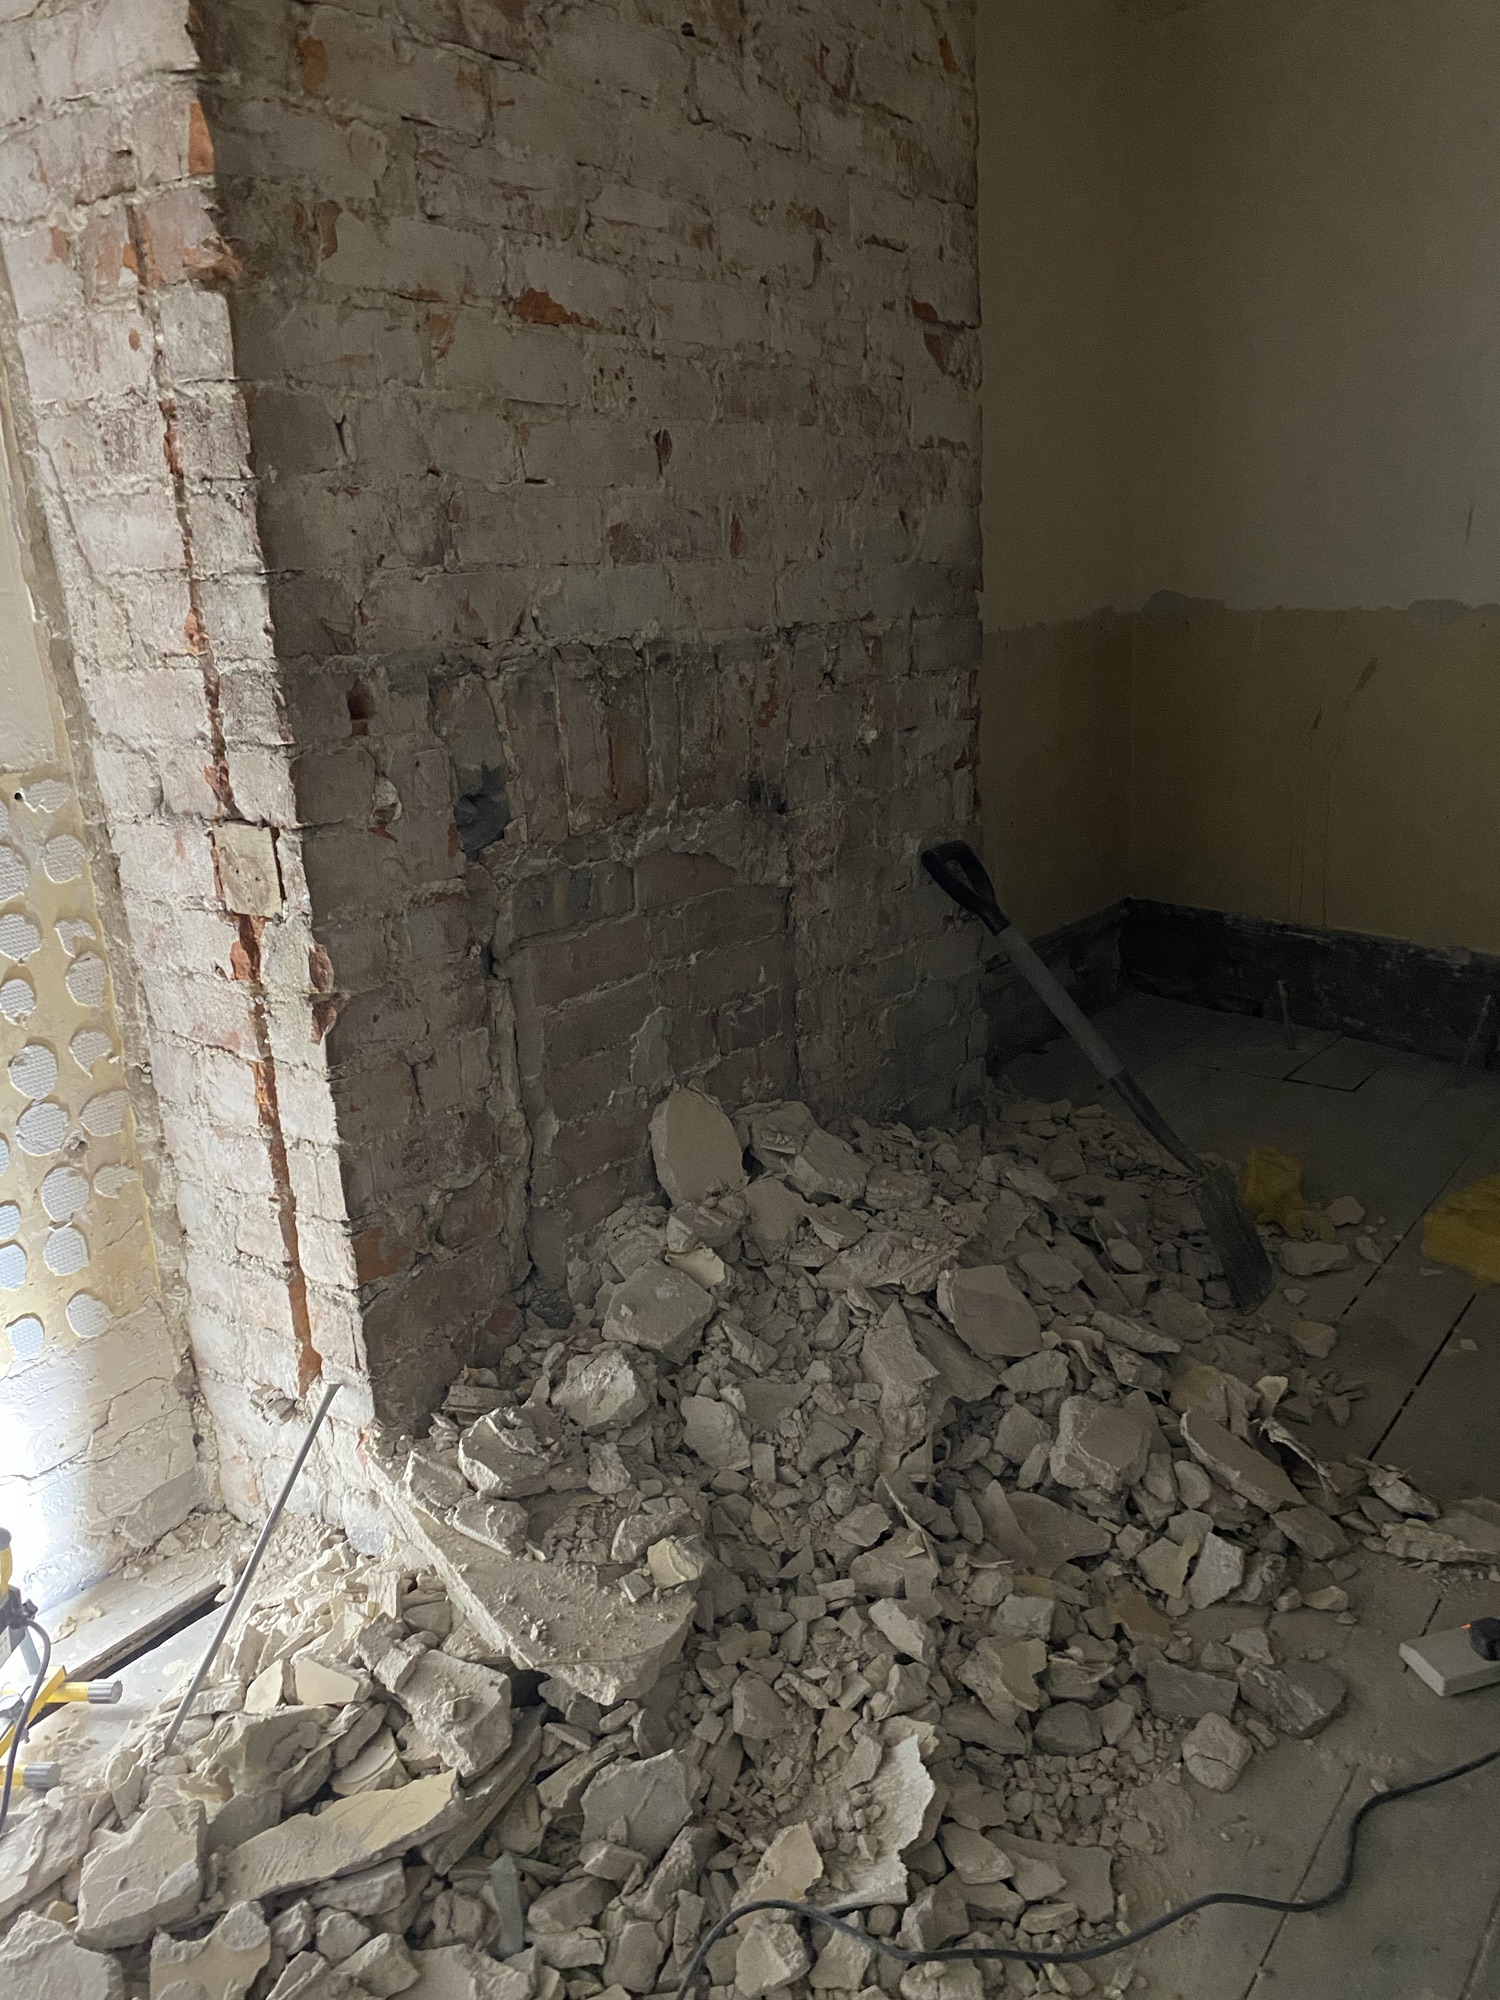
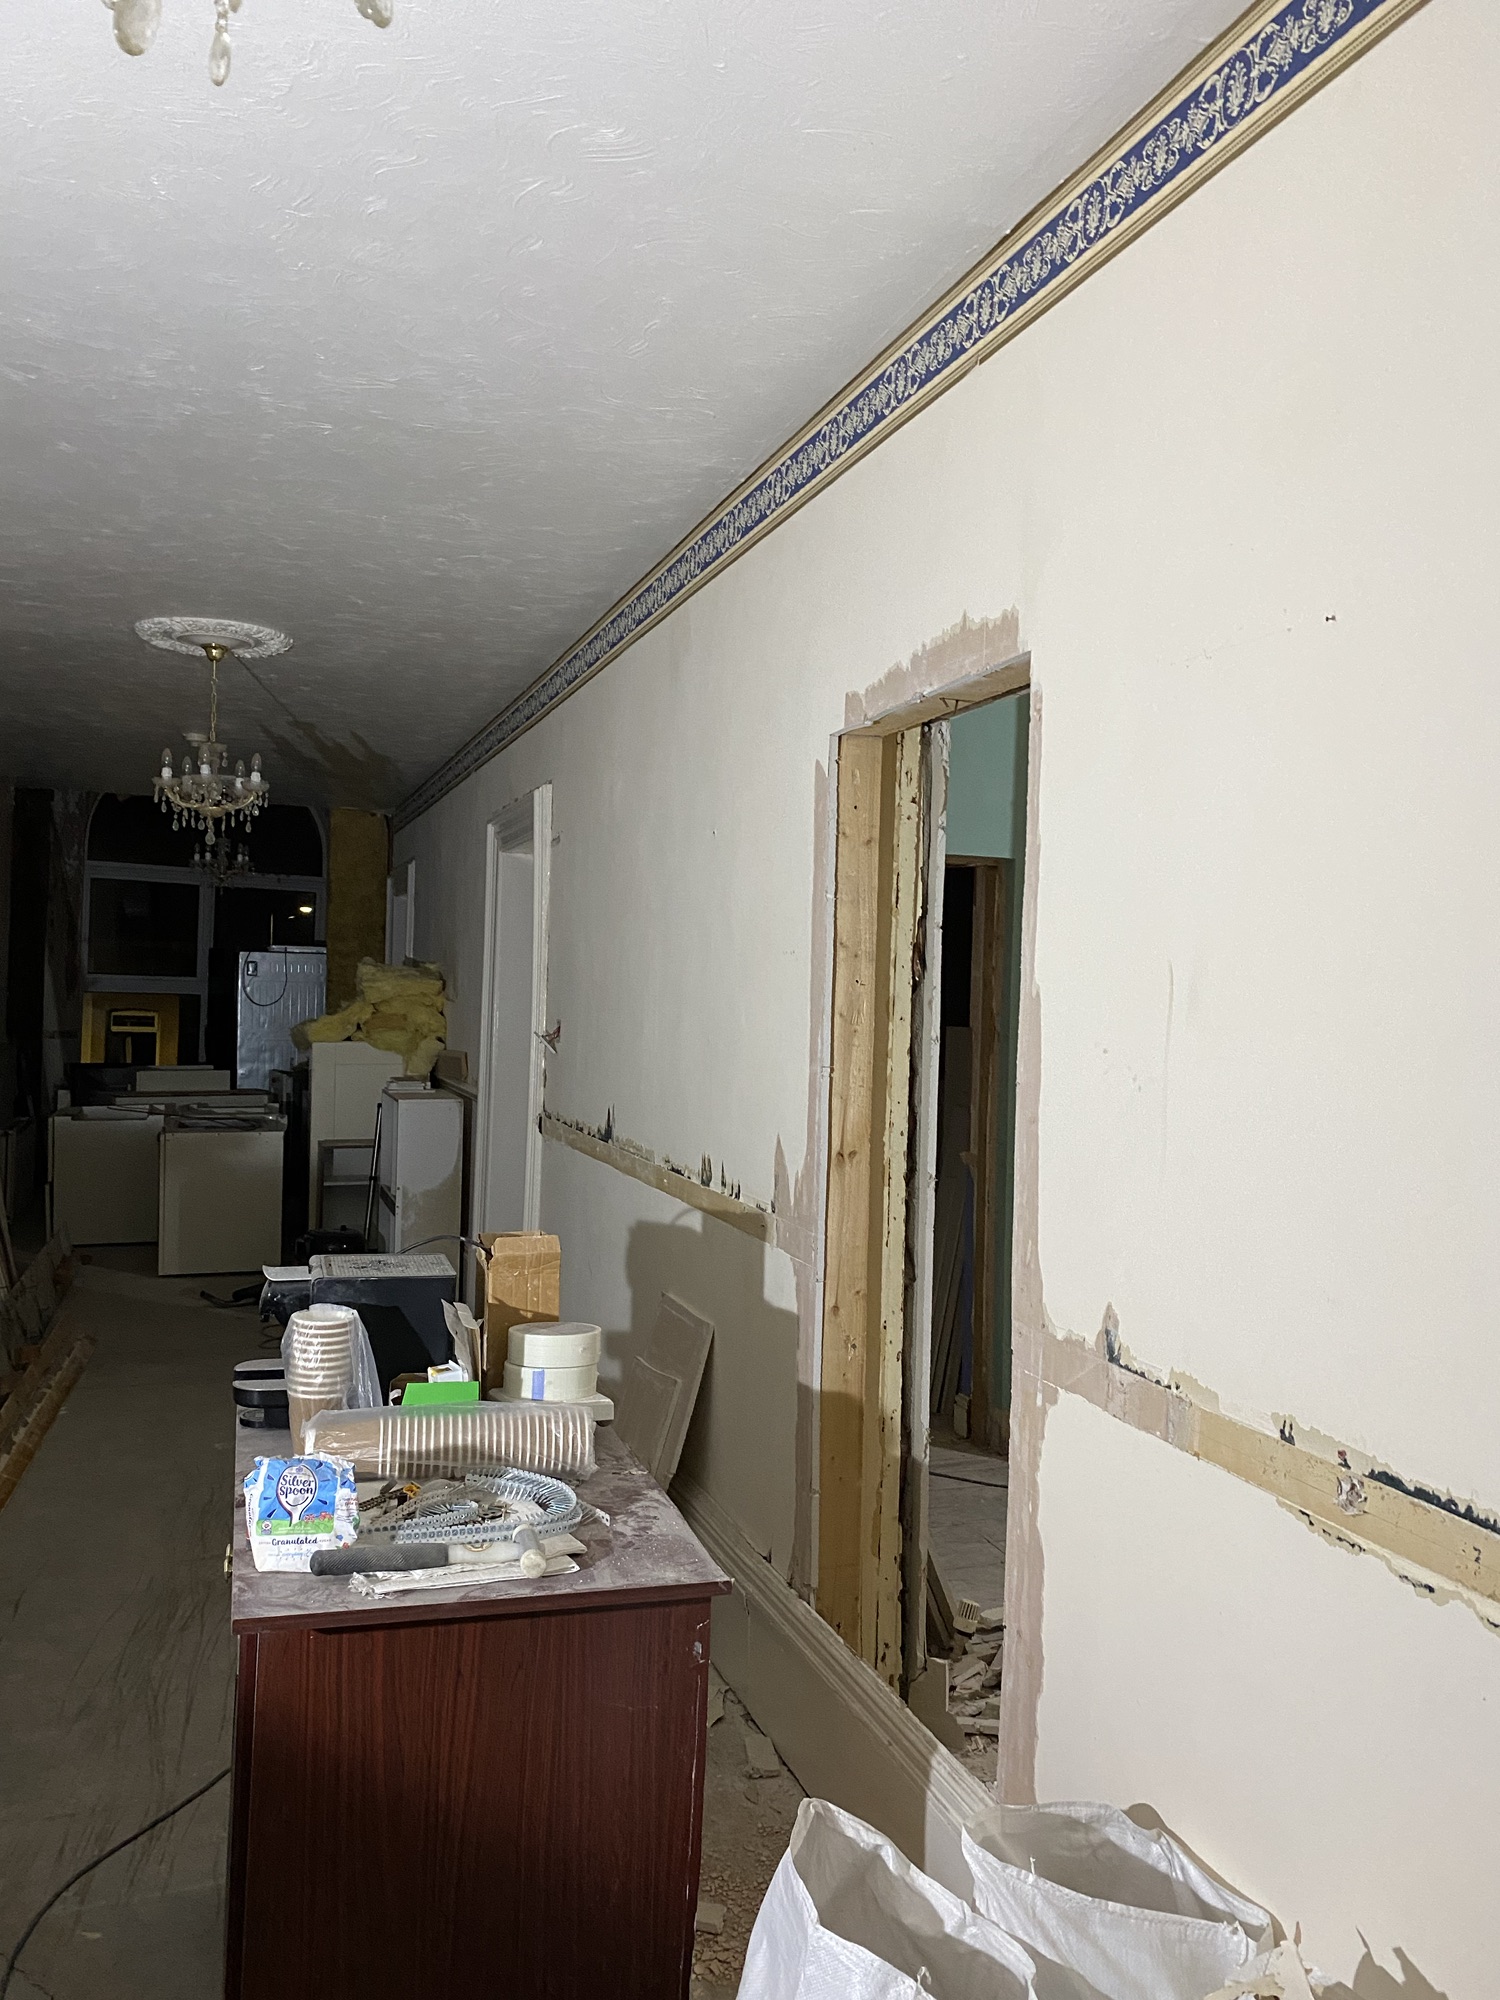
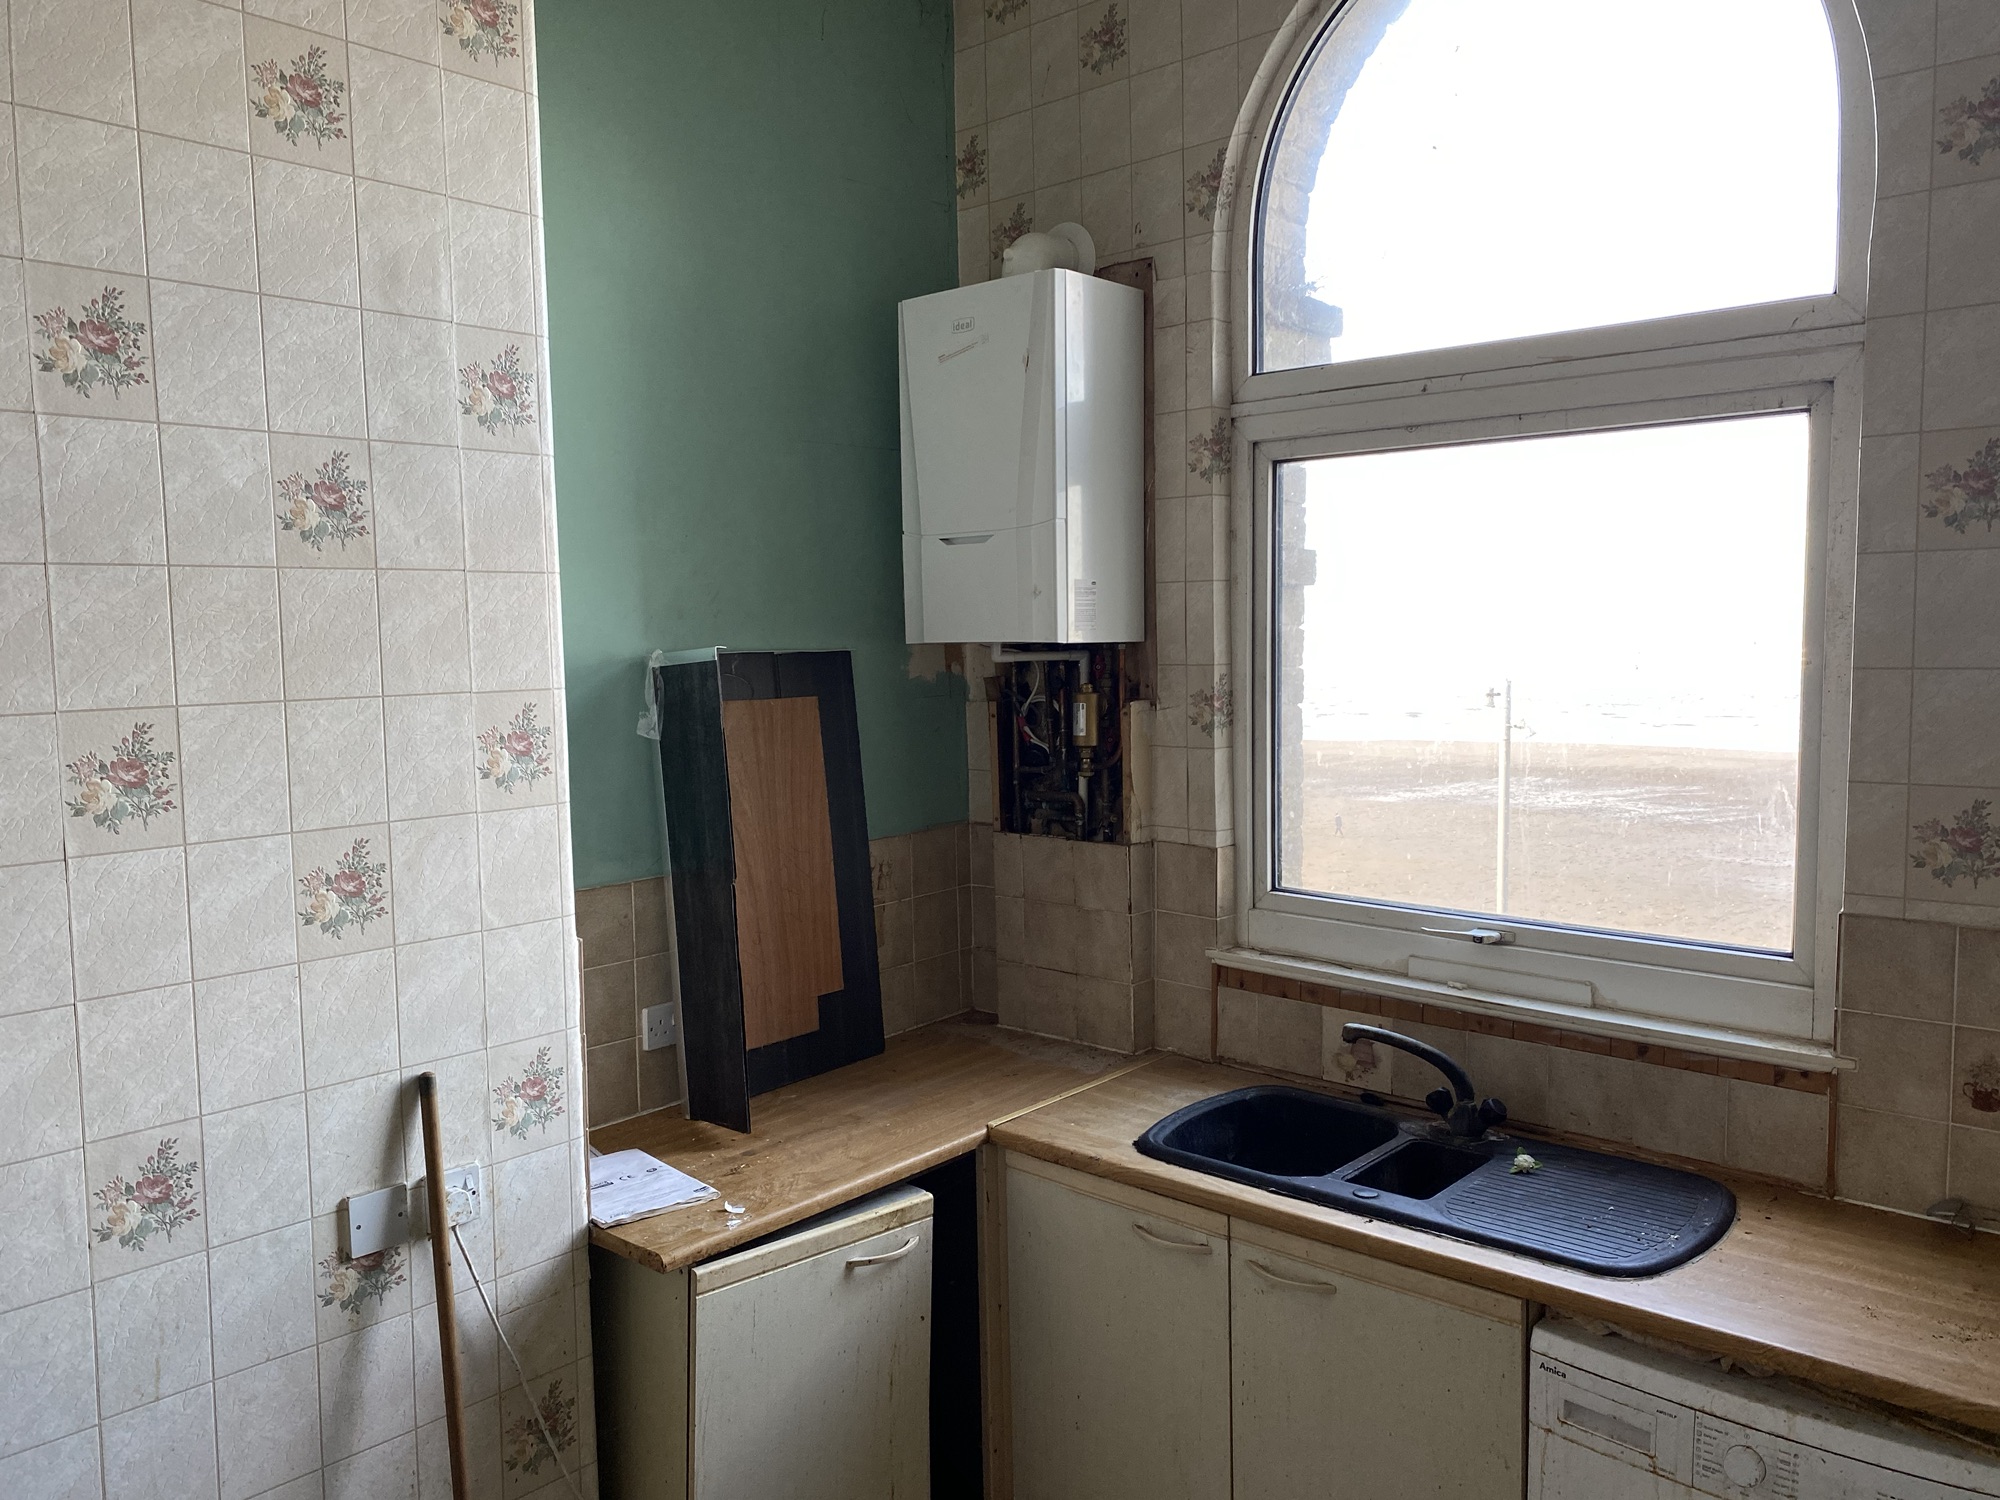
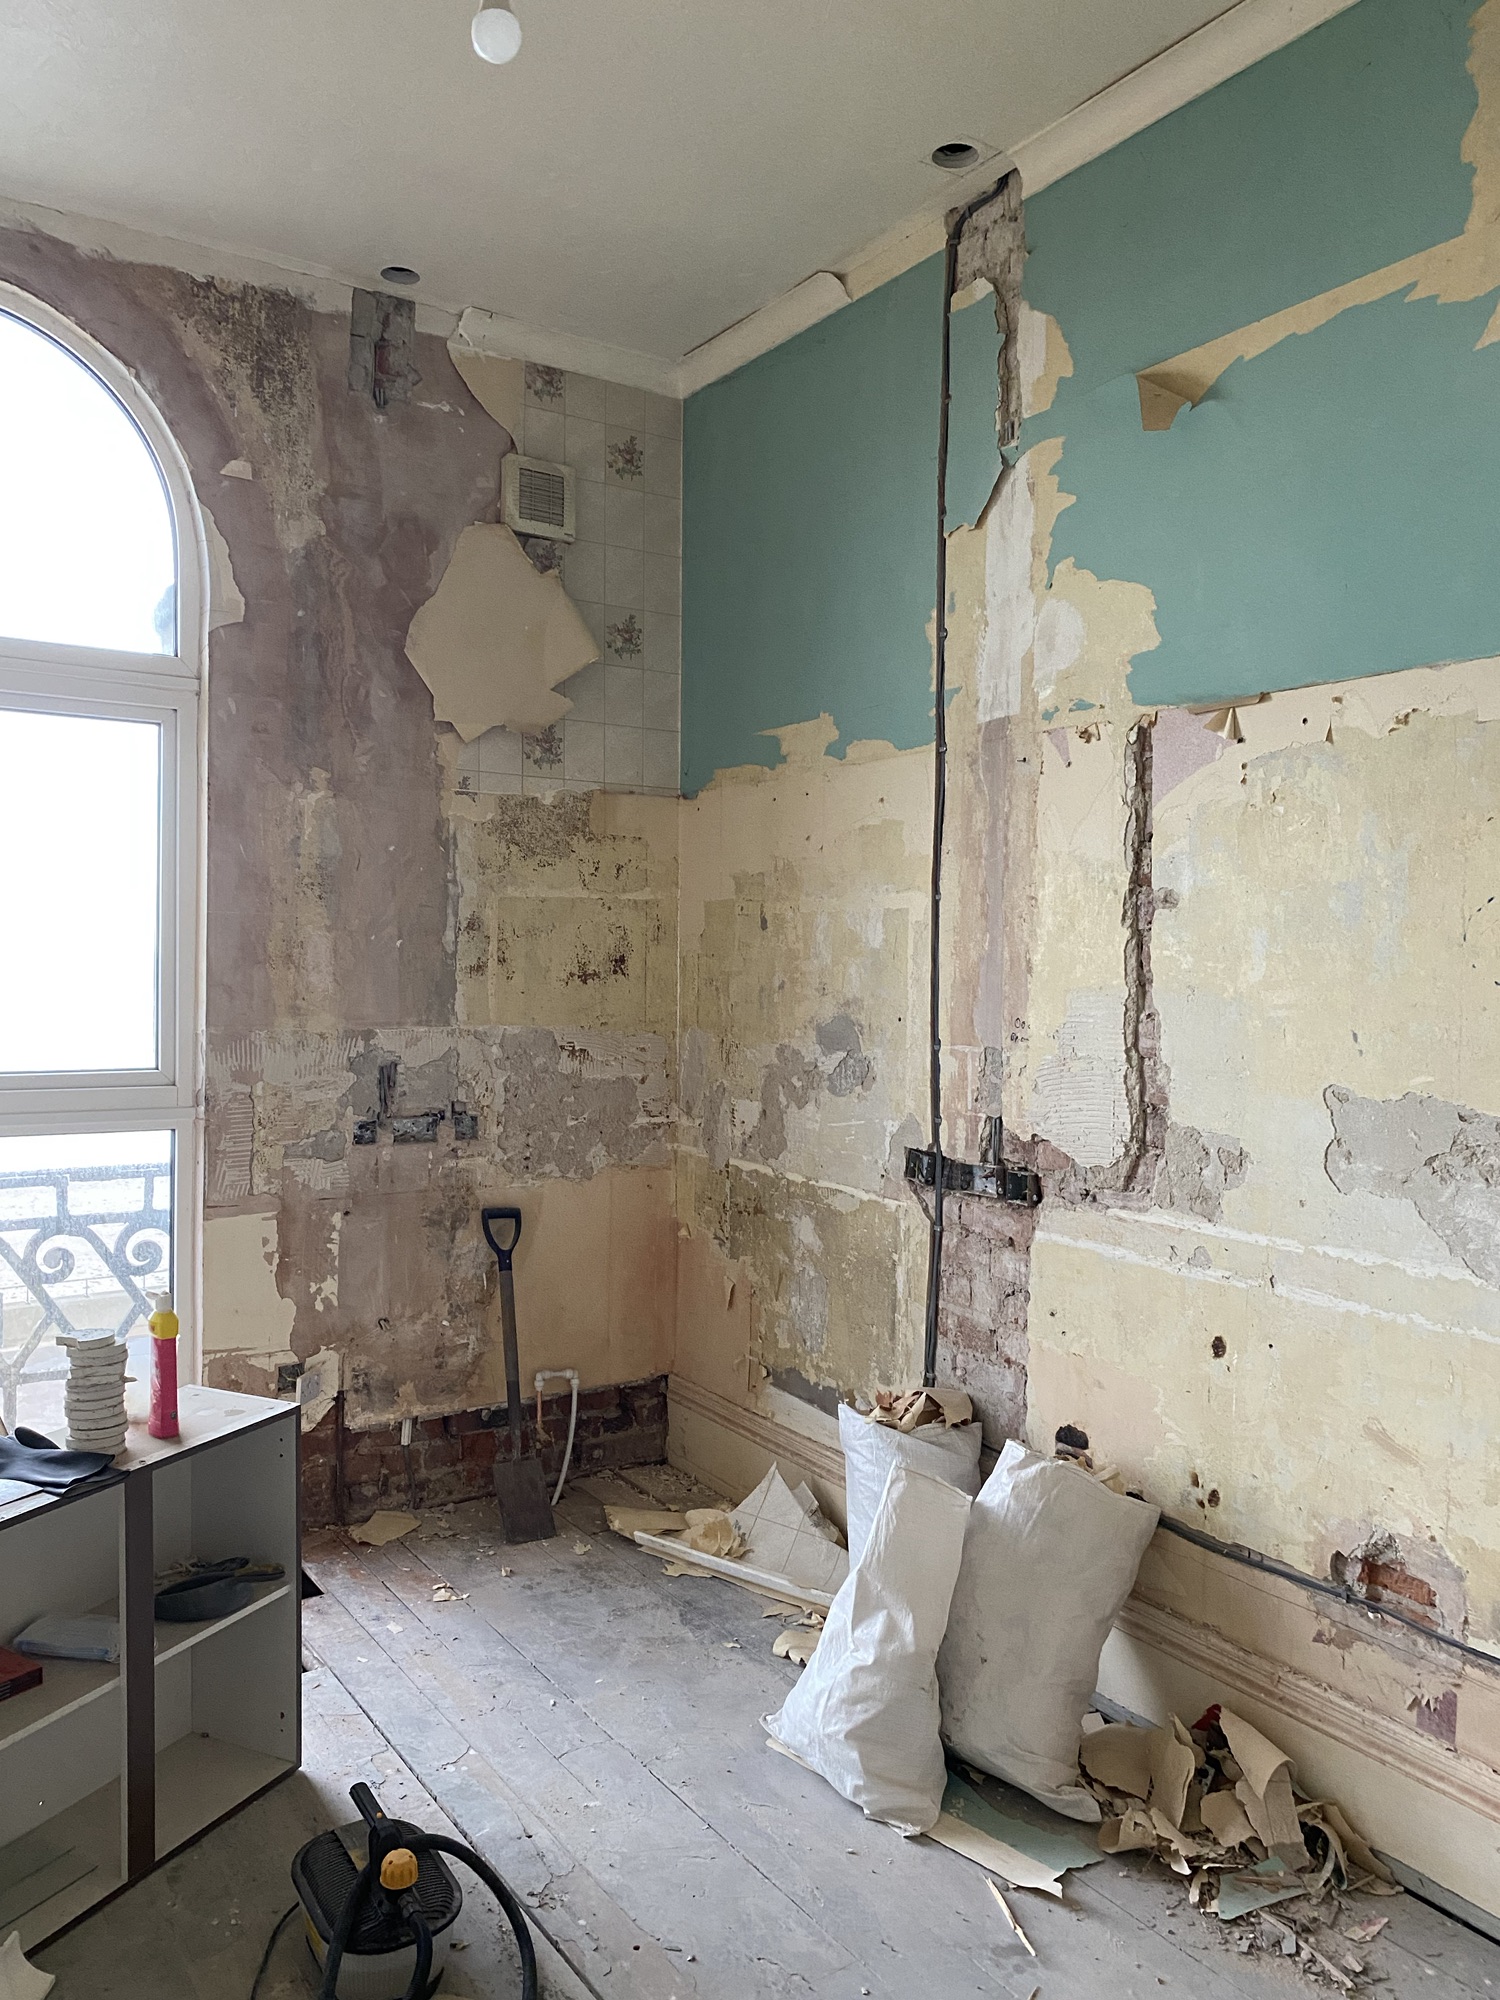
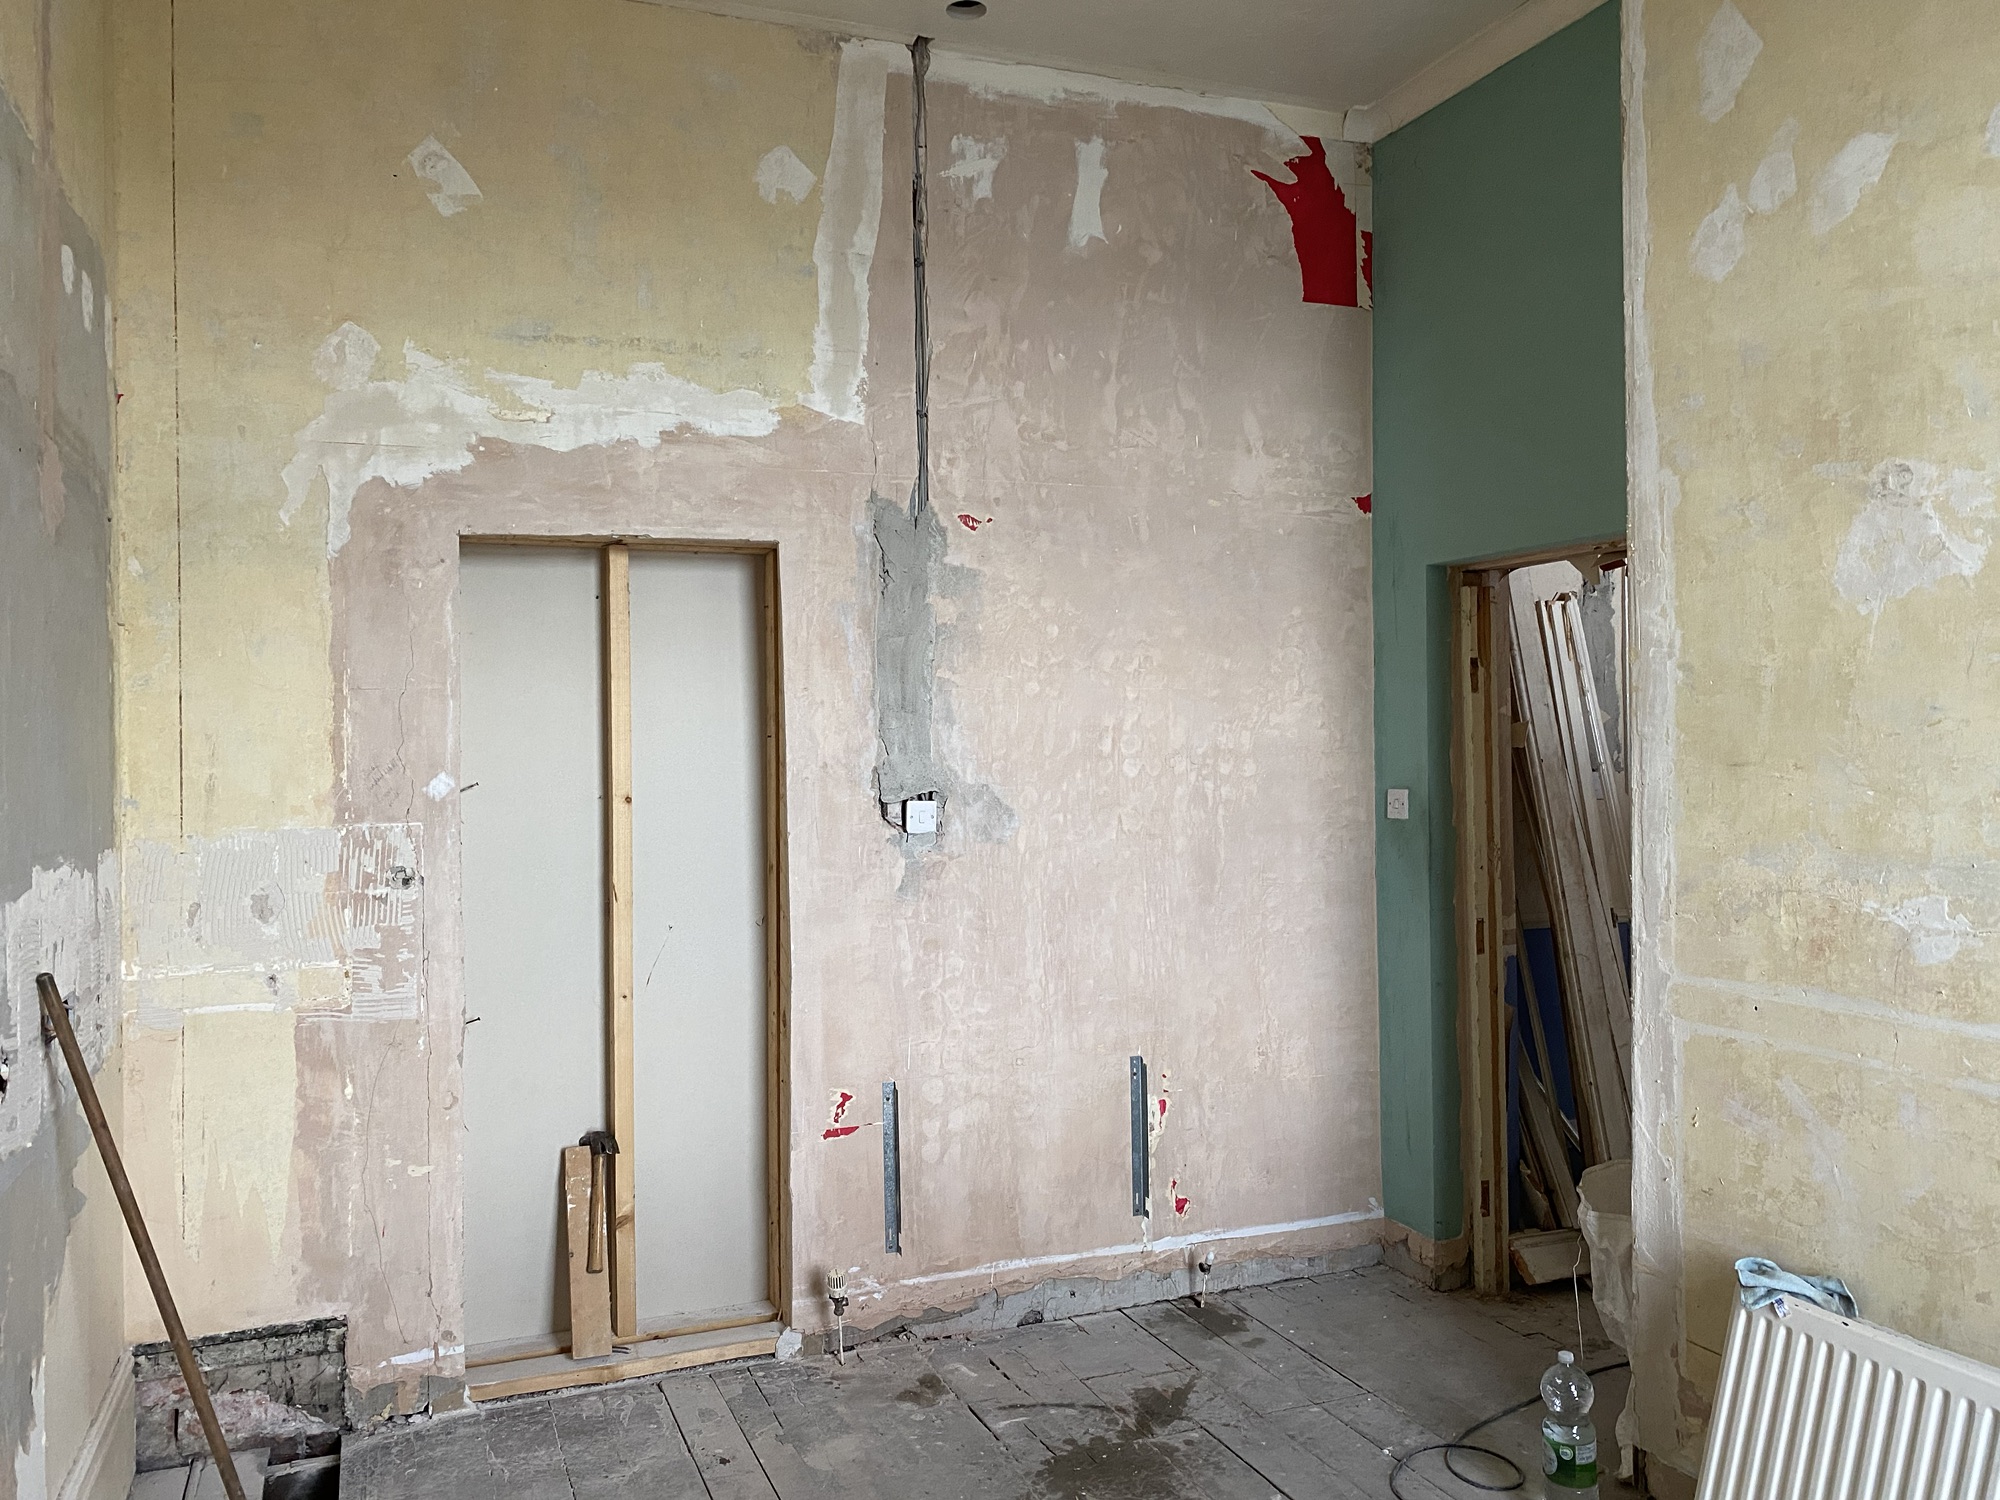
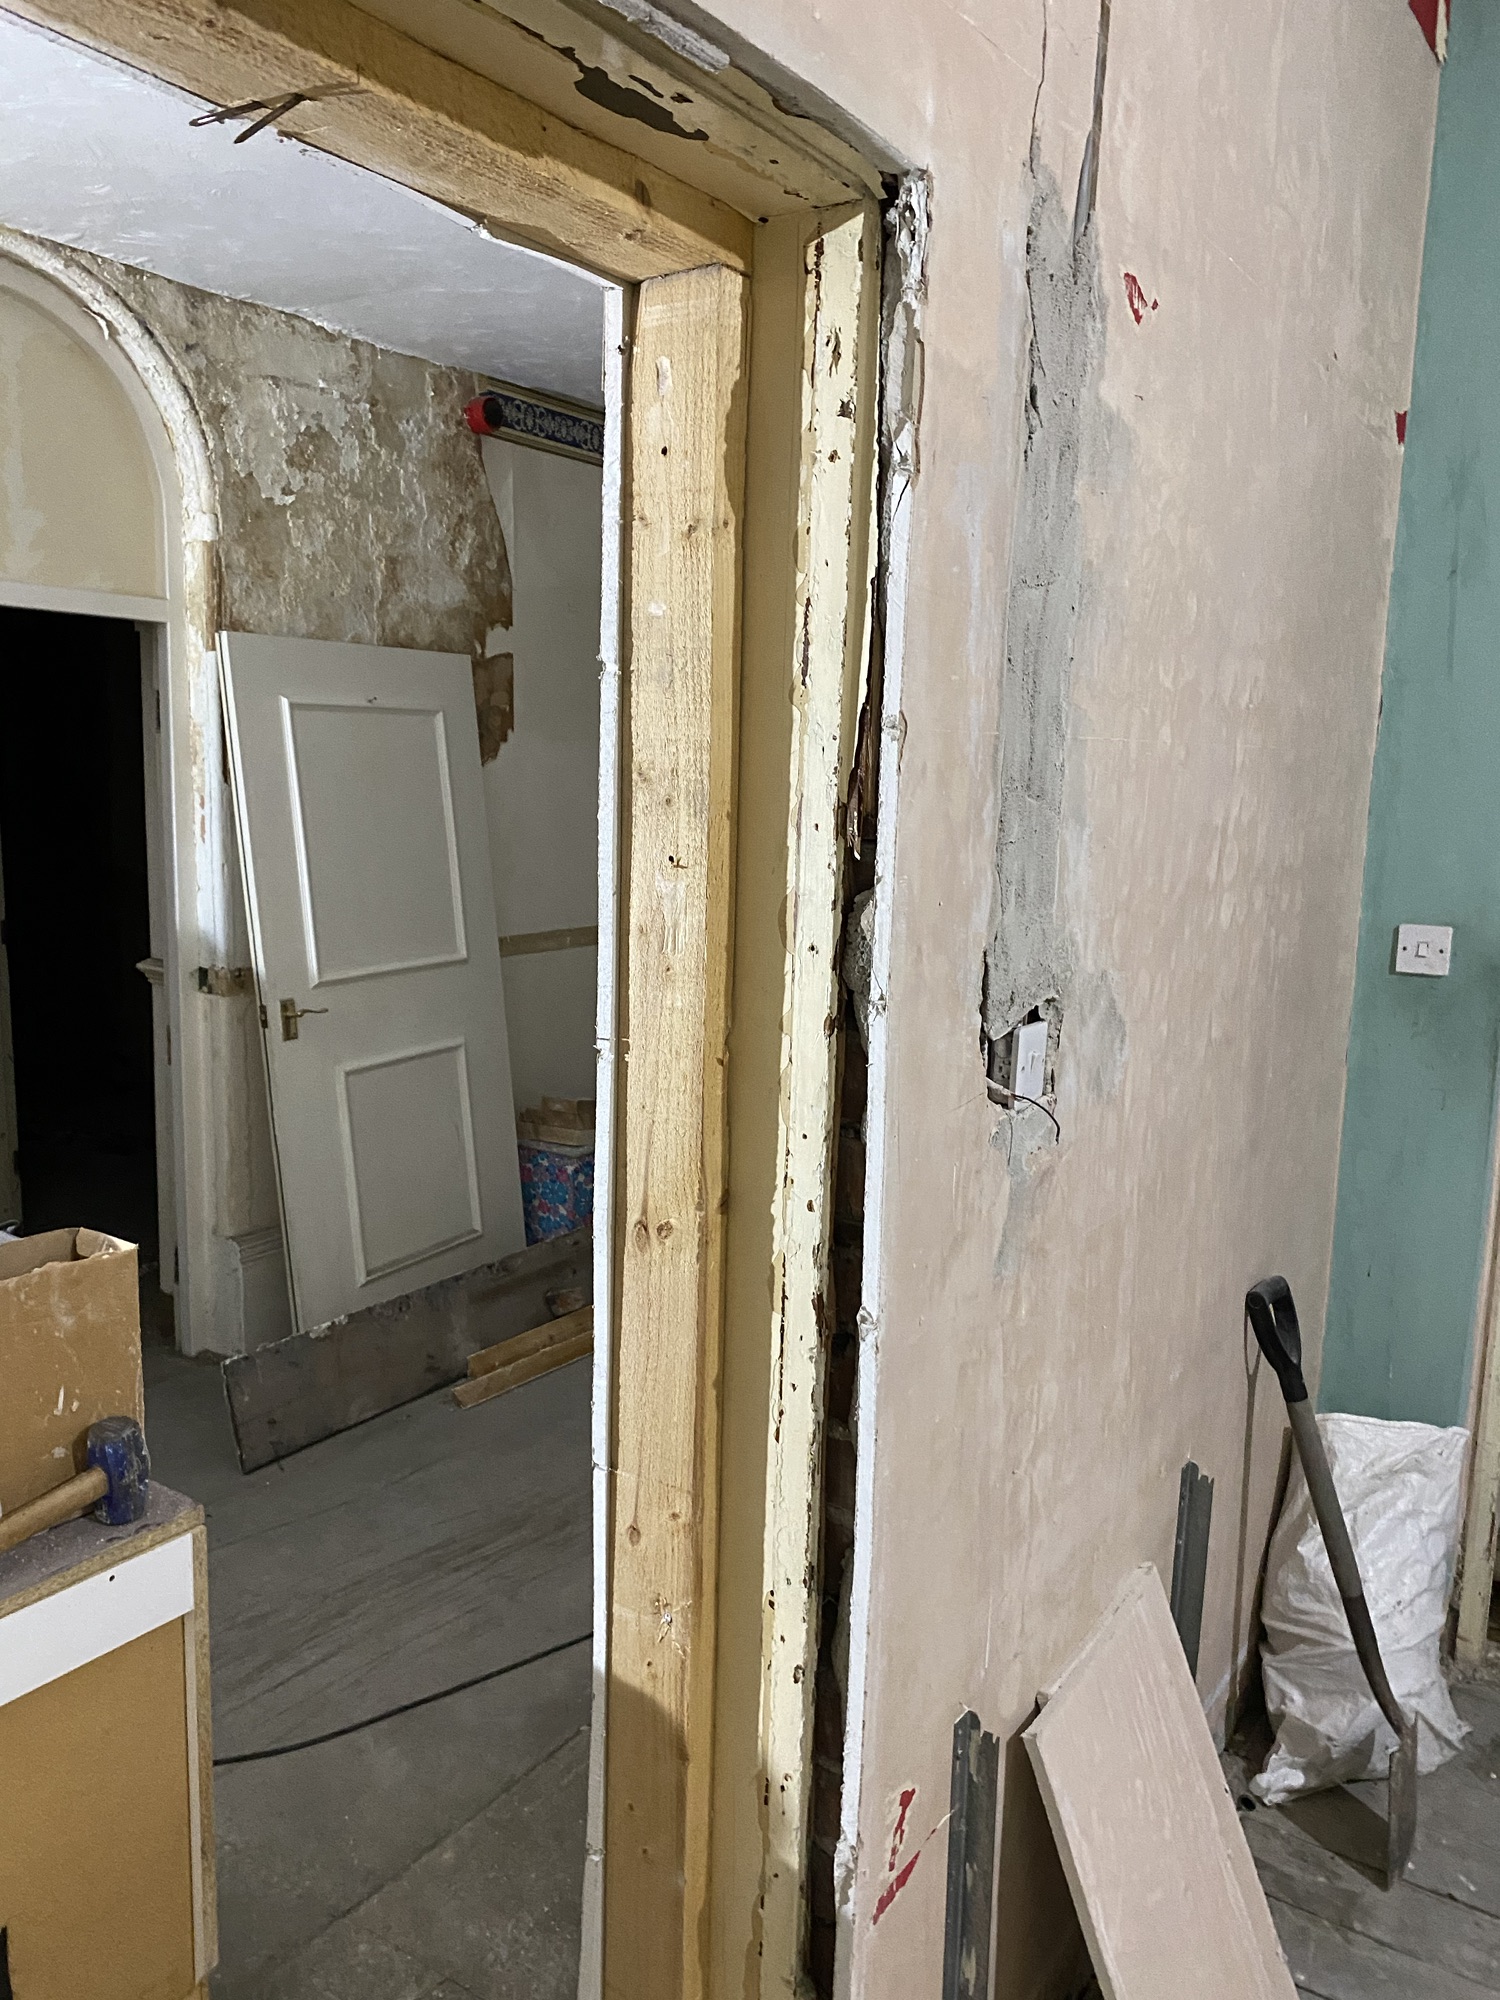
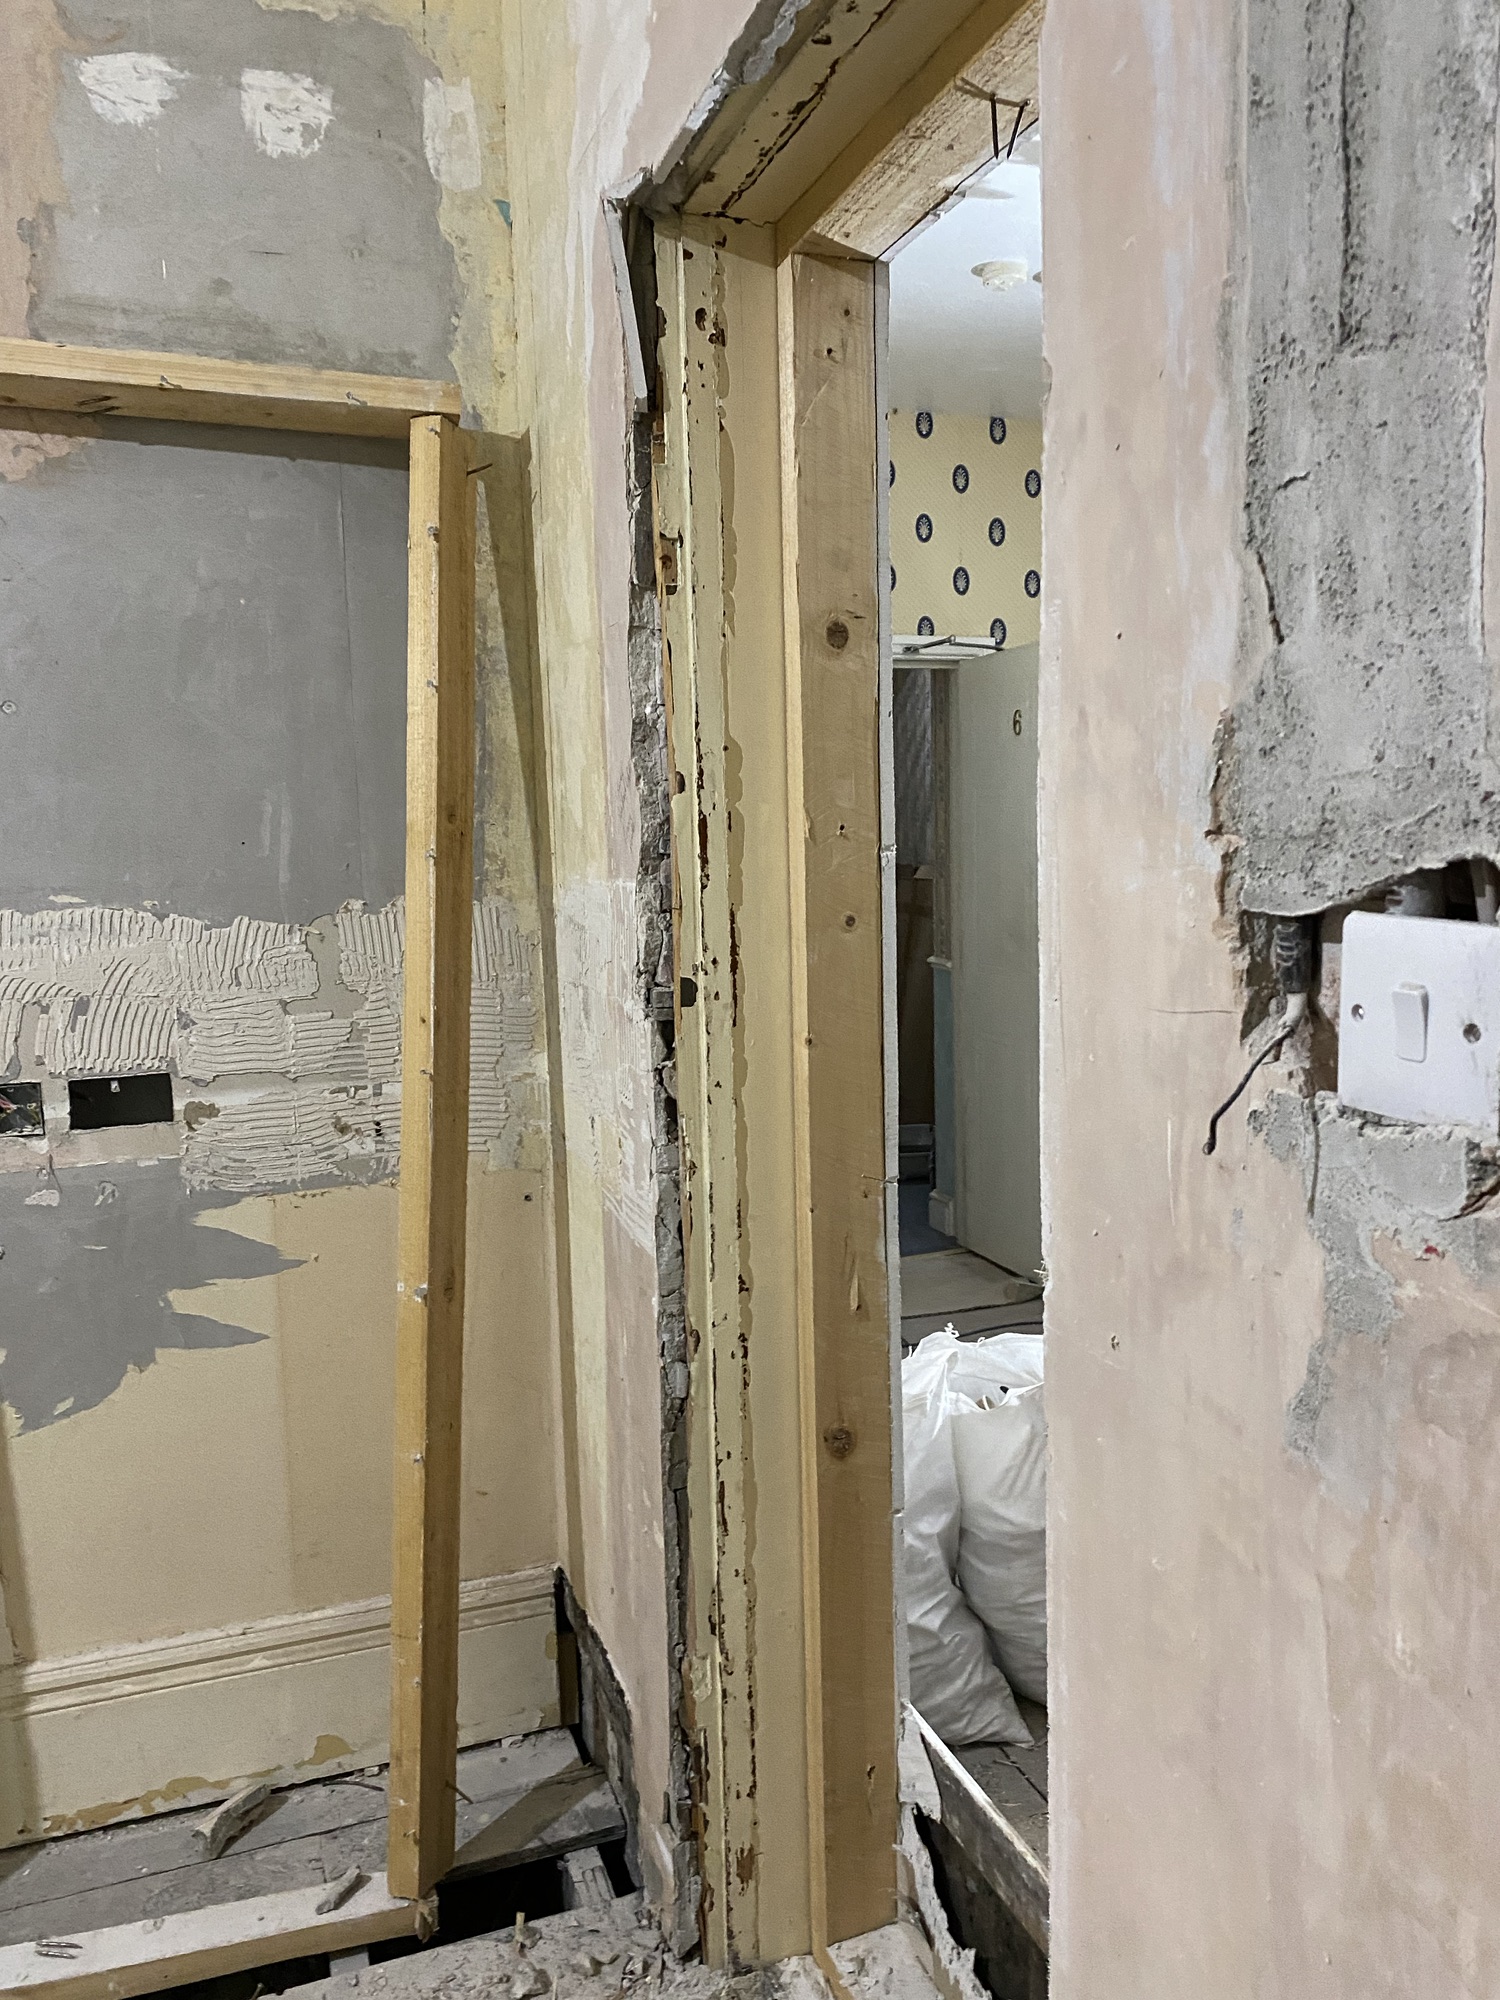
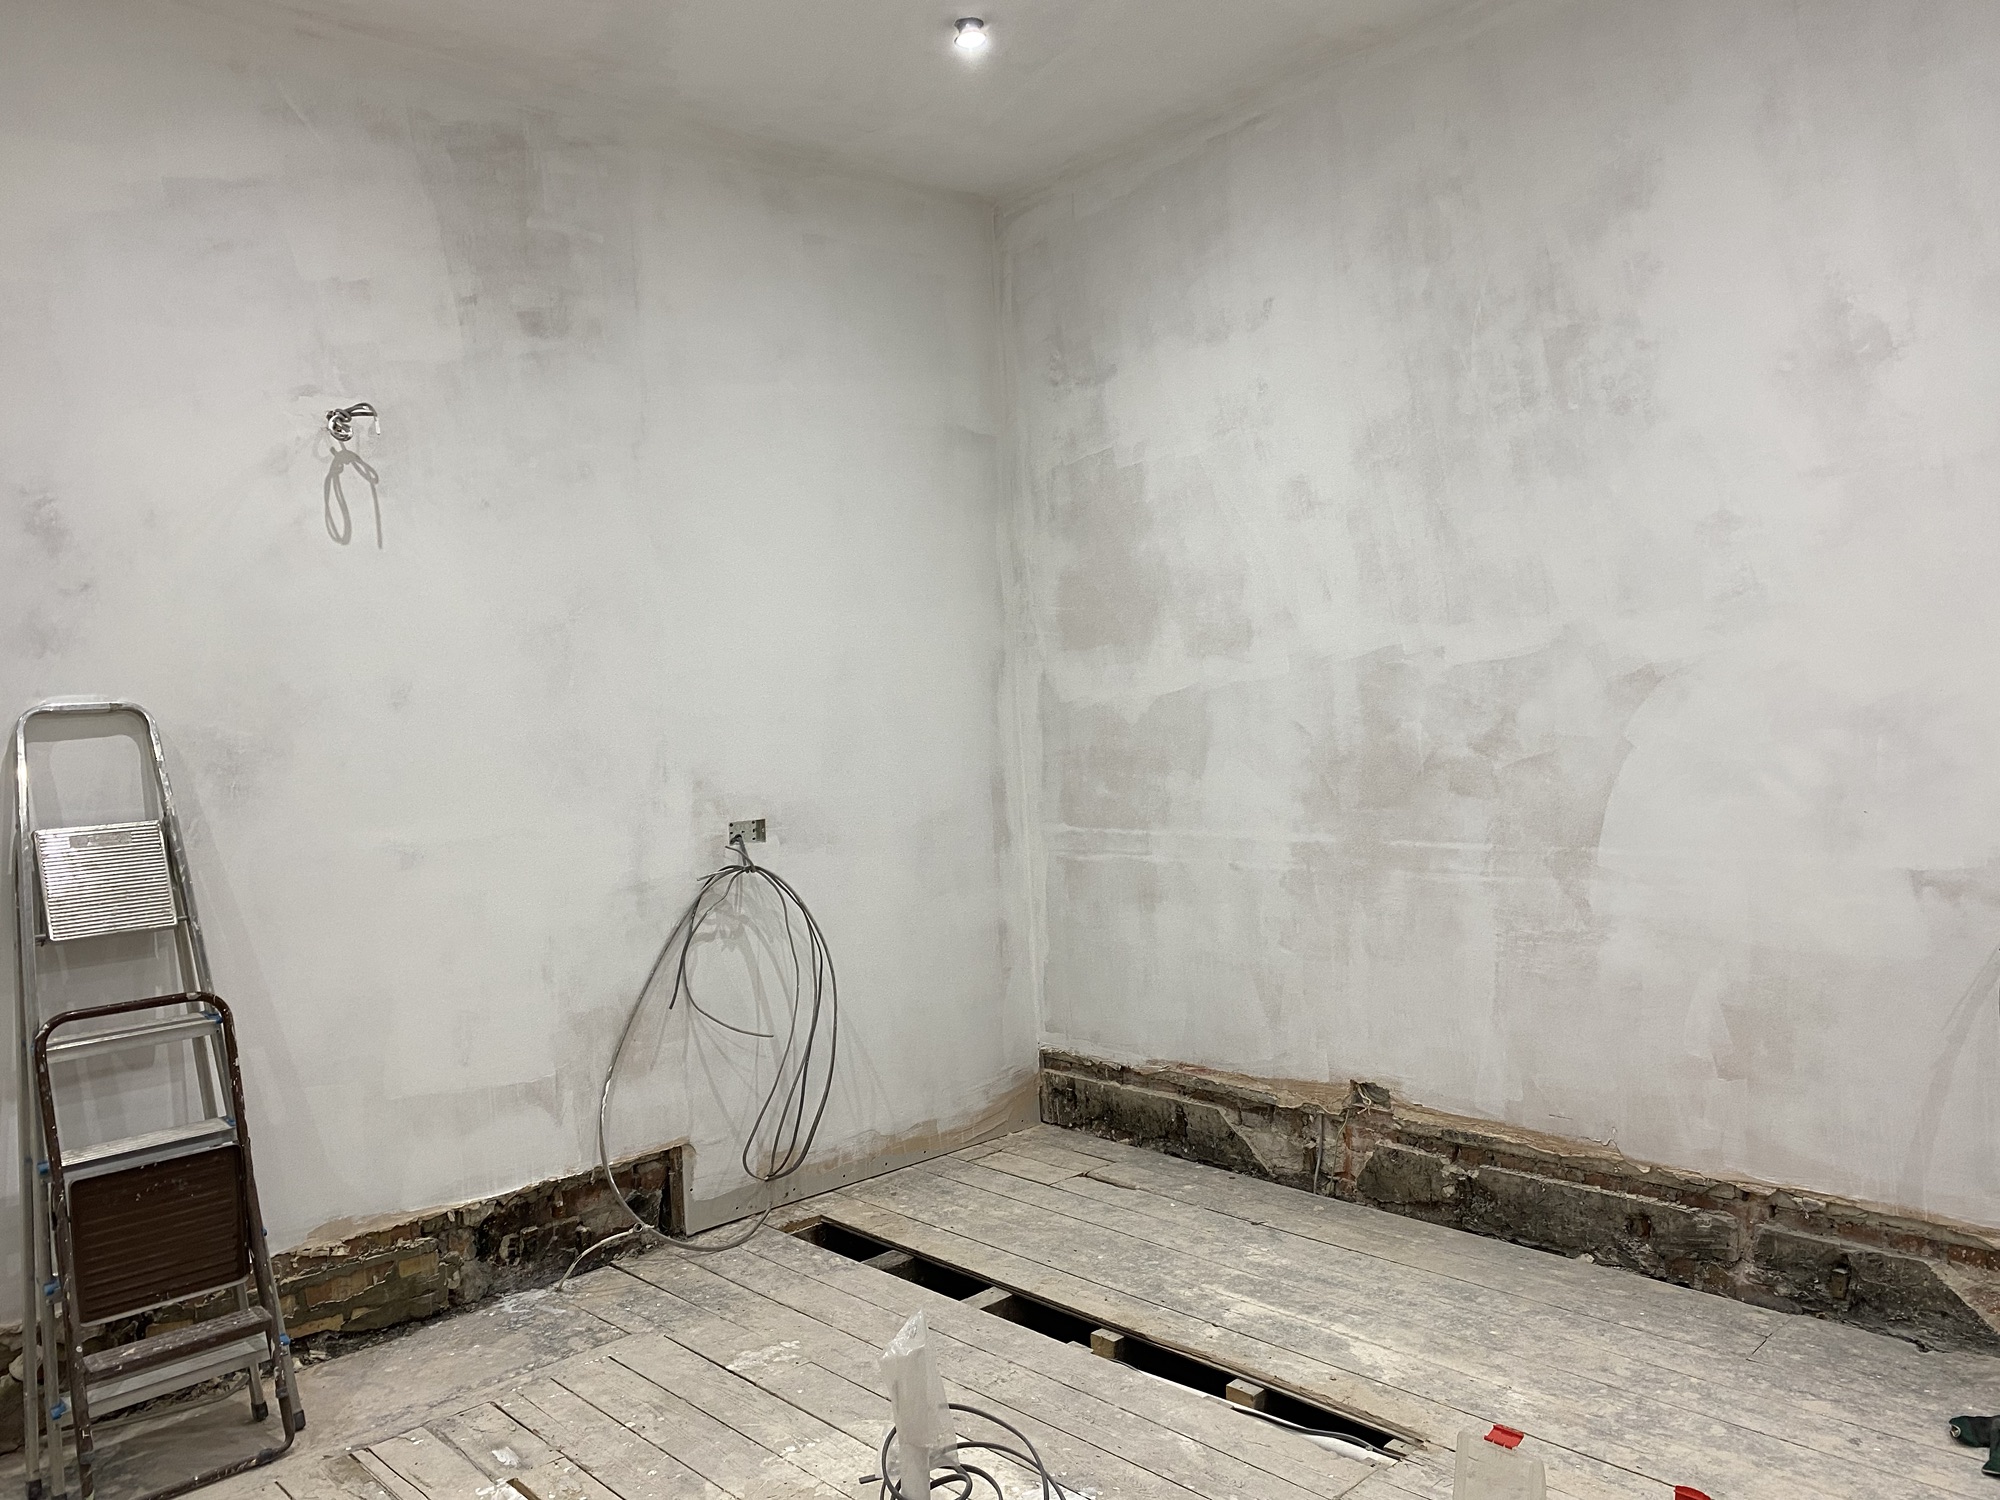
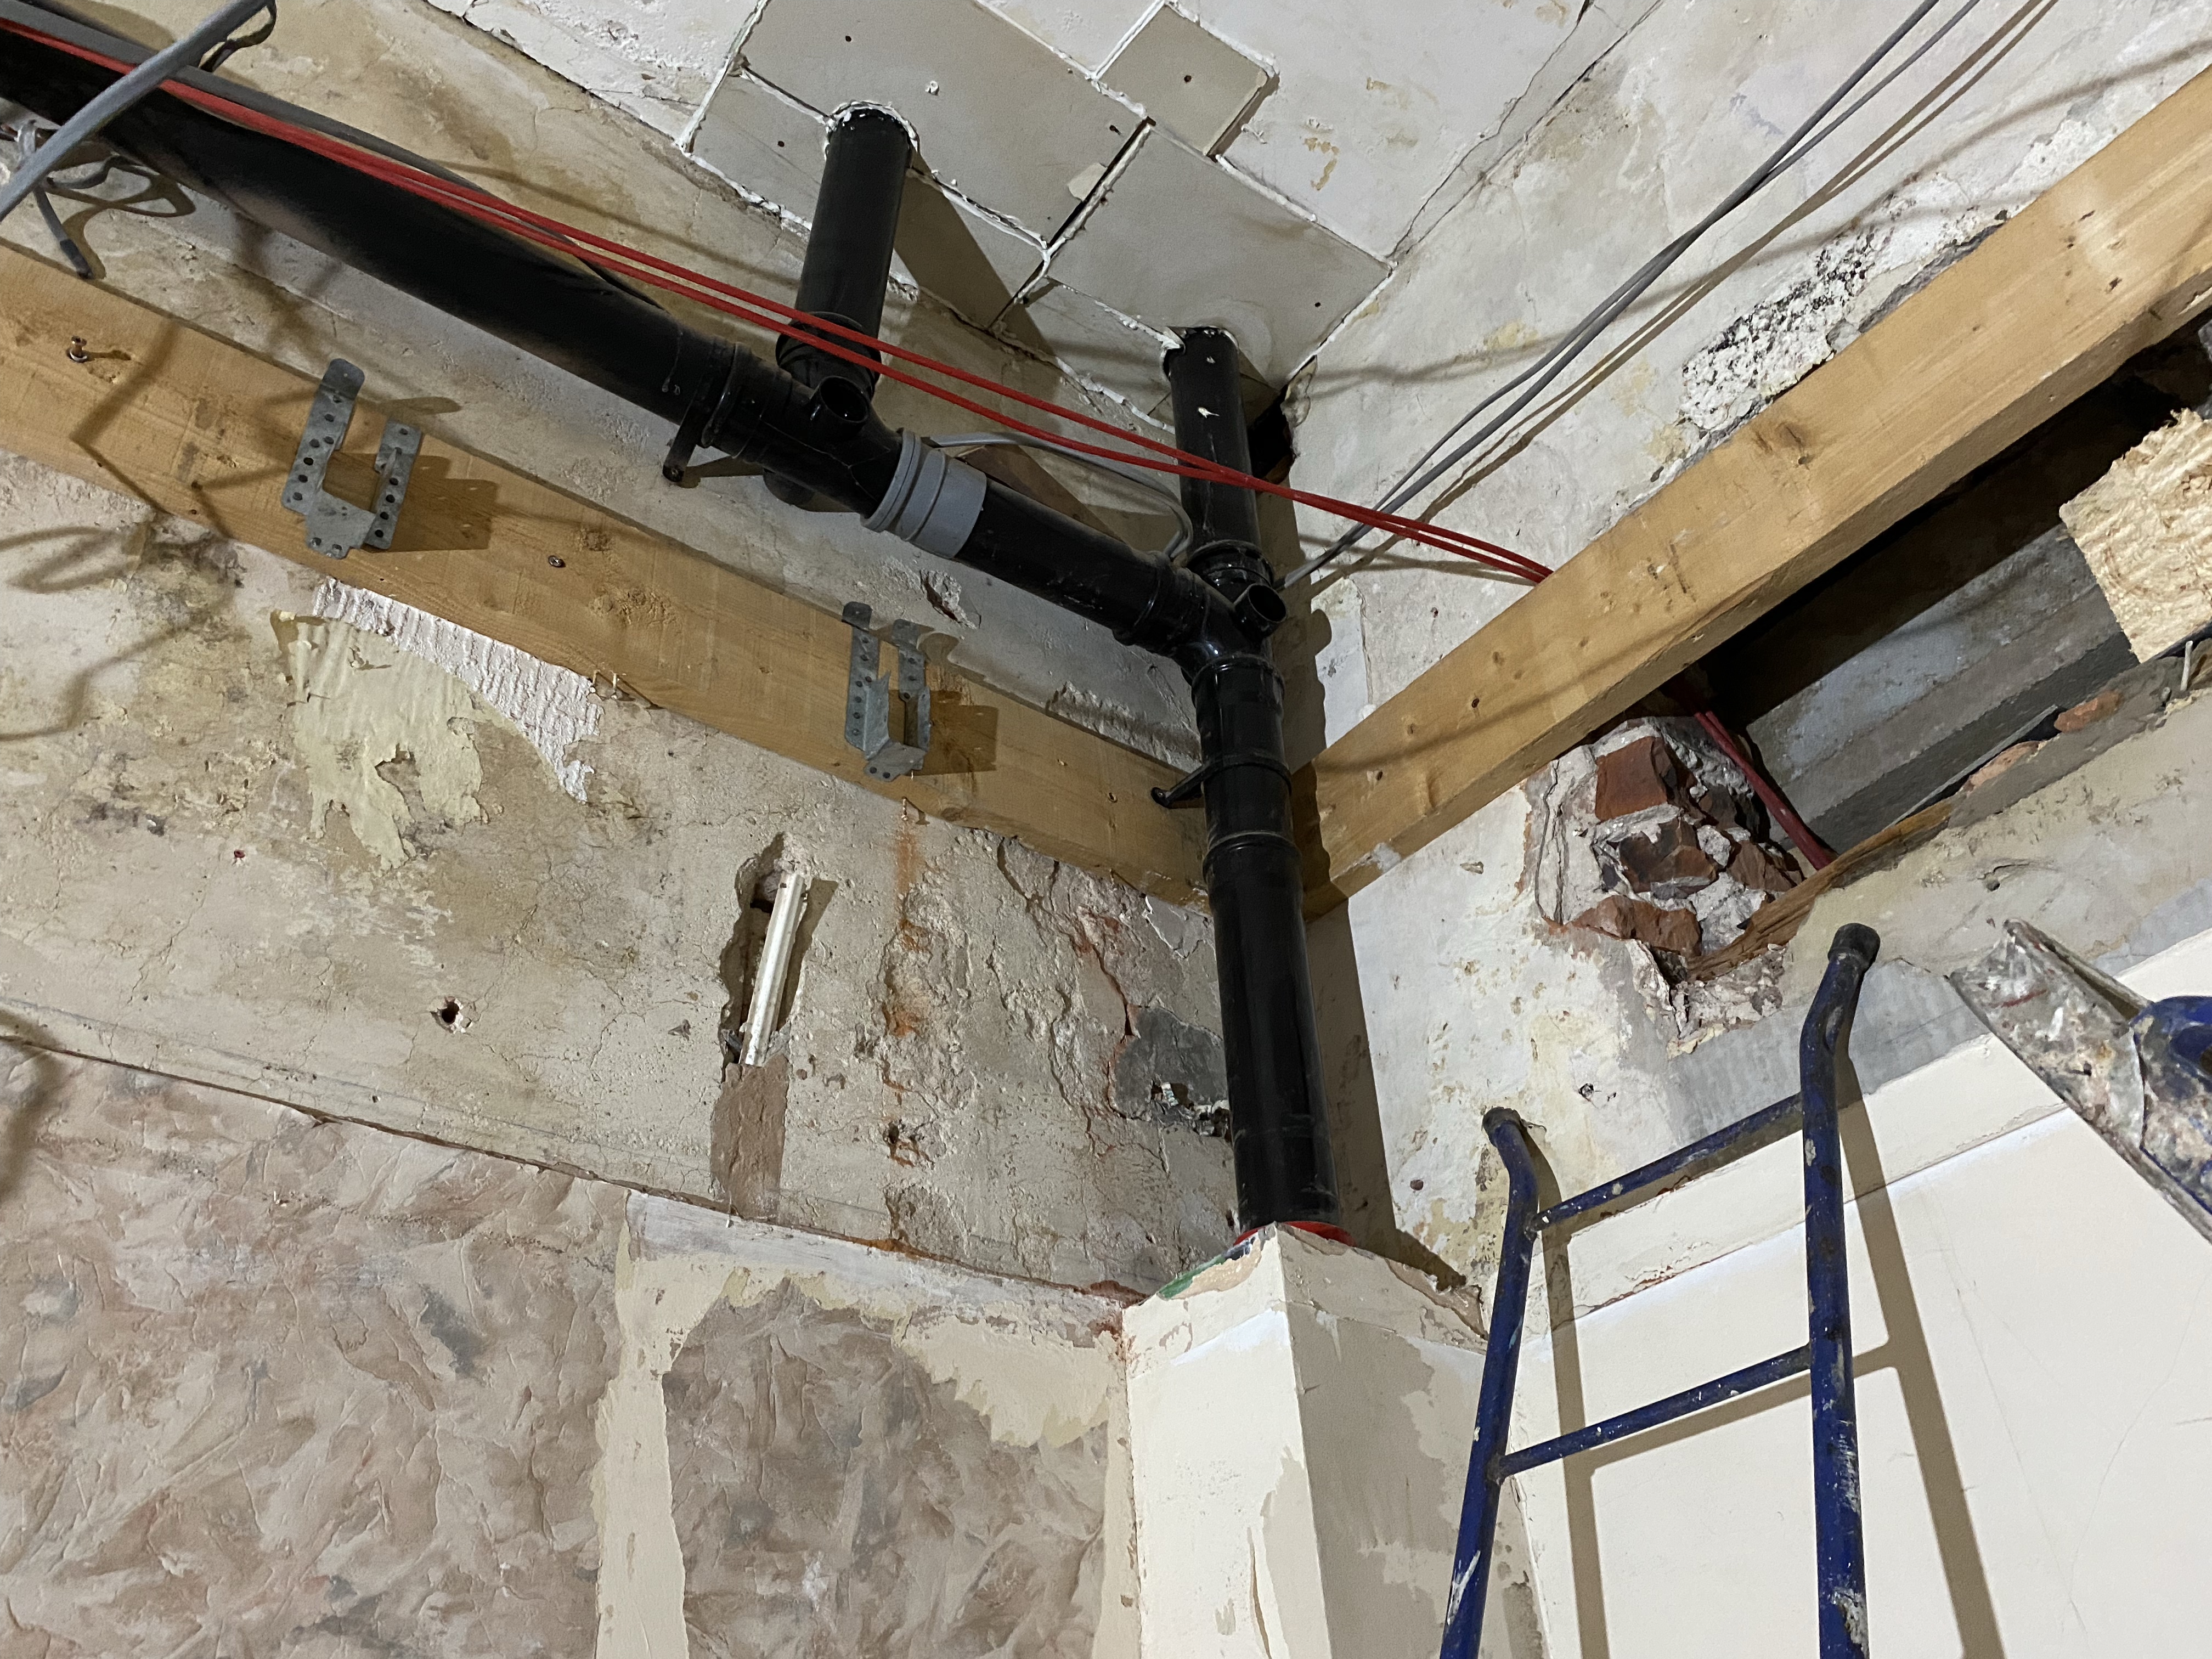
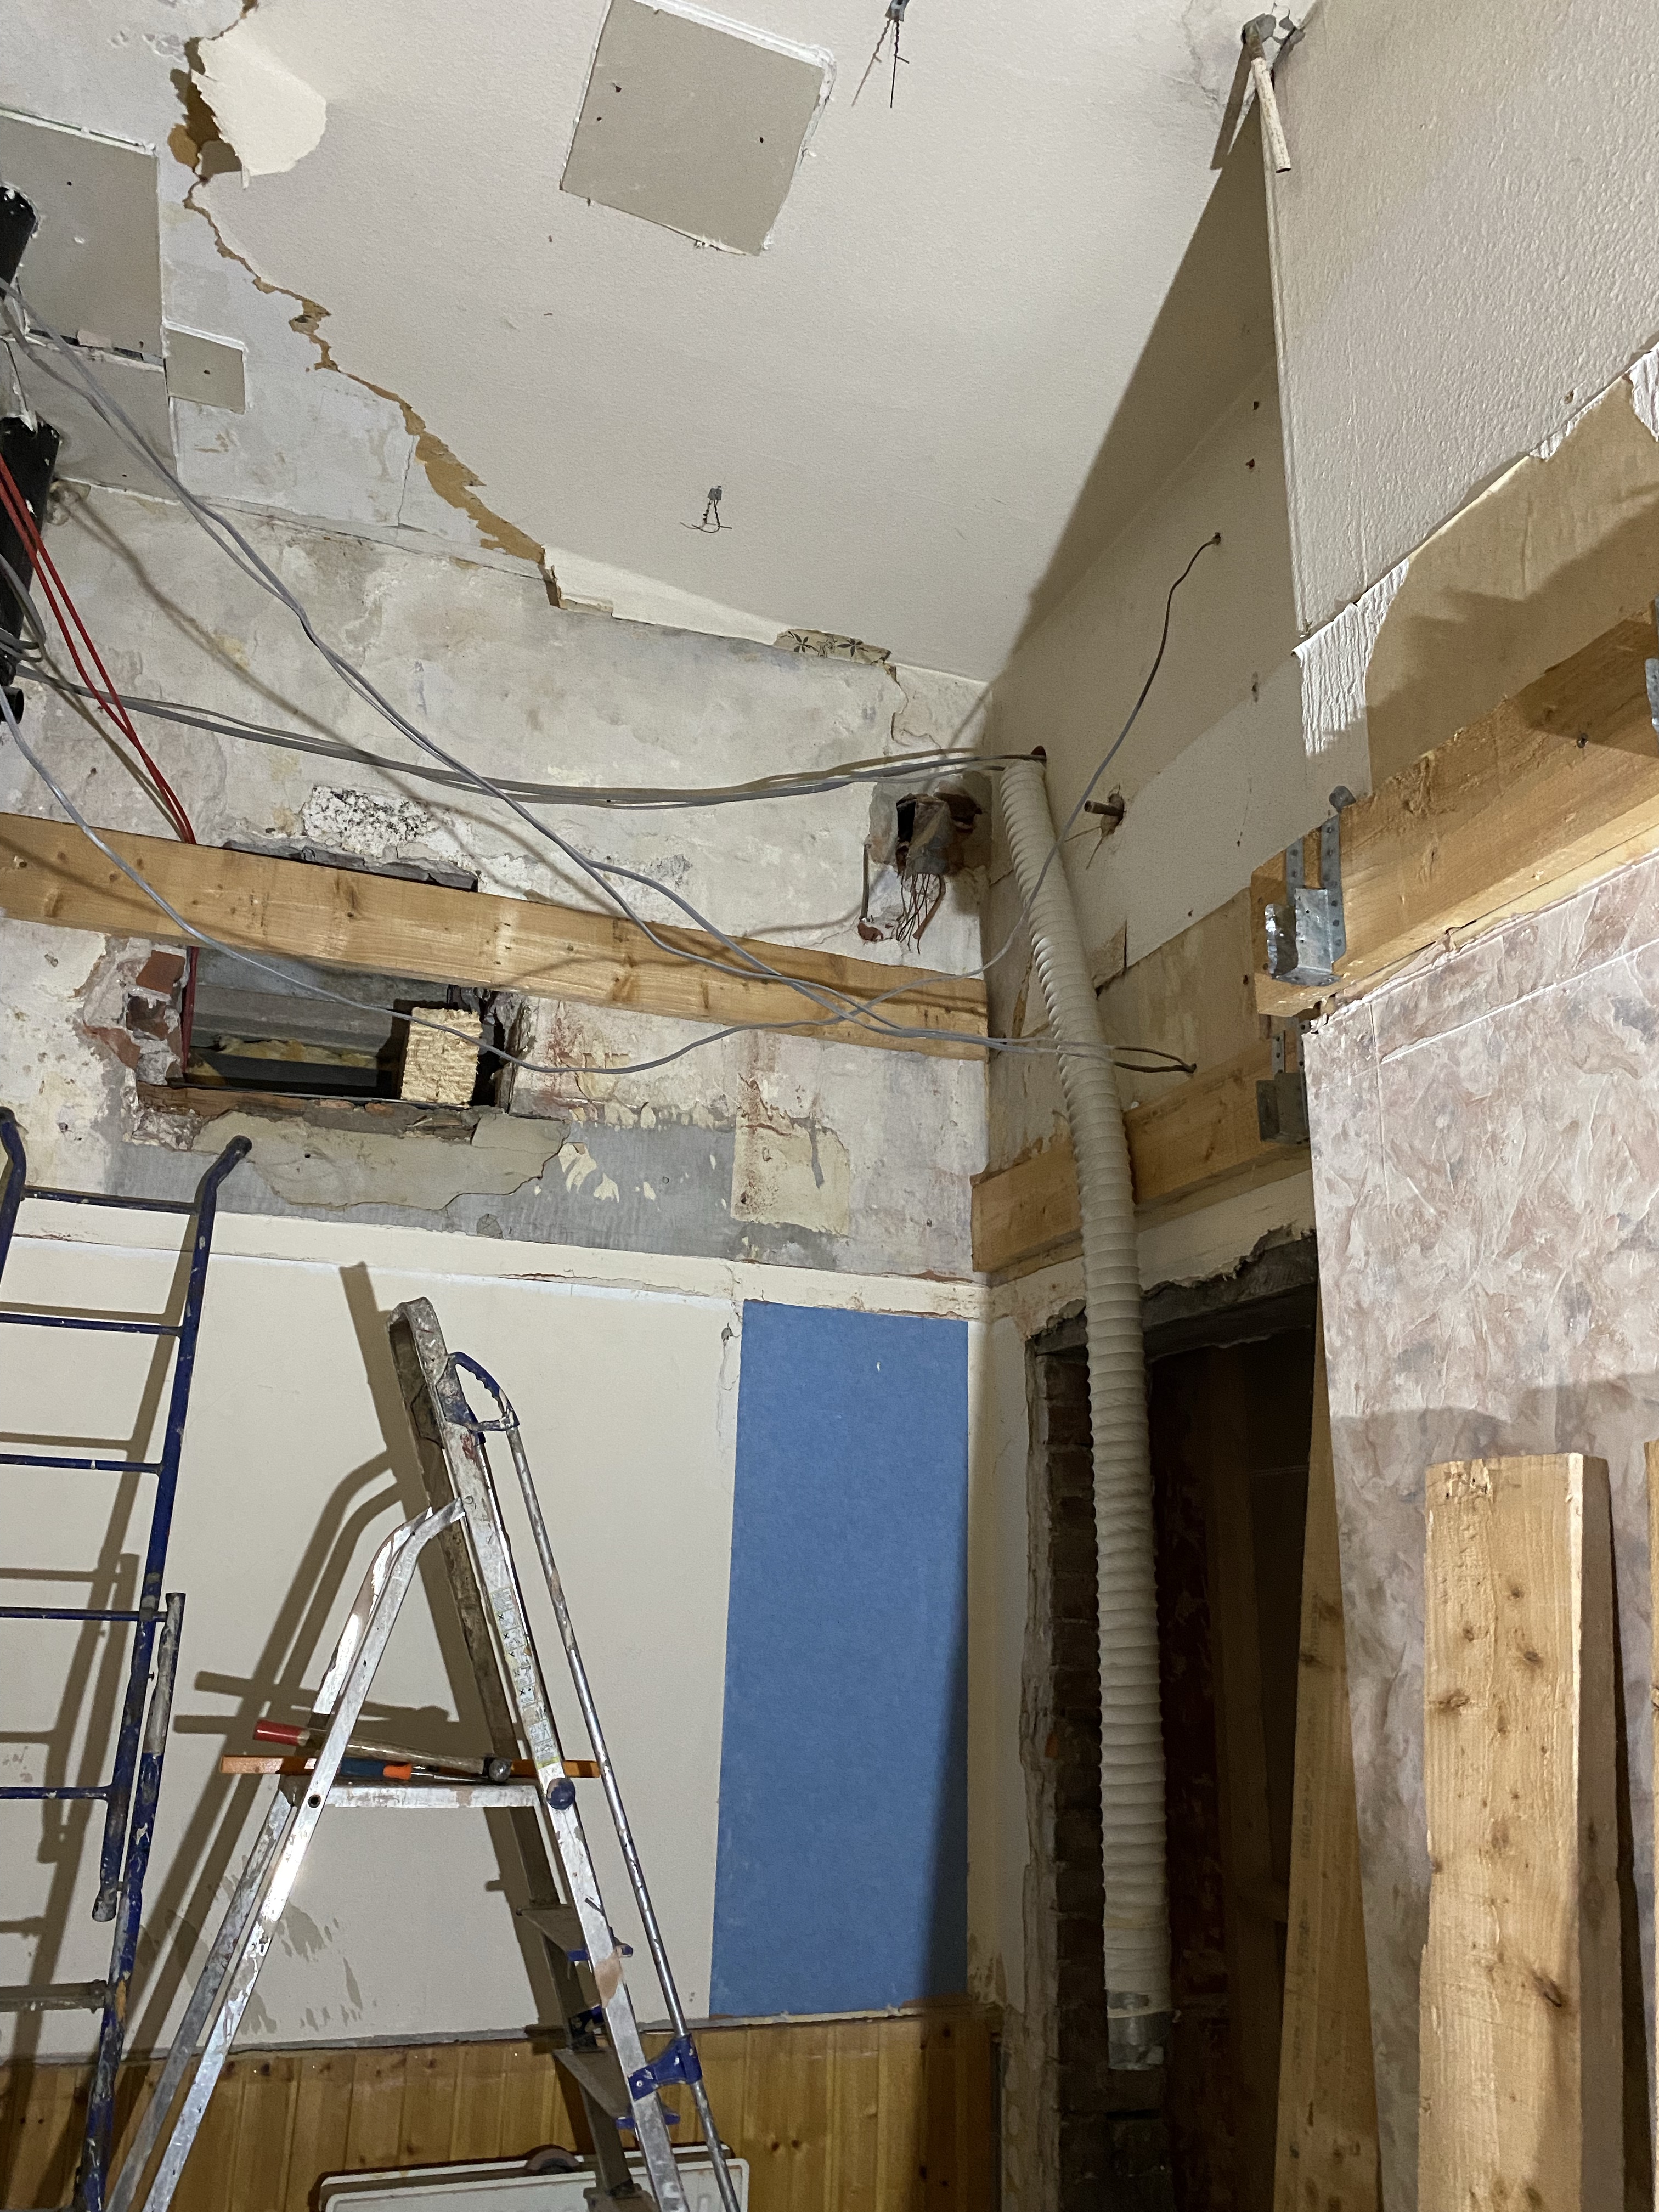
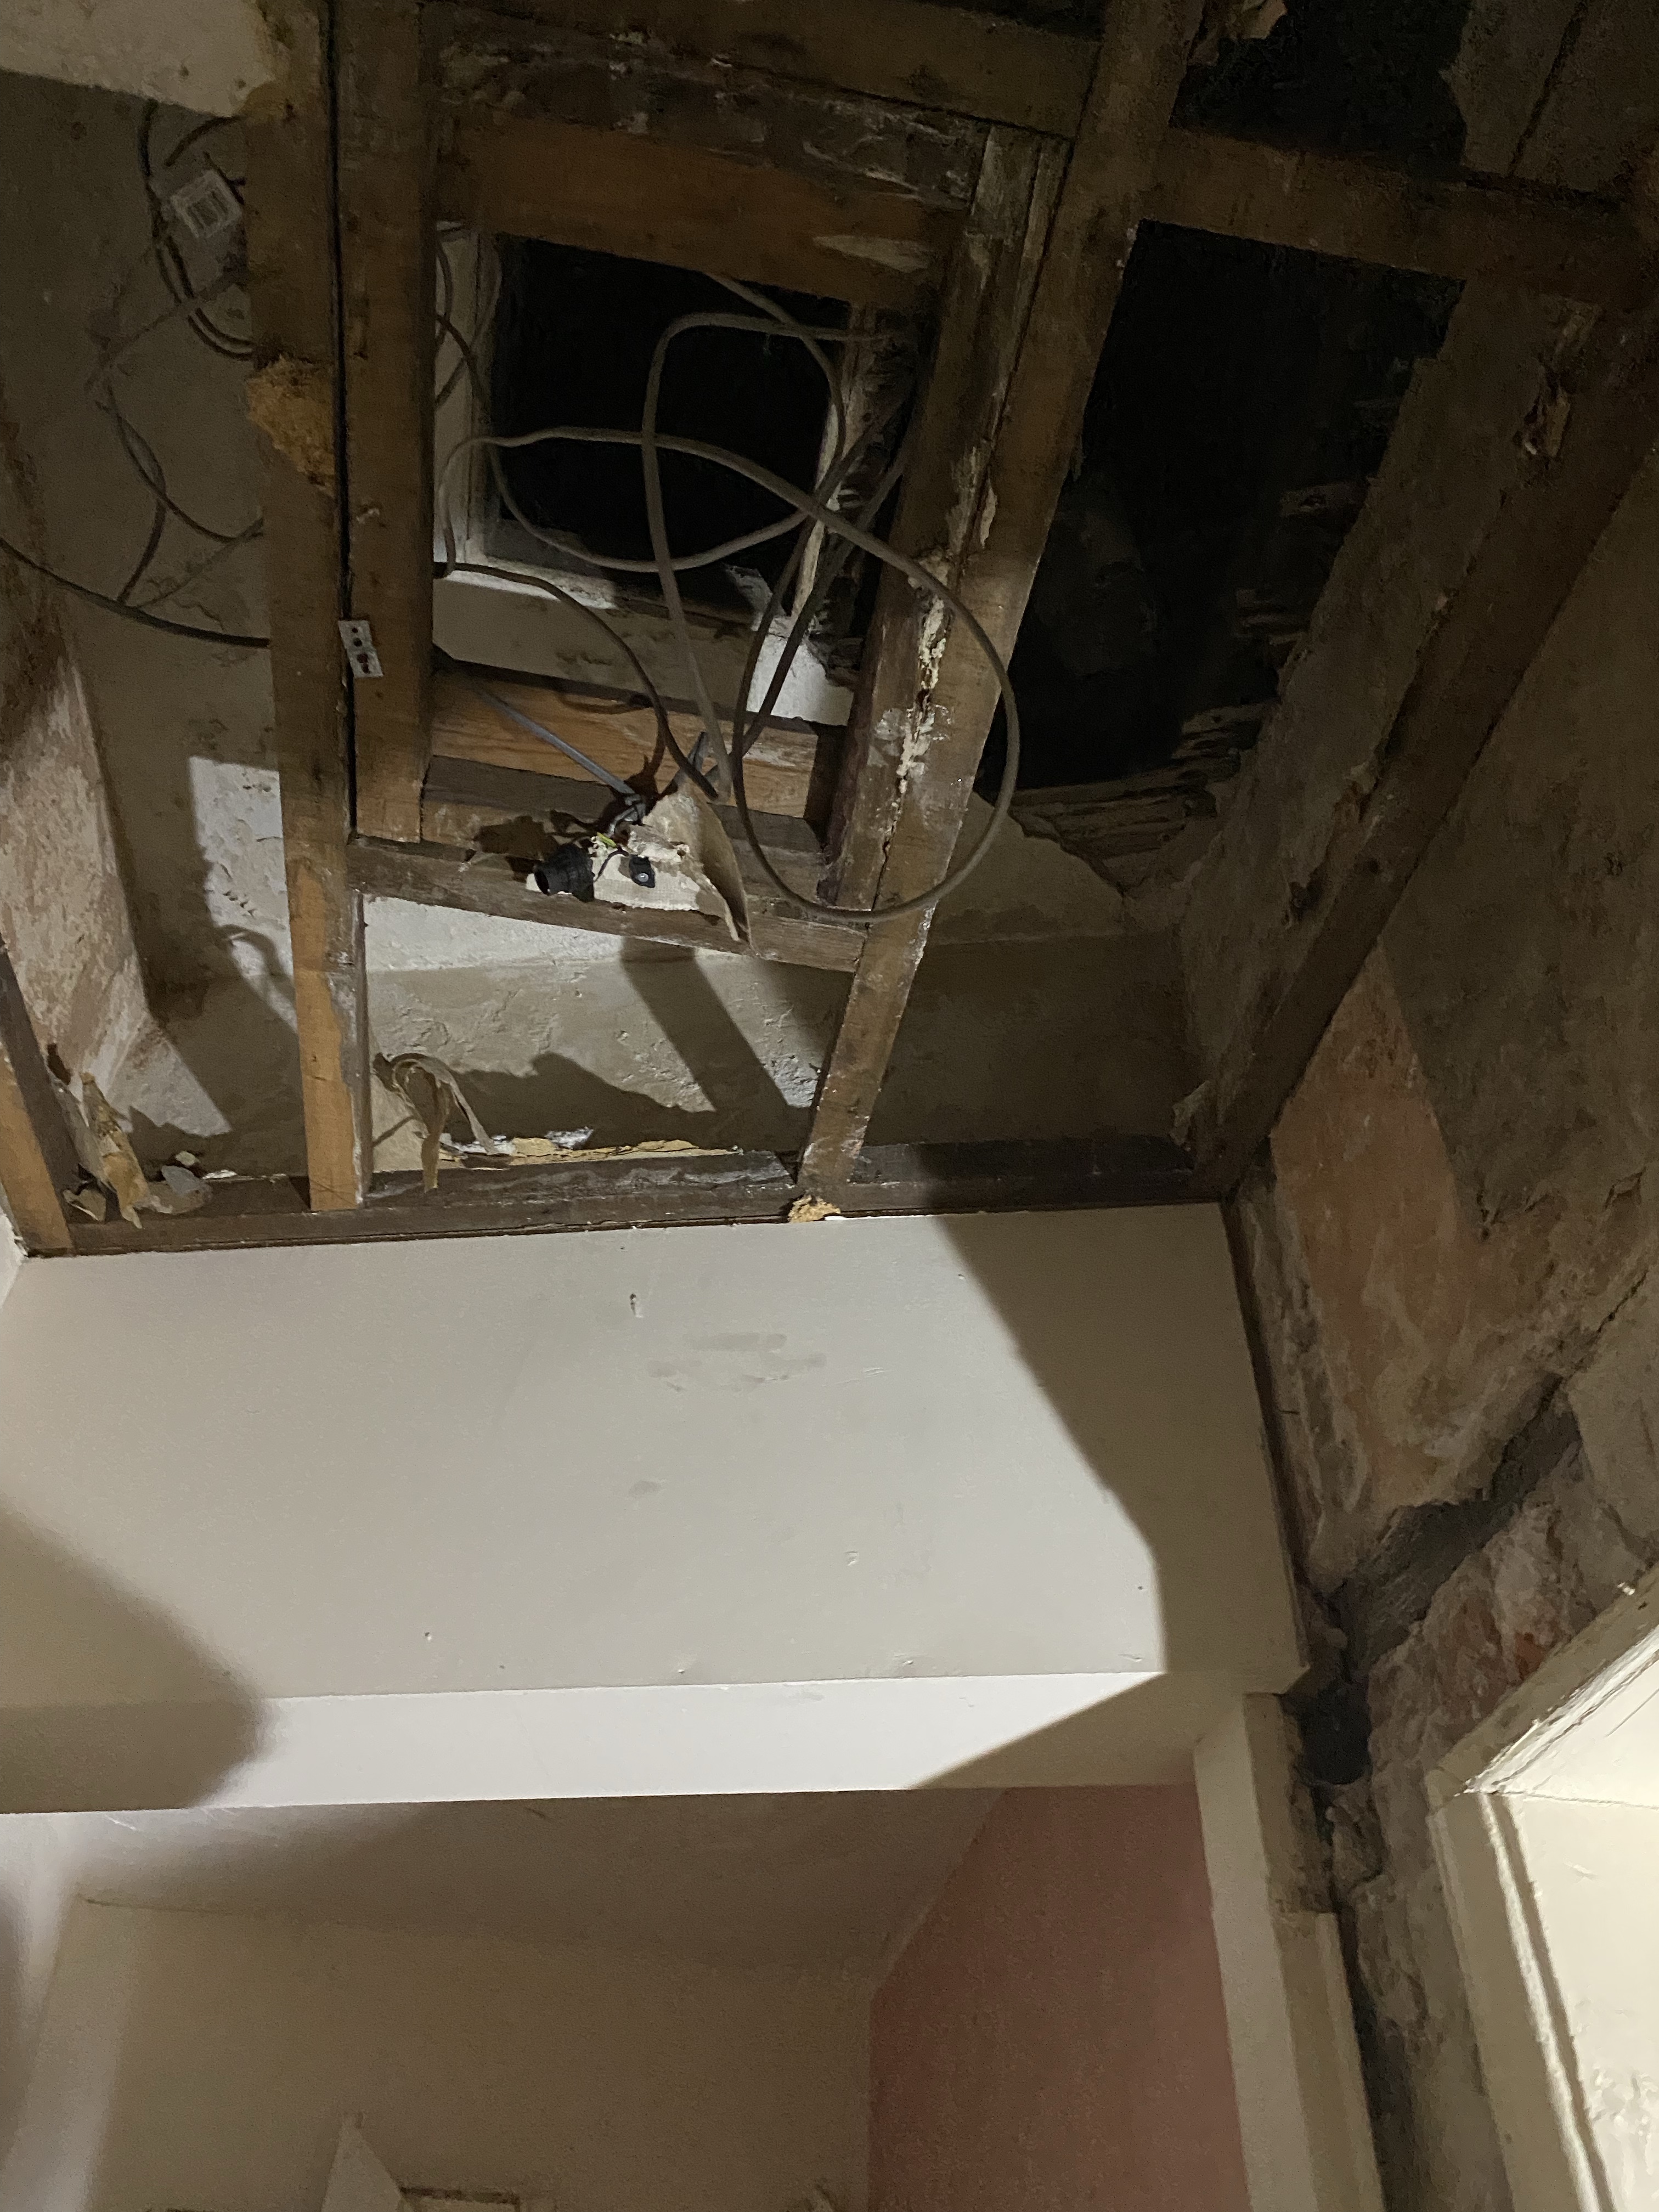
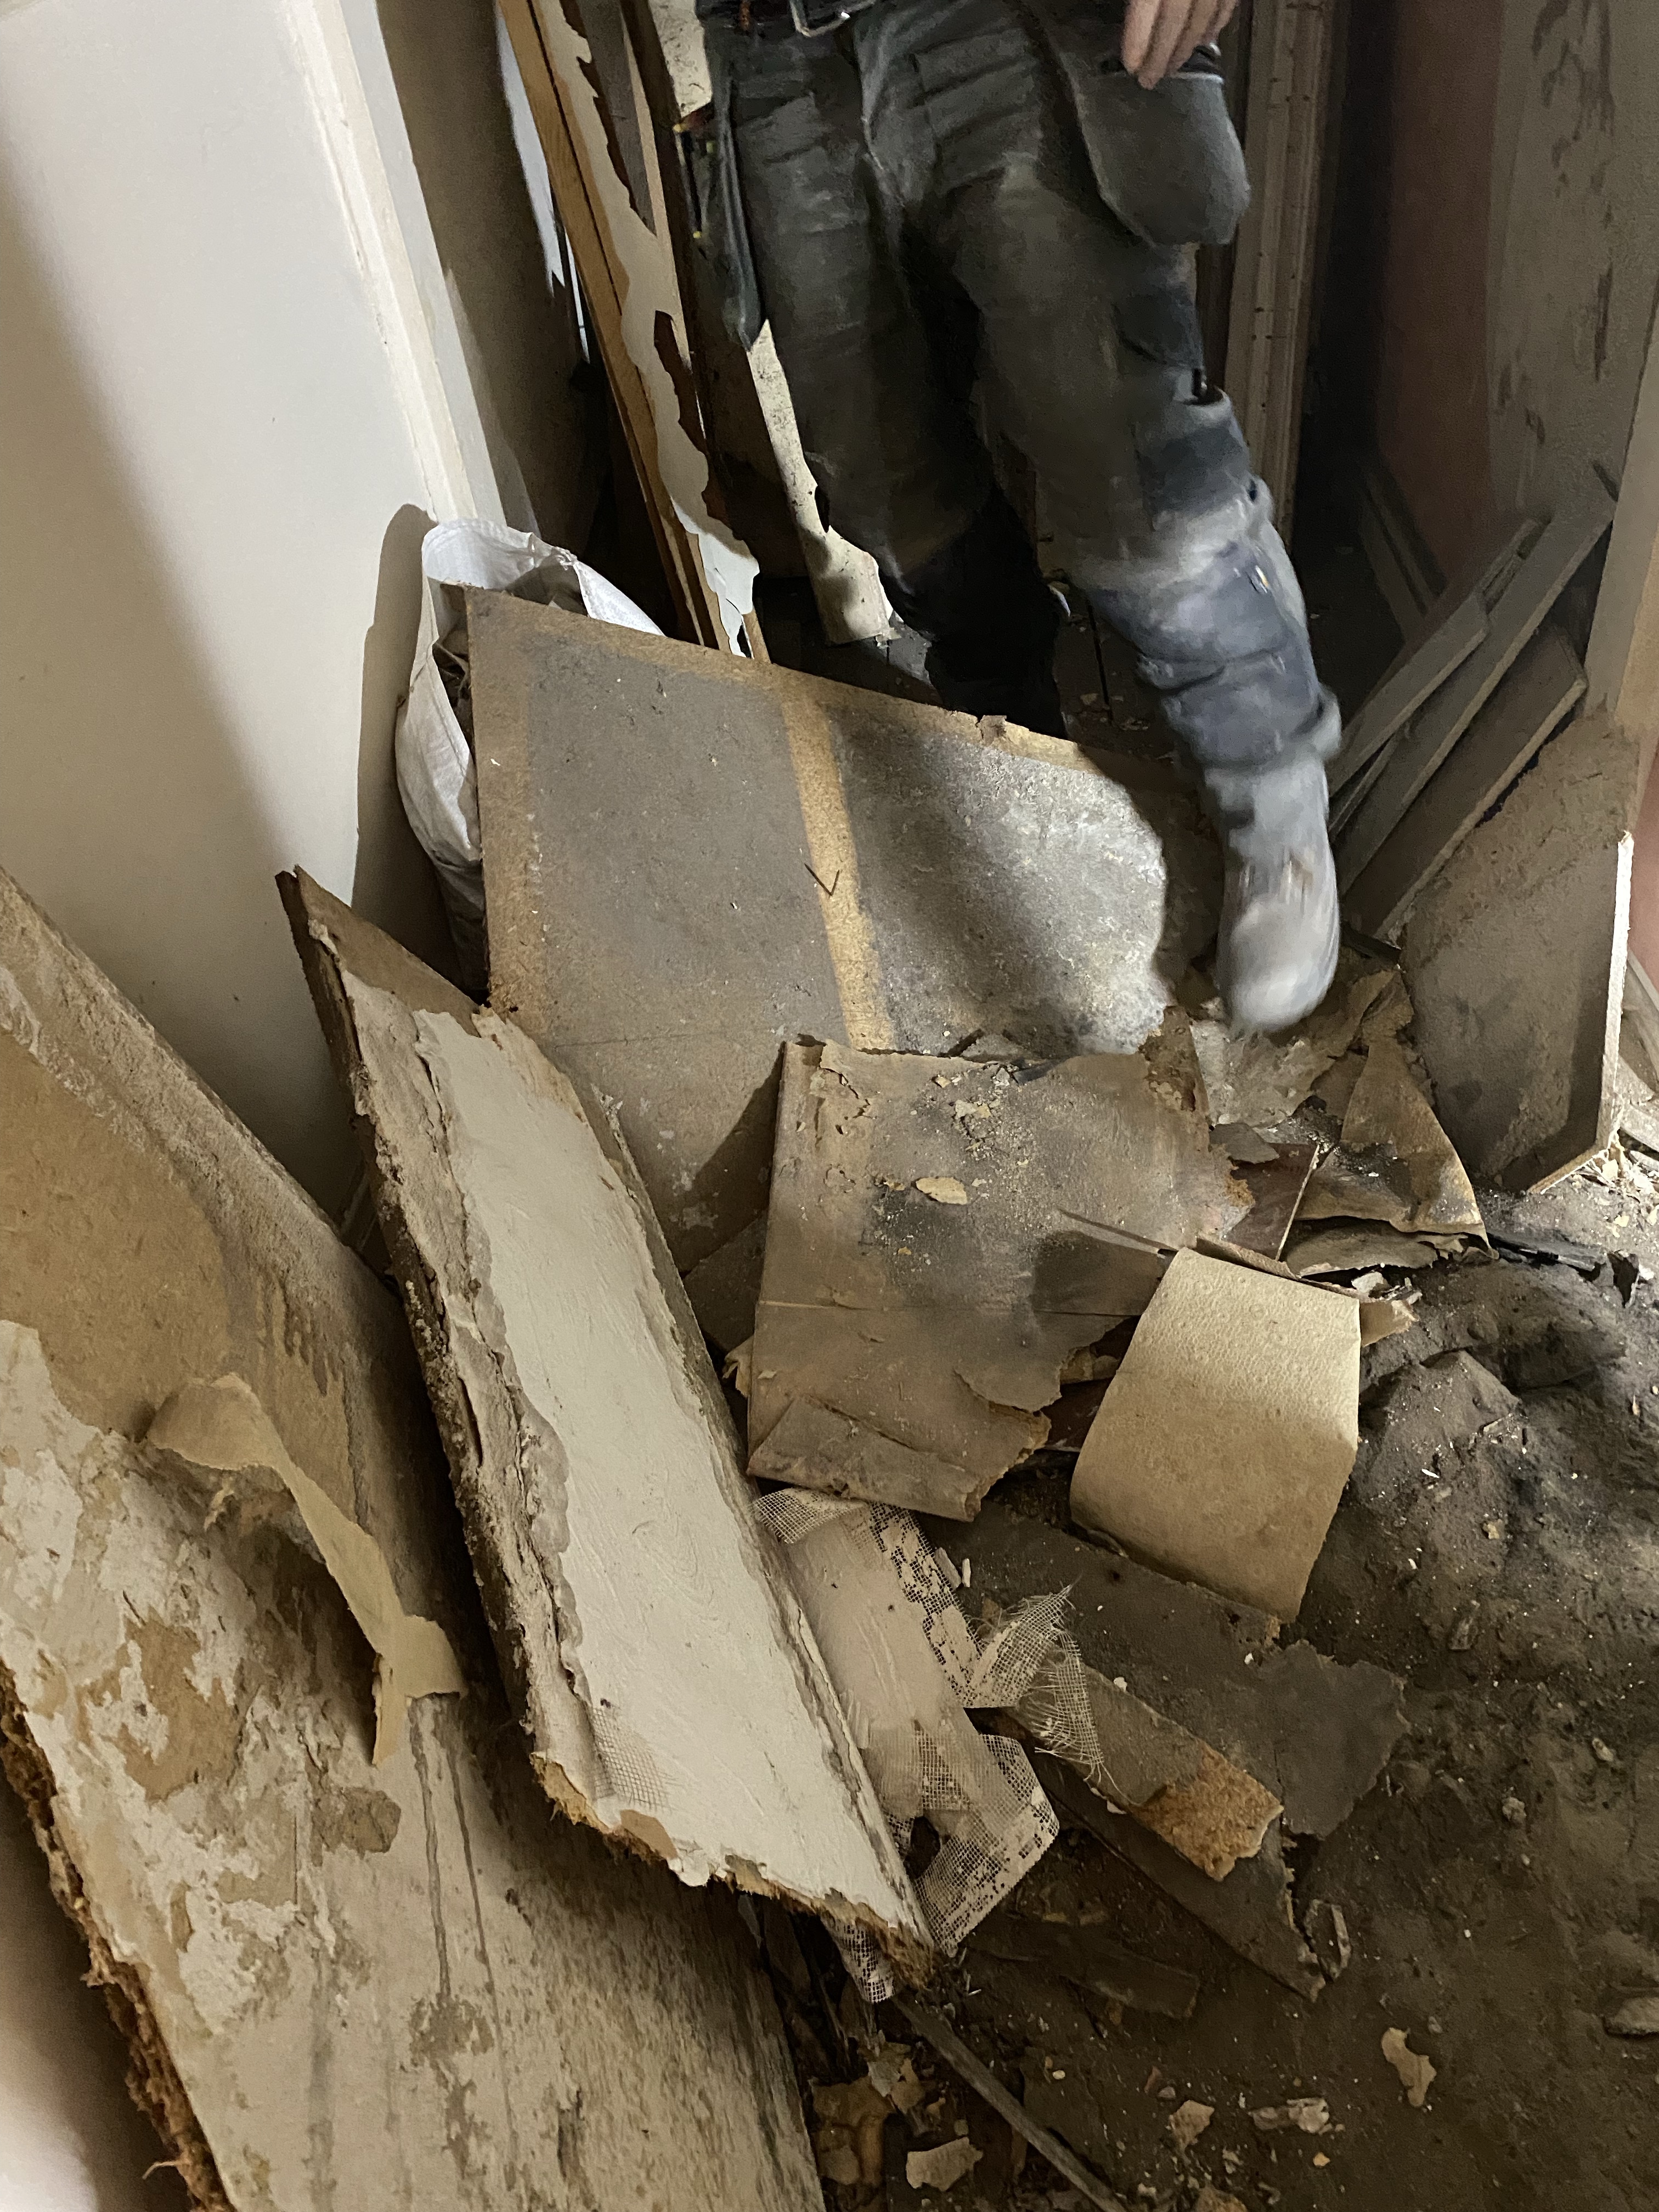
I am continuing to prepare the family bathroom for the plasterer to start doing his magic.

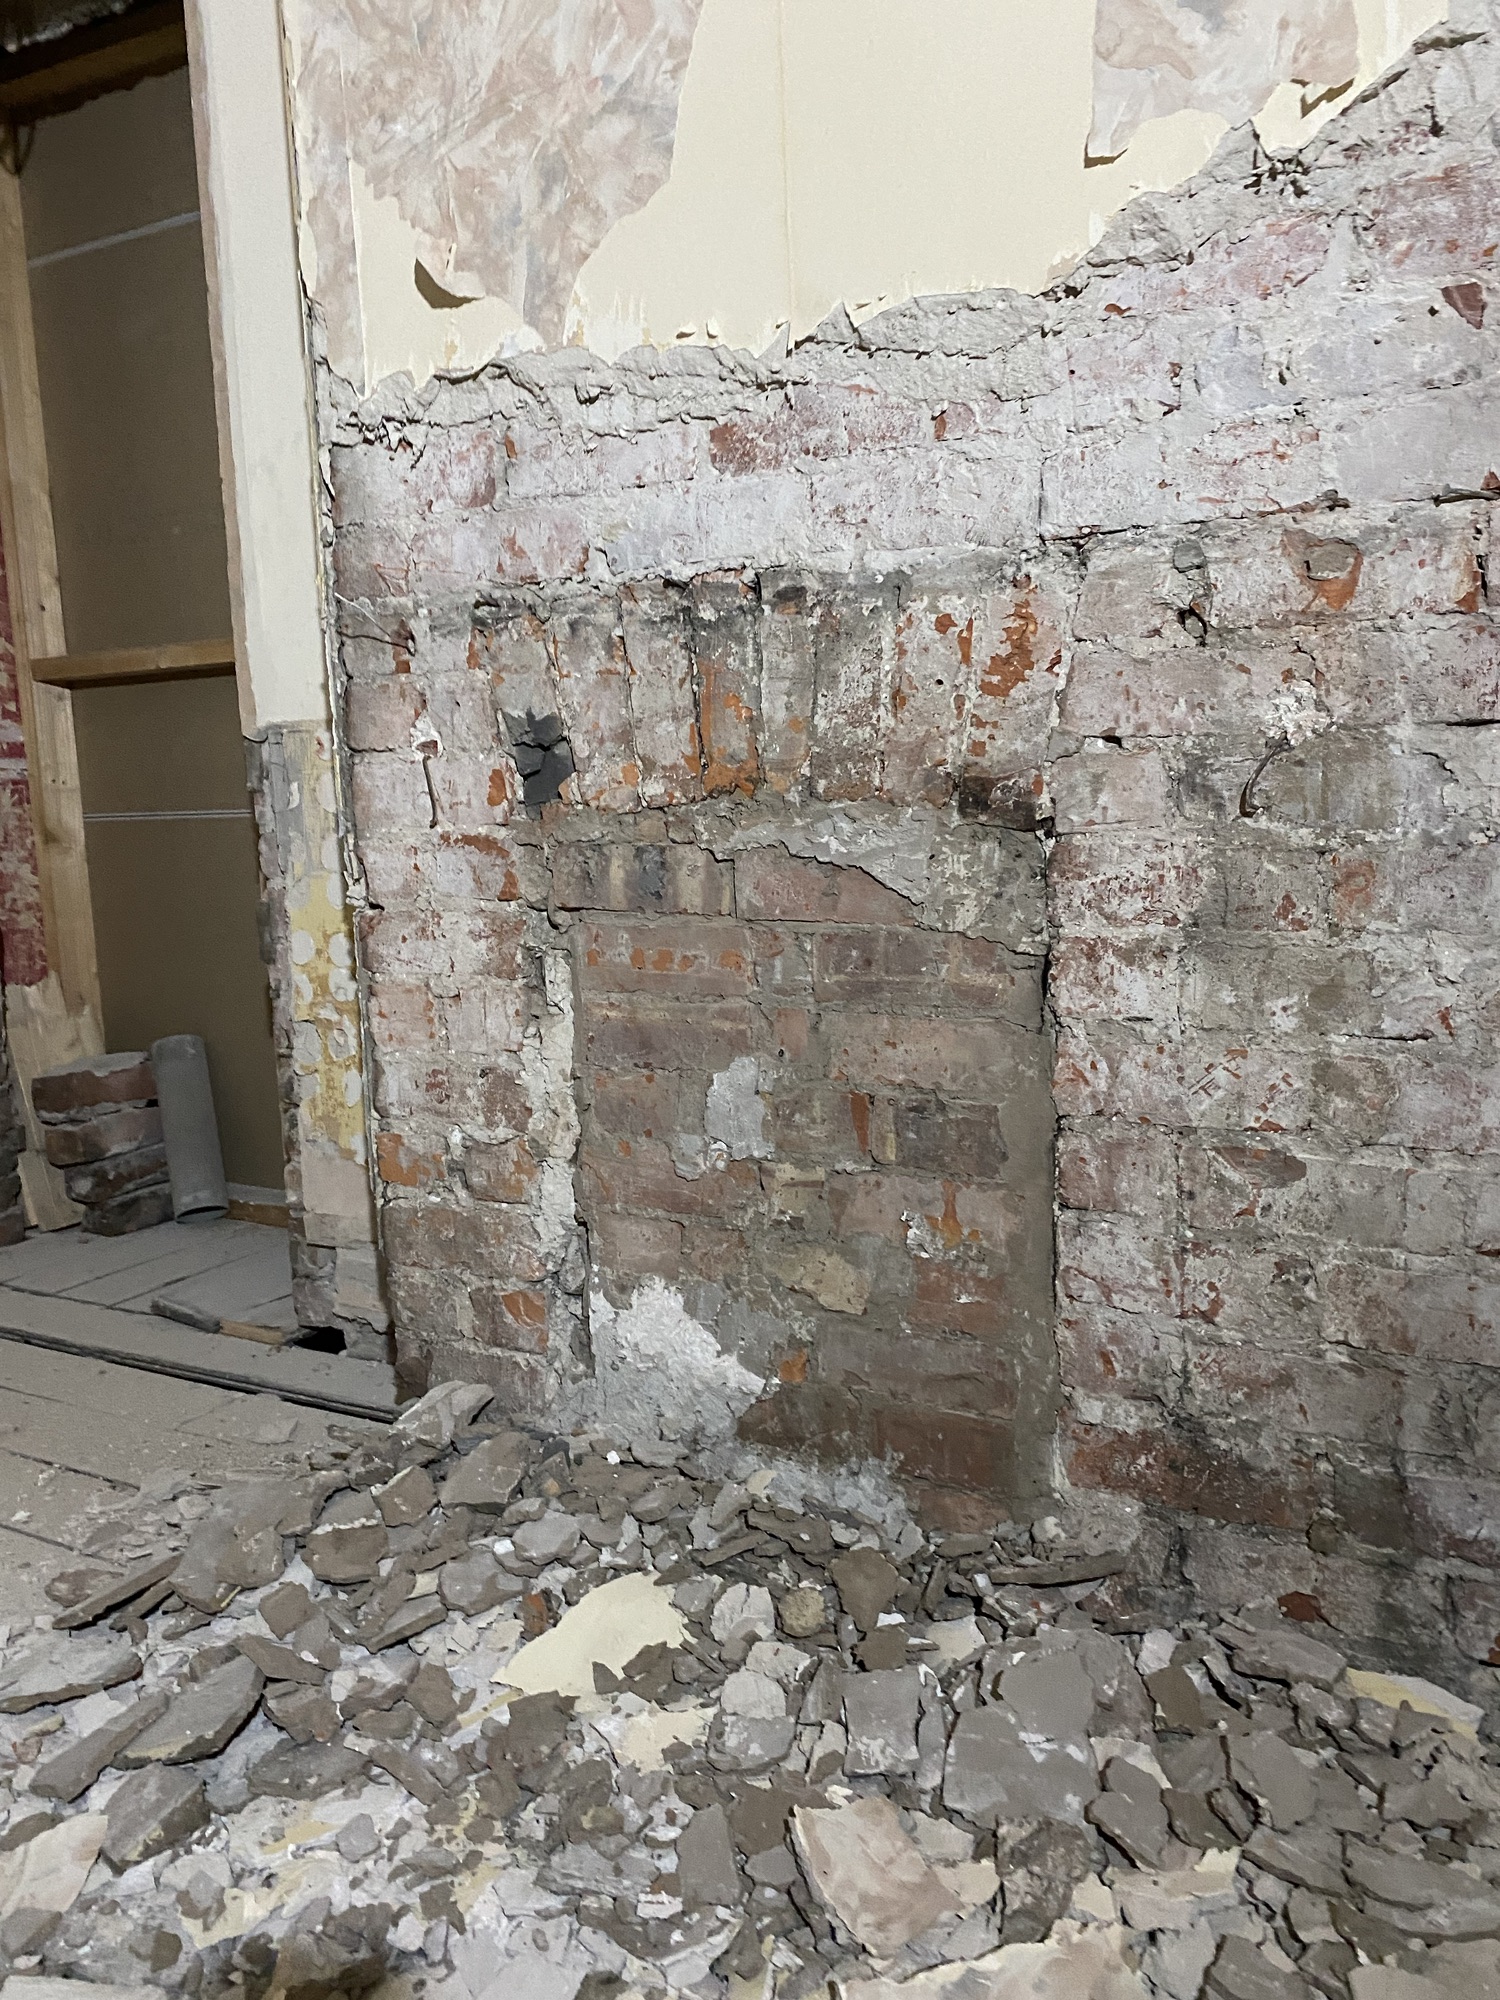
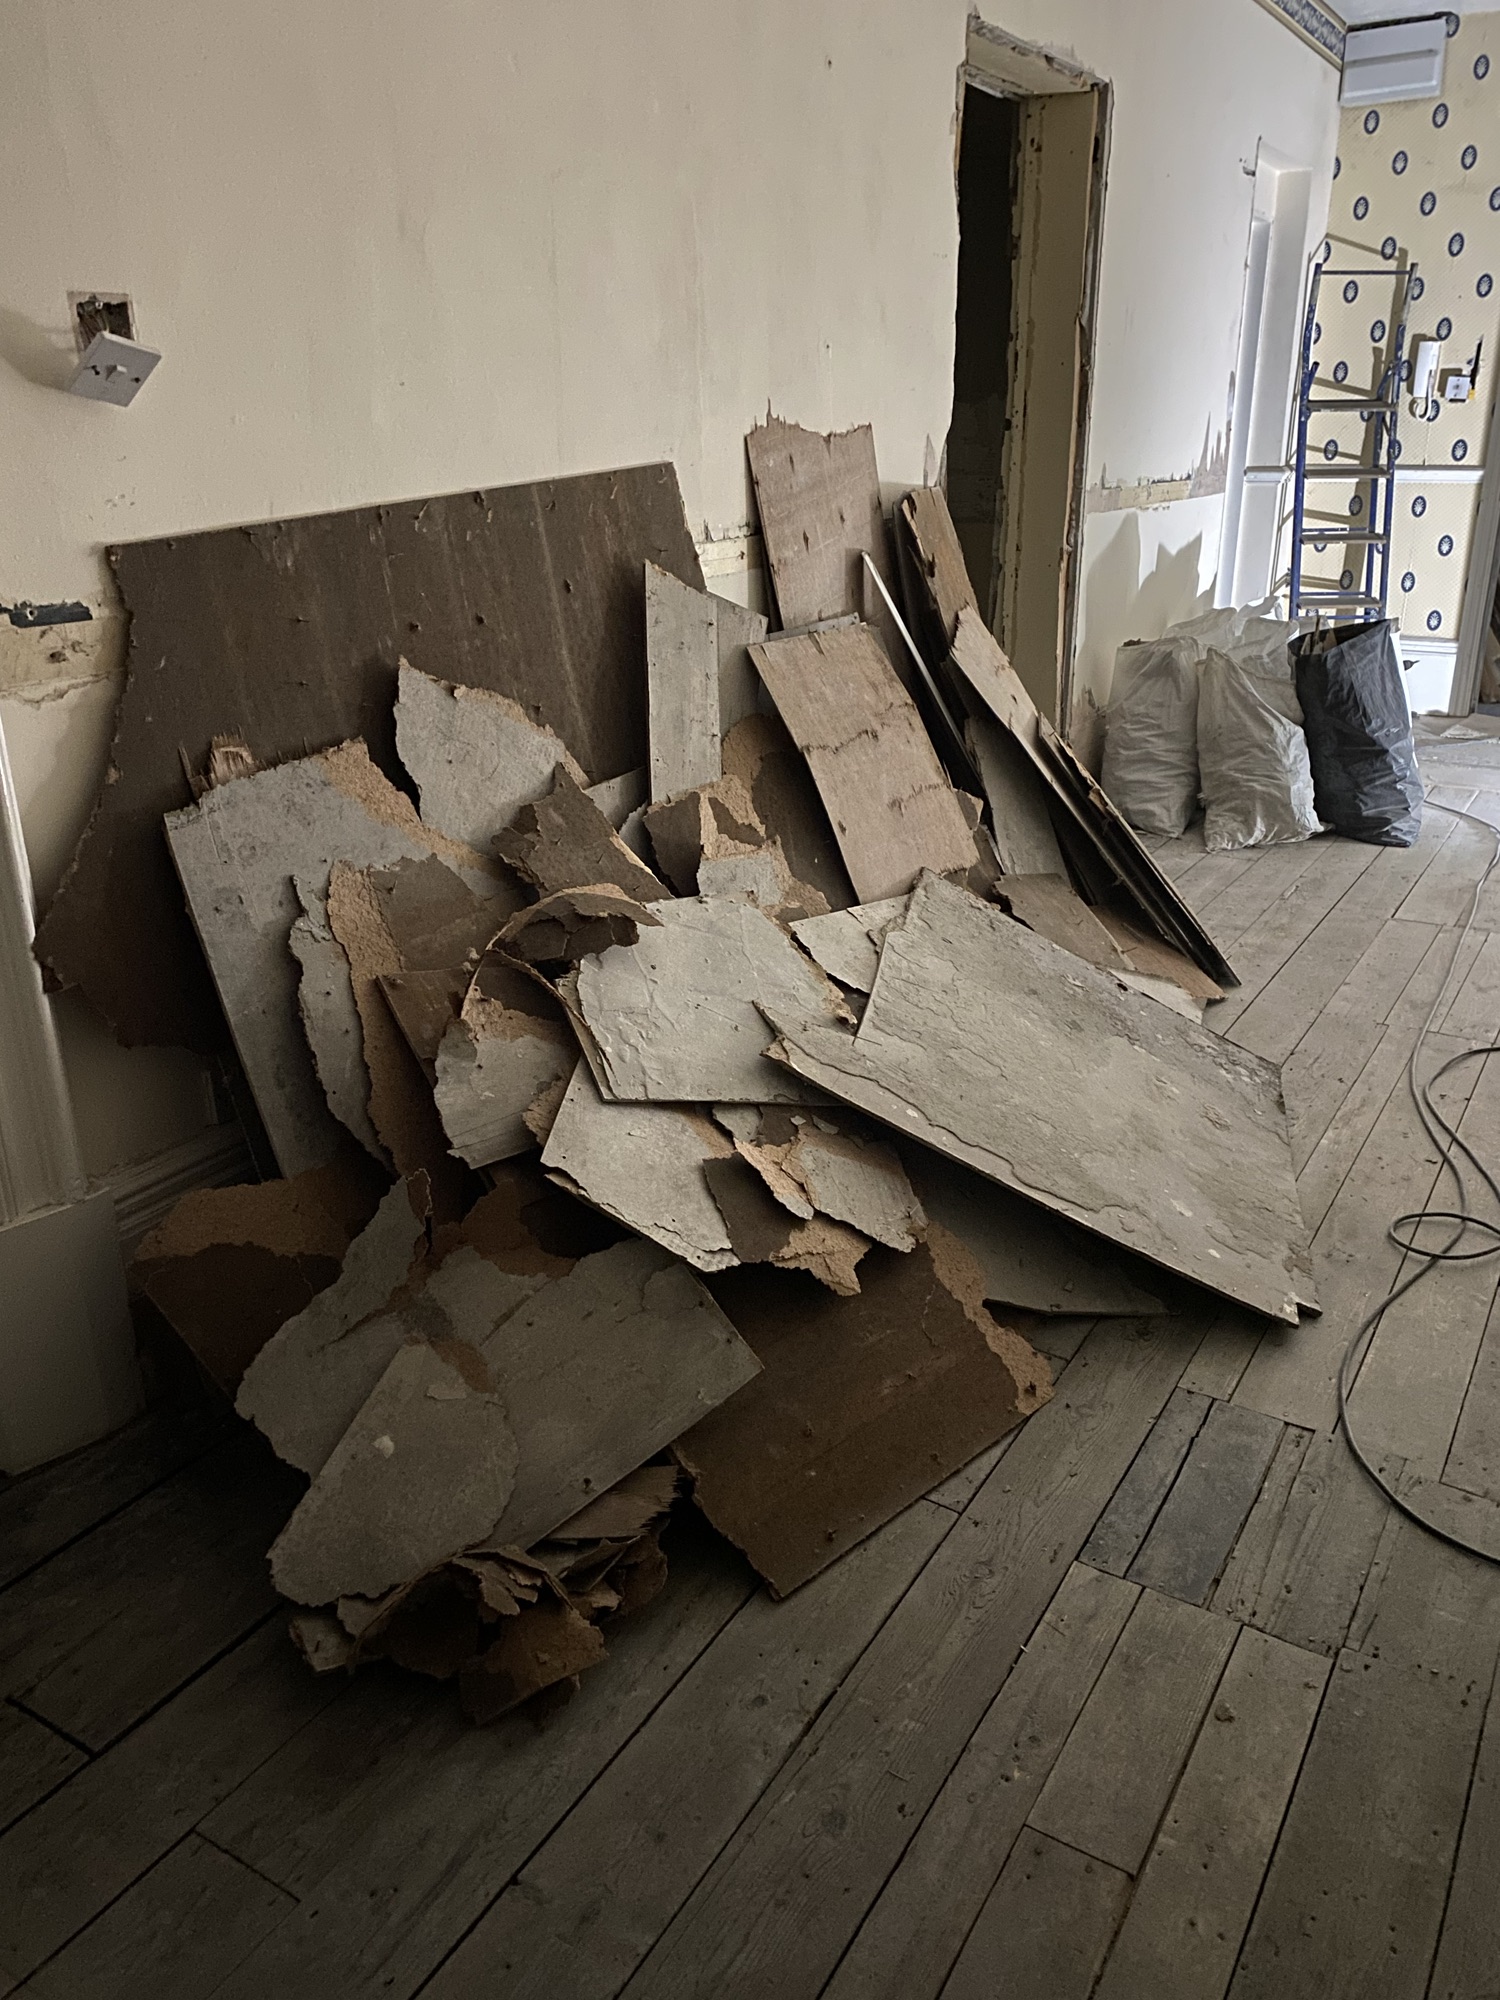
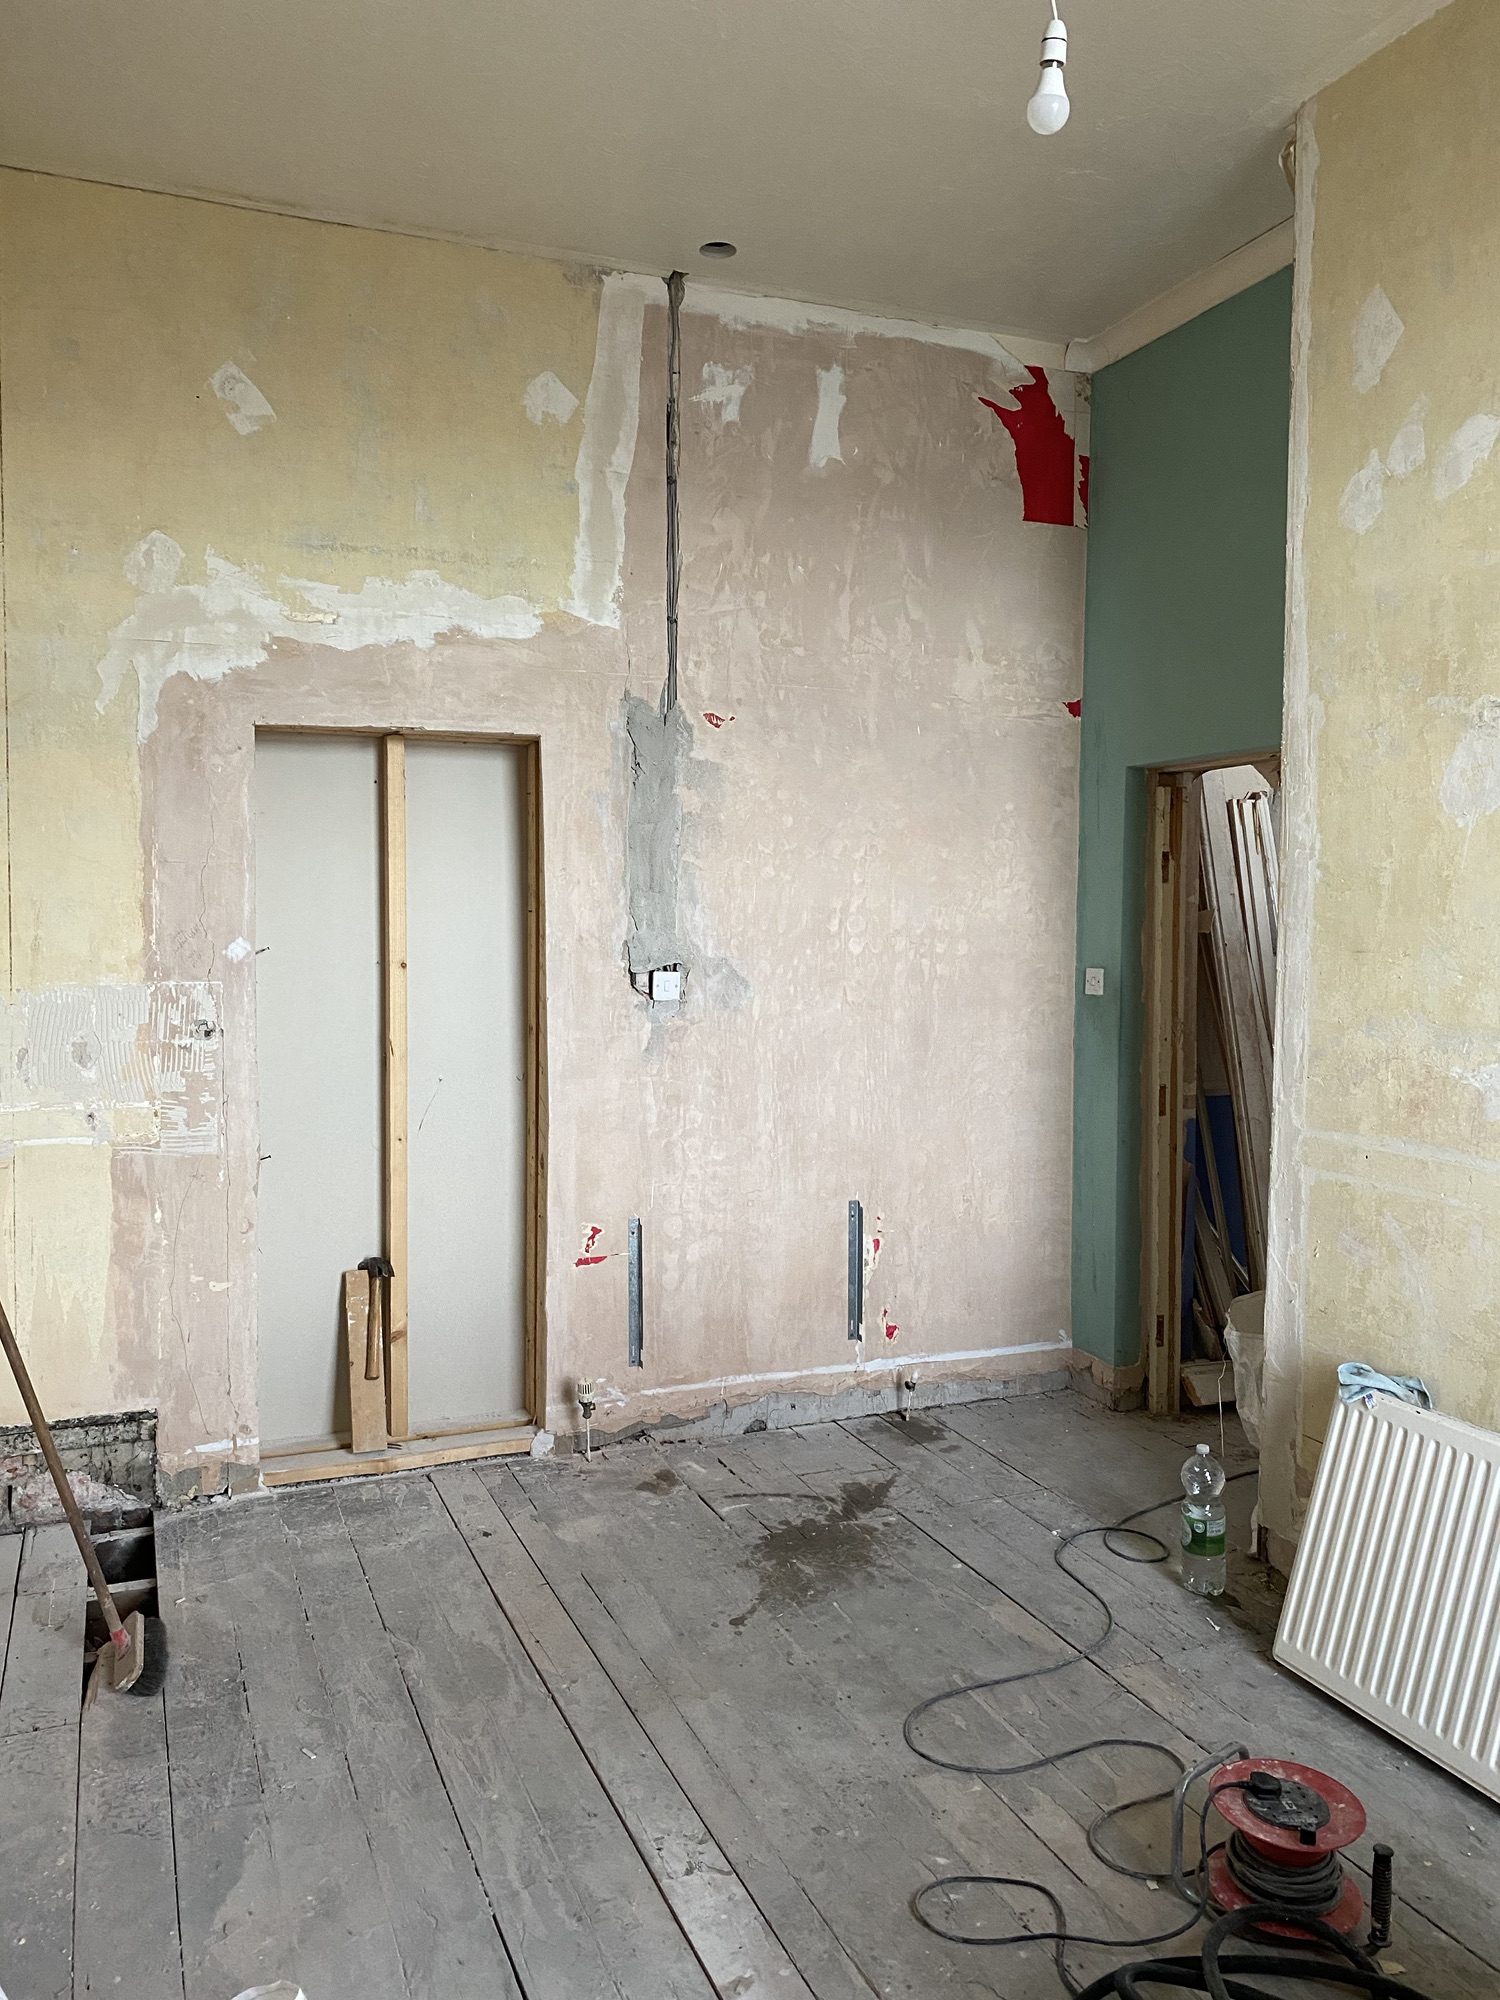
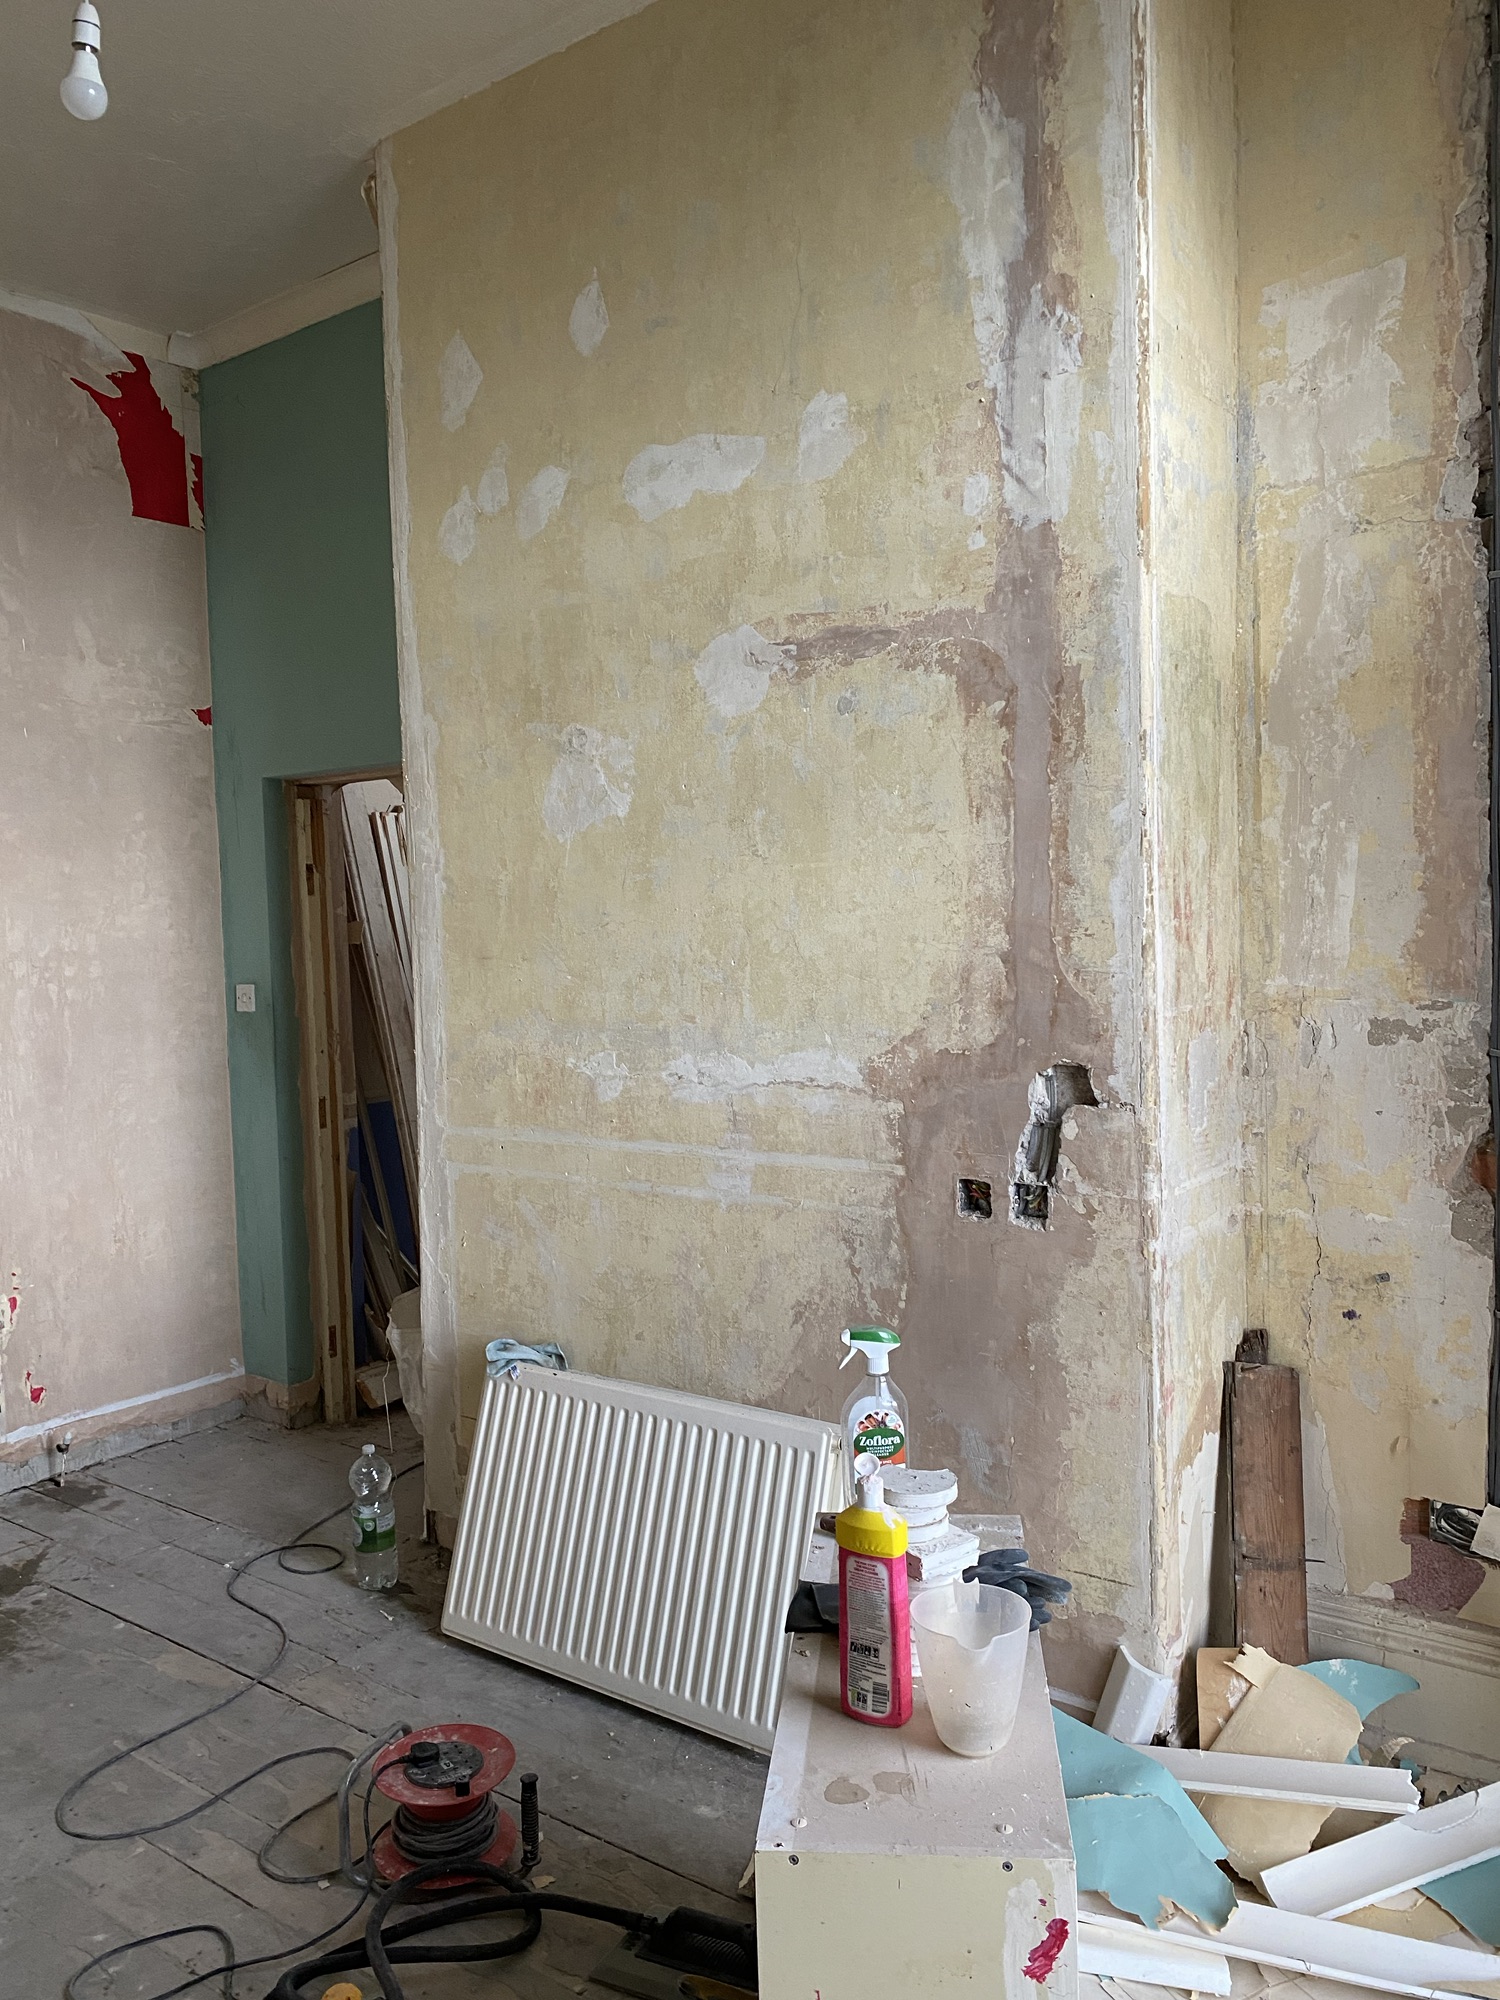
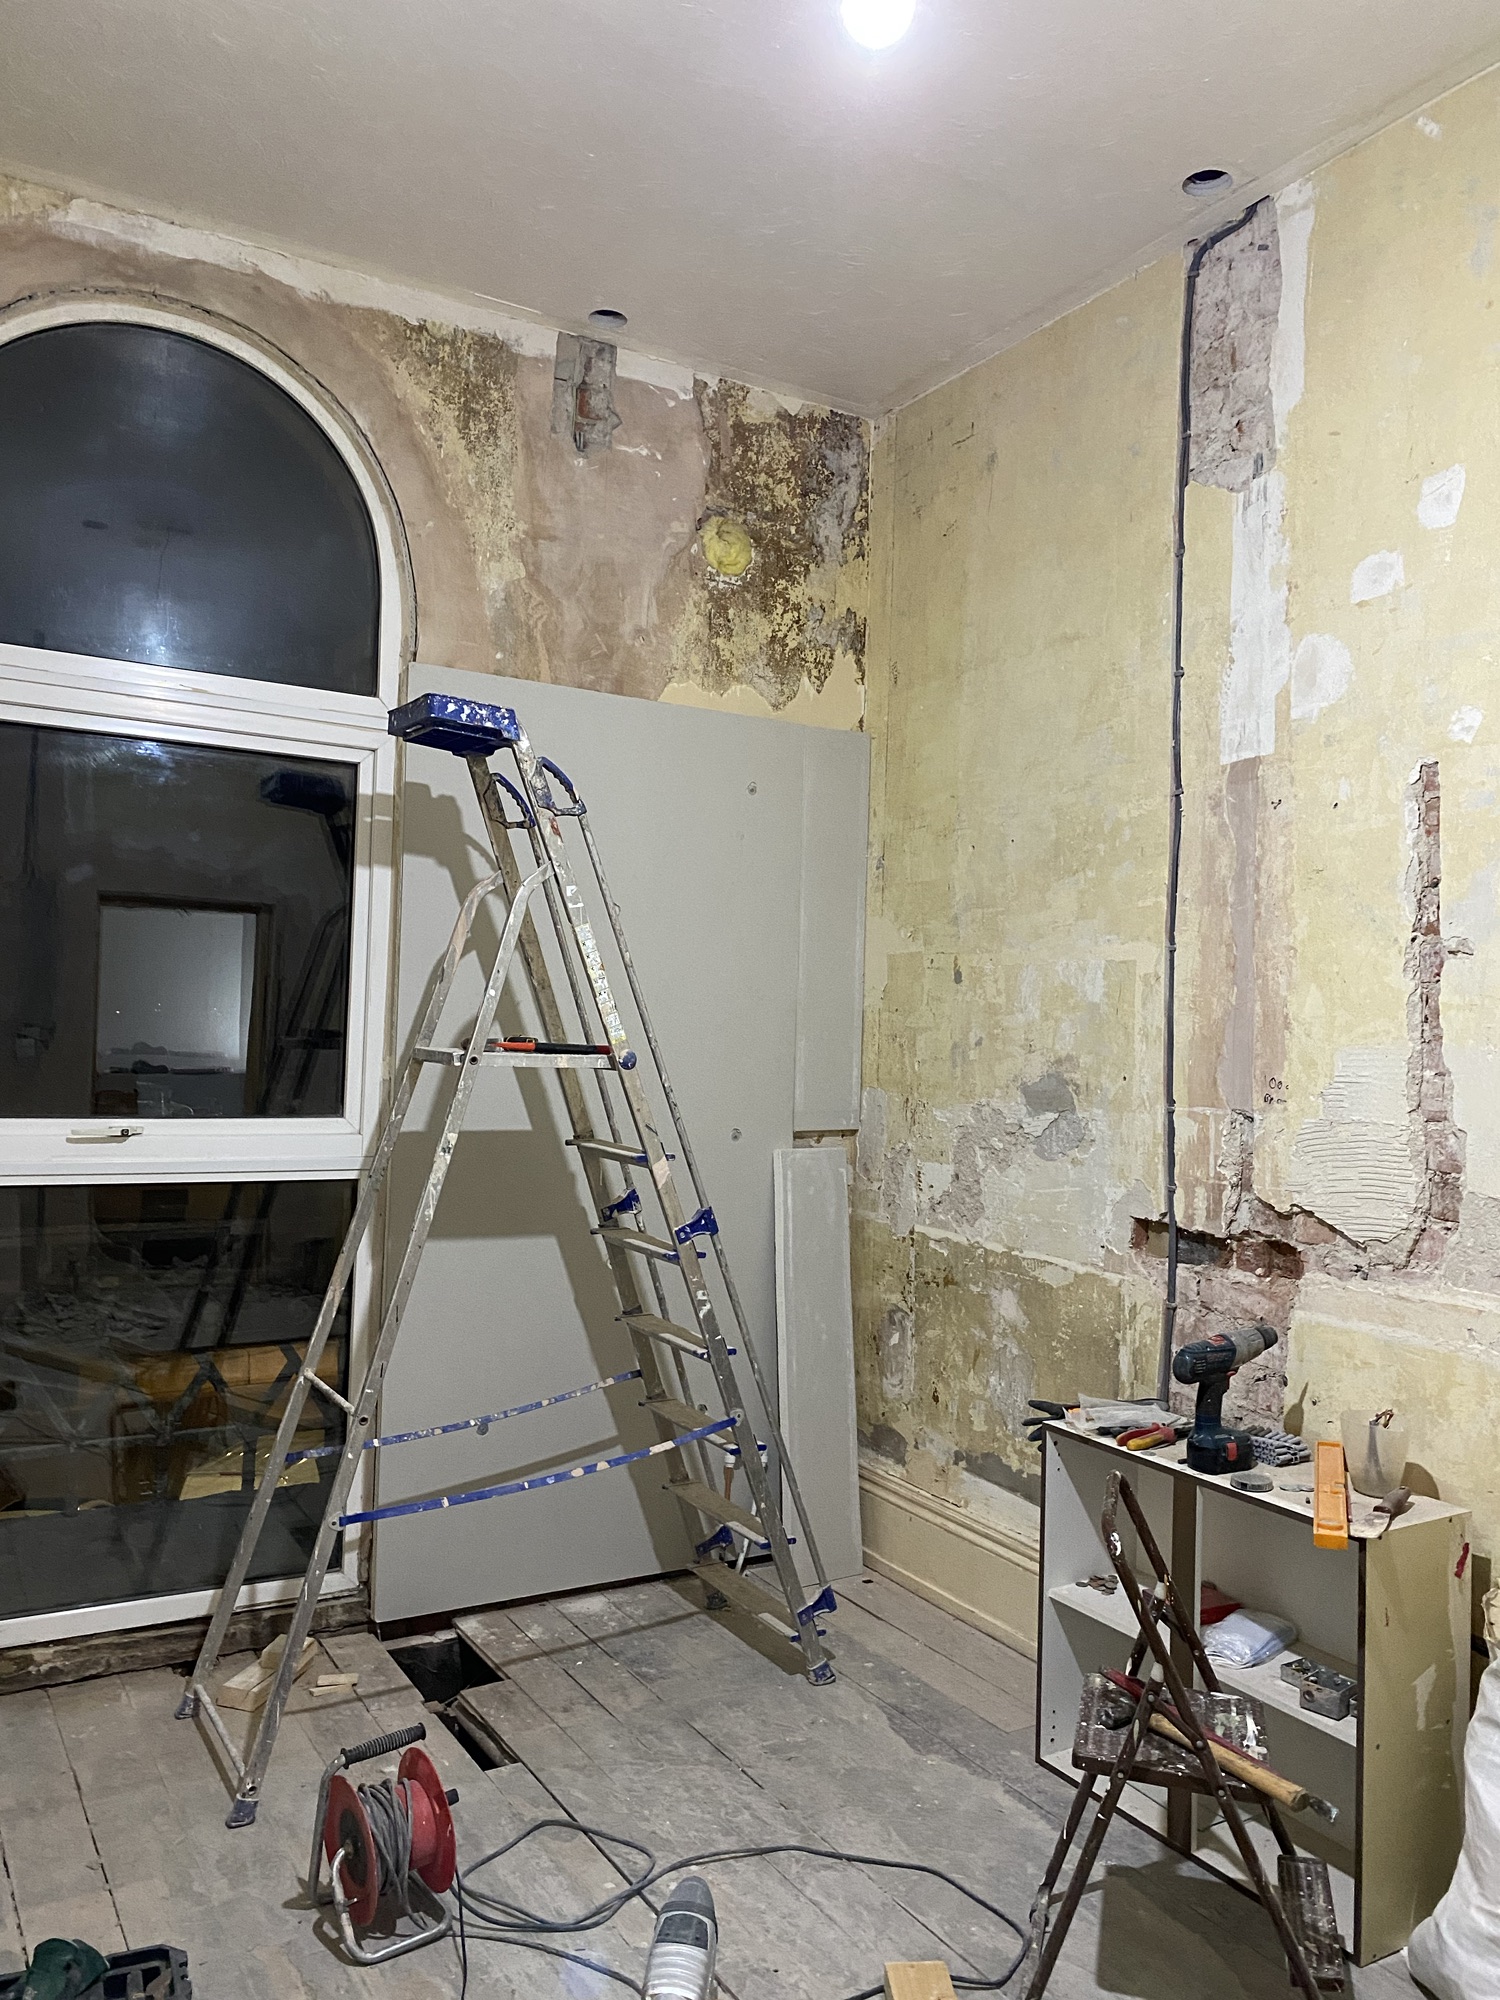
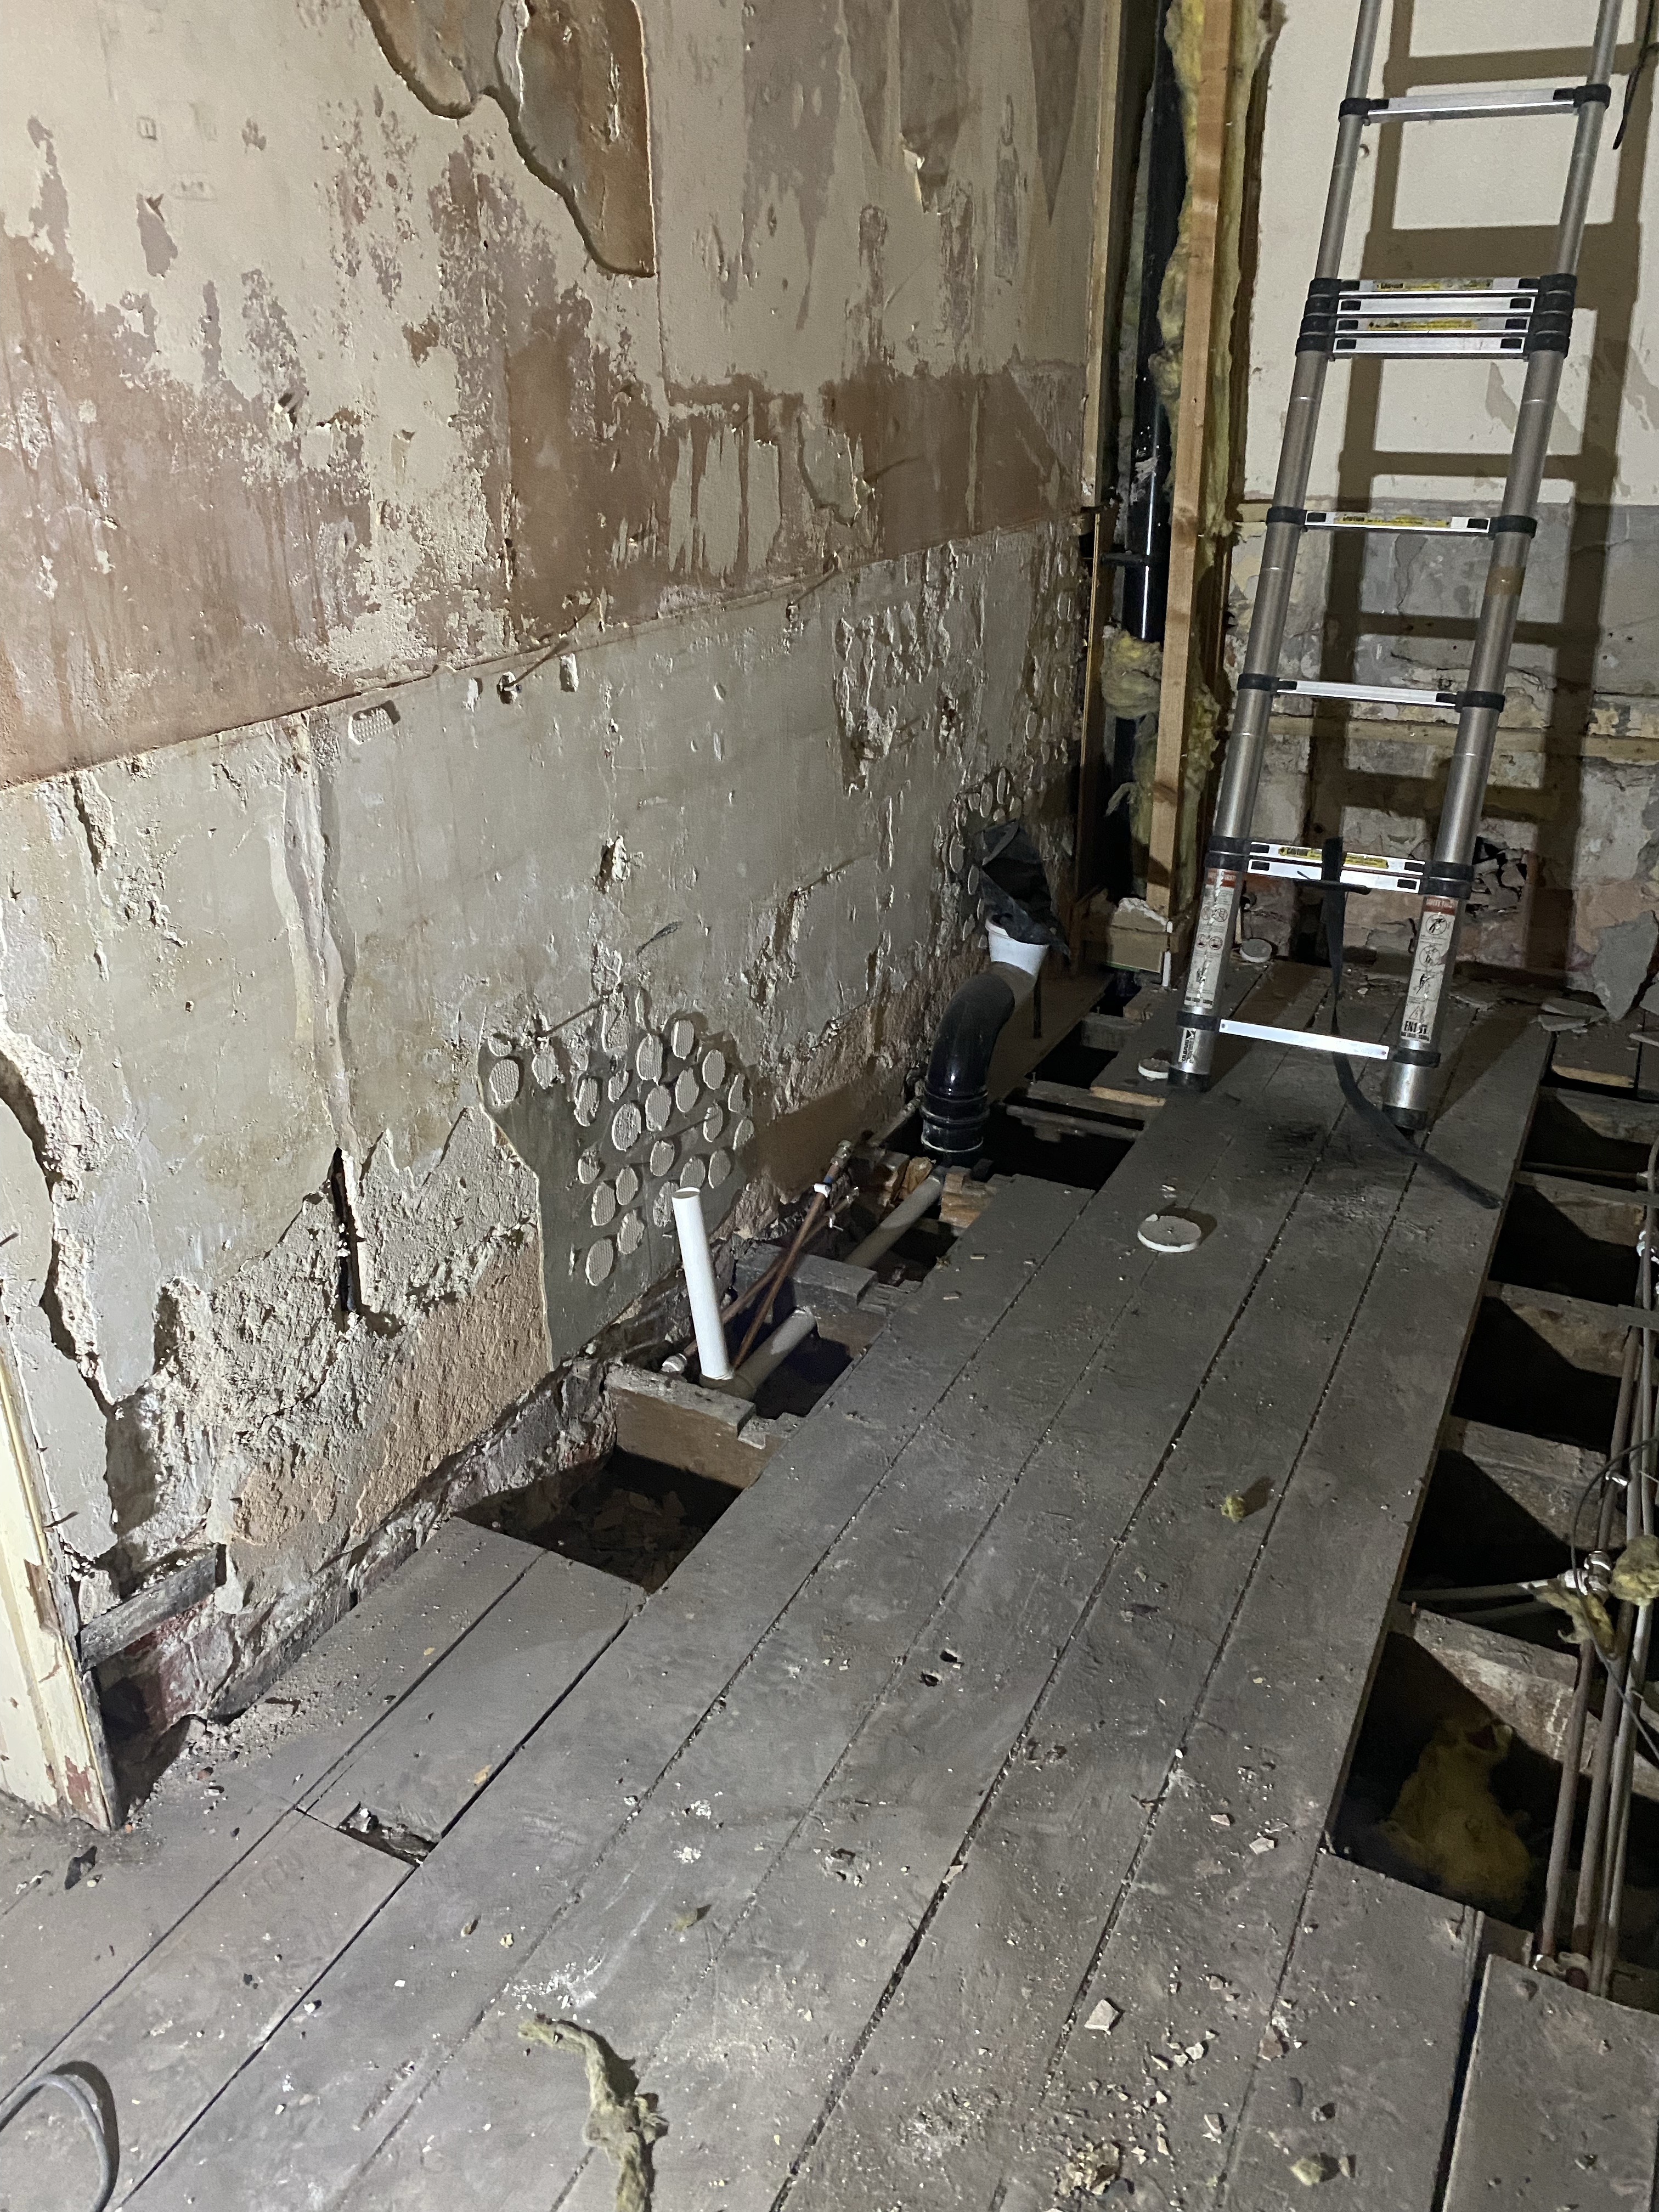
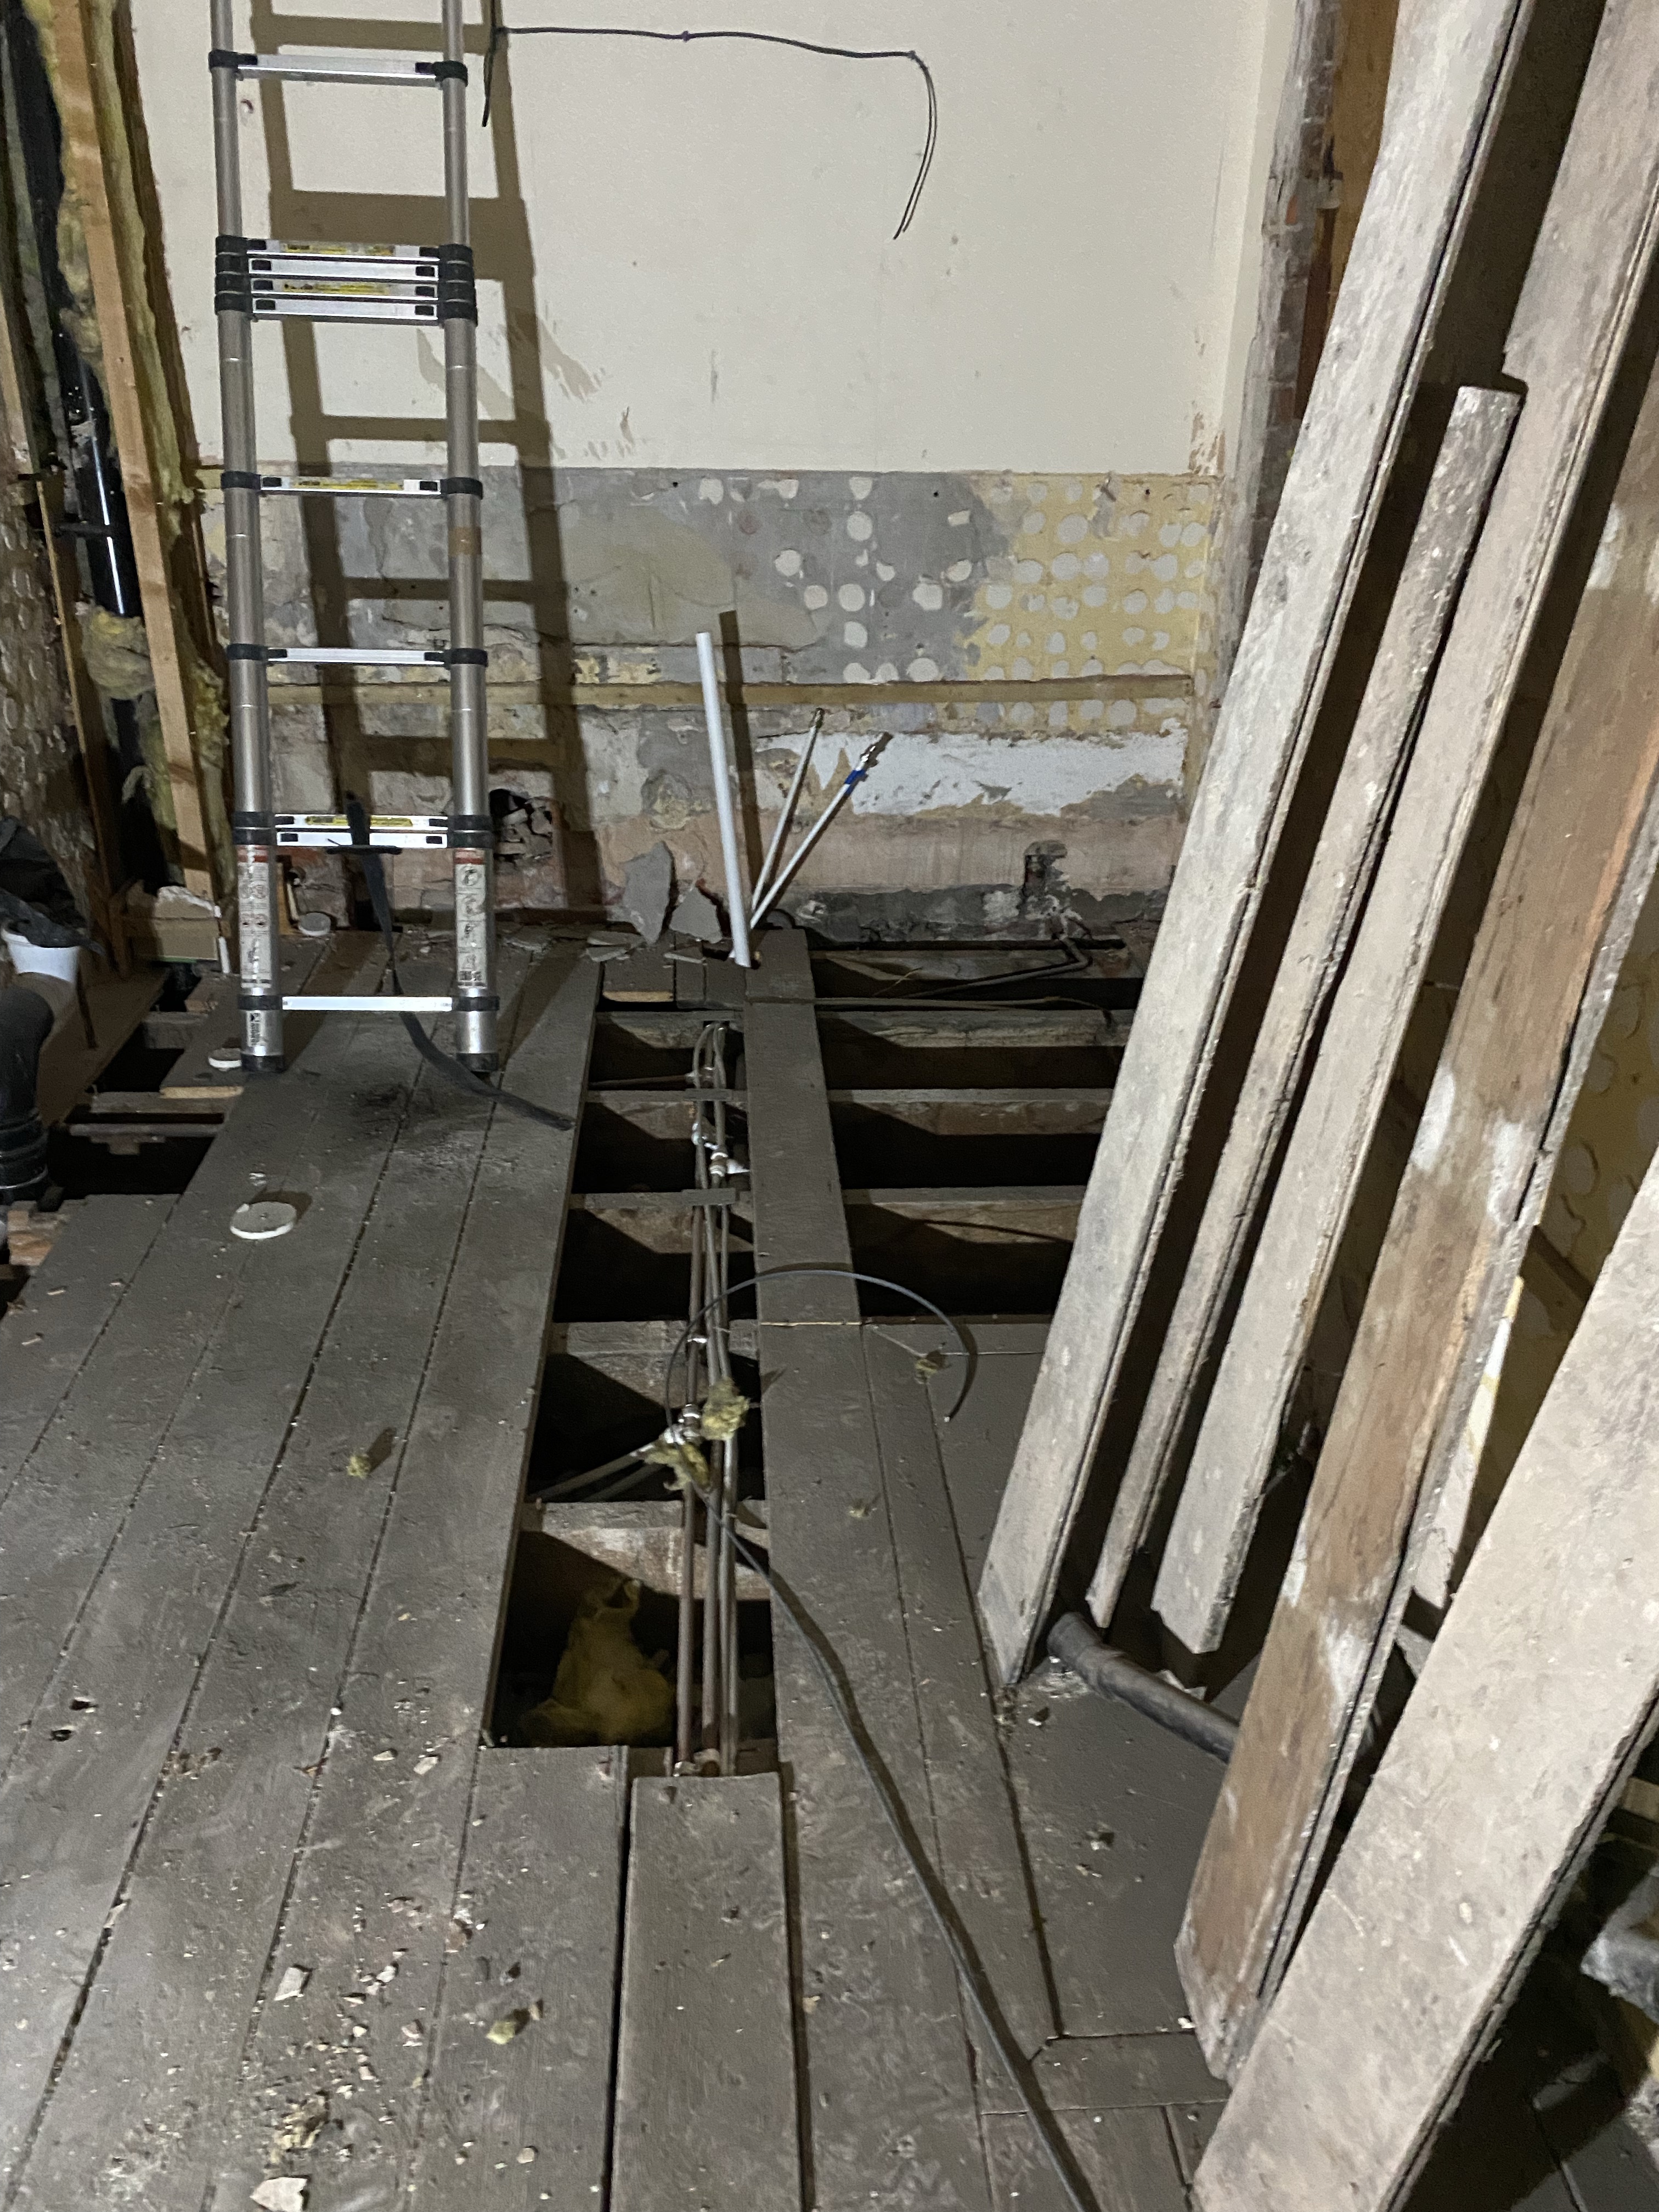
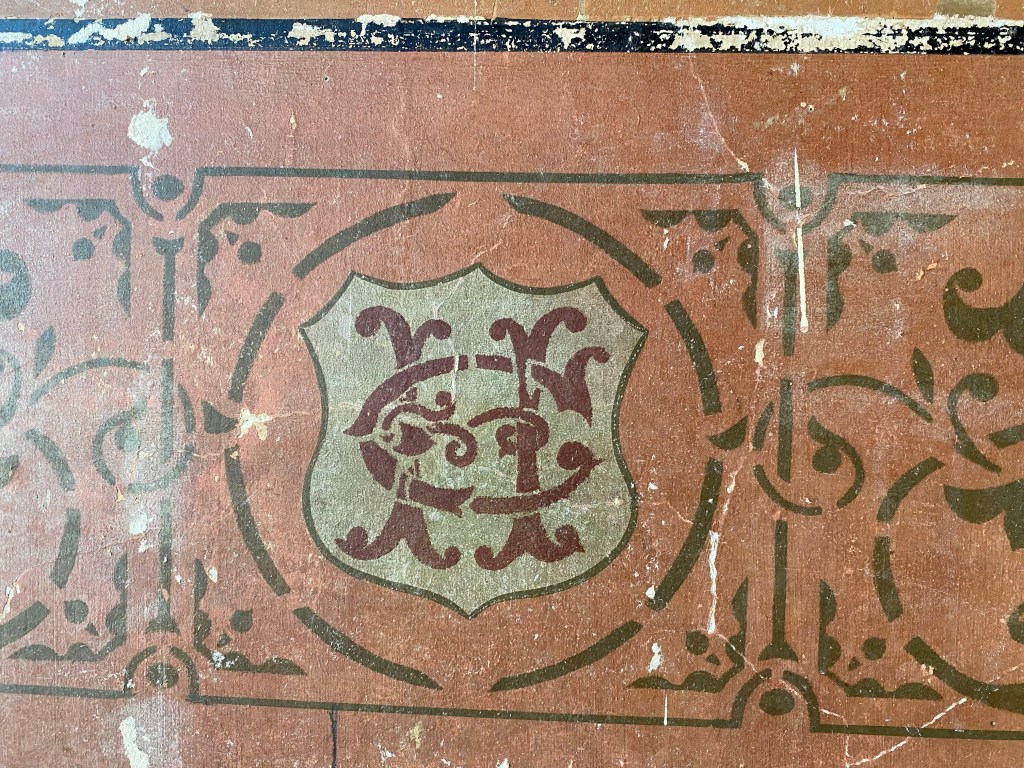
I could see a chimney breast in the room, the lower half covered in wooden slats, the rest in vinyl wallpaper. Wood removed and using a hammer drill I started removing all of the old plaster from this area. I started to expose the original brick and came across the fireplace (bricked up). Very pretty I think. In the floor is the original hearth and wooden edging. The fire is offset (not in the centre of the fire breast). I’m not entirely sure why, perhaps it’s the way the chimney stack is built and it goes up on an angle?

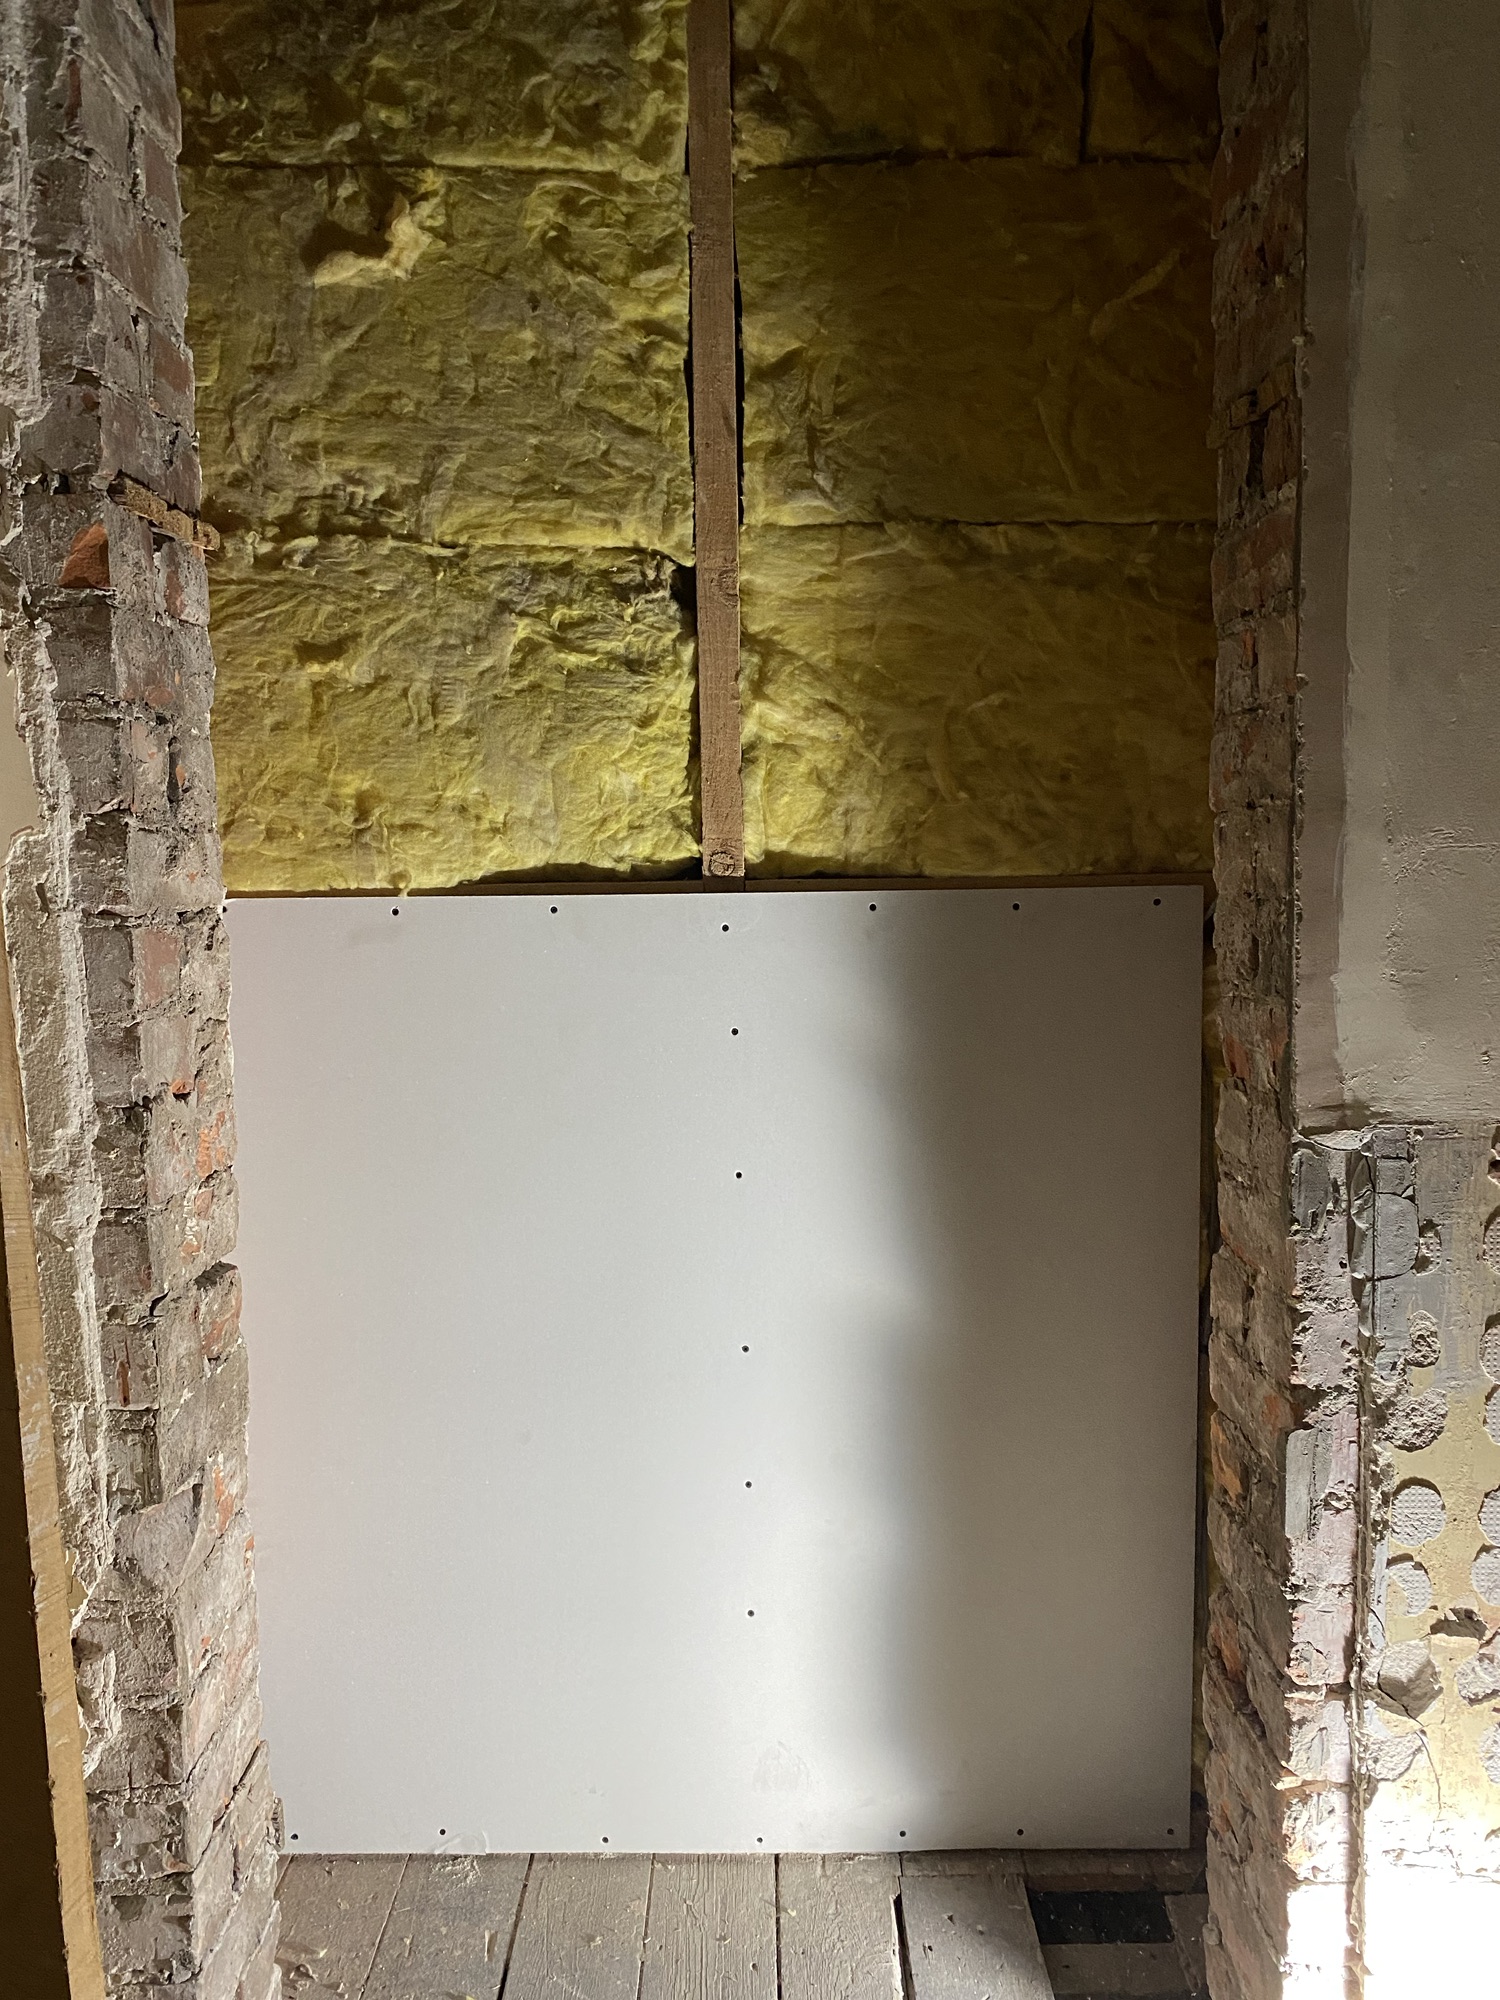
Both front corners still had the original wooden staff beads in place. (Separate post to follow on this). I have removed them carefully! I will sand them down and they will be reinstated onto the corners of the fire breast between the new plasterboards. These are a real treat to find as most developers/renovators either dispose of them or box them in. These days metal trims are used on all angled corners. This fire place will get a little VIP treatment.

It will be finished off with an original small cast iron fireplace which will be in keeping with the room.

This was once the hotel corridor

The hallway in this apartment was originally the hotel corridor which explains its huge dimensions. The end of the hallway (where the window is) is on an angle so it is 14.5 metres long on one side and 15 metres long on the other. It is 2.5 metres wide not including the door ingresses.

Under the old carpet, plywood had been applied with hundreds of nails! To make things more difficult, this had deteriorated and gone slightly soft over the last 30 years. This was really difficult to lift up, but with a crow bar, a chisel, a hammer and determination we managed to tear it all up. (This took 6 hours)

Under the plywood was the original floorboards and some replaced planks which have broken when previously lifted to access pipes. The traditional black Victorian paint along the edge on both sides was found

. We have to lift the floorboards the full length of the hallway to run new gas pipes from the gas metre to the boilers new location. I’m not sure how successful I will be at lifting the boards without breakage but I will be using a floorboard lifter to help with this. Wish me luck!

Bedroom 2 update

The paper is now all finally stripped! What a job that was. Vinyl wallpaper imitating kitchen tiles on every wall, polystyrene cornice, a strip light with the wiring running along the surface of the ceiling and down the wall. This room was previously the kitchen; gas pipes are now capped off, boiler relocated, all electrical switches for kitchen use removed, old kitchen extraction fan removed and blocked up, old flue blocked up, new insulating boards fixed to the window wall, 3 double electrical sockets installed, old doorway leading to dining room boarded up and original doorway directly from hallway reopened.

Some of the original door frame was still there which we will endeavour to use but unfortunately it’s been badly damaged. What a shame, it’s really beautiful hardwood which you would struggle to get now. The original architrave is also missing so I will need to trawl salvage yards to try and find something similar.

Next steps: Strip back some original skirting boards discovered behind the kitchen units ready to reinstall and then …… the plasterer !!!

A bit of advertising

There are so many people walking back and forth I thought I would grab the opportunity to put my web page/blog out there so you can see what I’m up to.

I used a company called Cut Print Solutions to produce a vinyl poster with Victorian Vibes on it. I spent time with Madge and Stephen the owners who showed me all of the clever stuff they can do. This includes: Wide format printing, banners and posters, fine art prints, large photos, frosted window vinyl and loads more! Really professional and quick, thoroughly recommend.

Back to it

I’ve had Christmas Day off, I allowed myself that with persuasion from family. But I was still planning ahead and thinking about my ‘to do’ list for each room.

Boxing Day progress: Stripping wallpaper in the ‘old’ kitchen so the walls can be prepped for the plasterer and also reopen an old doorway and block up the present one.

I started on the framework for the ‘walk in pantry’ in the new kitchen. Quite pleased with how it’s looking. We all need a cupboard to put mops, brooms and all manner of kitchen things that just won’t fit in a standard kitchen unit. The boiler will also be housed in here, out of sight. The kitchen walls and ceiling have been given a mist coat.

What’s a ‘mist coat’??

A ‘mist coat’ is a watered down coat of paint which is applied to dried, new plaster before you apply ‘full’ (non watered down) coats of paint. New plaster is a really permeable surface (which simply means it will soak up any moisture really quickly!) So watering down your first coat will help the plaster to soak up the paint and create a bond between the new plaster and the paint. This is a critical stage!!

Without the mist coat you’re likely to have very poor adhesion between your paint and your plaster and quite often it will crack, flake or even peel off in sheets sometimes. Adding water to the first coat helps the plaster to really bond to the paint as it’s able to soak it up due to the paint being thinner. To get it on the walls. Rollering is much easier for large areas but be mindful that as it’s watered down it will splash more. The new plaster draws in the paint at different rates so it will appear patchy in places. This is fine.

Then check over your walls for any imperfections (such as plaster lumps etc) and repair. Then once your mist coat is dry you can put on your top two coats of paint.

The old kitchen

The kitchen was located in the smallest of the rooms facing onto the seafront with a third of the floor to ceiling window boarded up and a sink placed in front of it. I understand the concept around having a view whilst washing dishes but to block up an amazing window seems crazy to me.

The kitchen is the hub of many homes now so is relocated to a much larger room. This old kitchen will then be changed into bedroom 2. Imagine waking up to the sound of the waves every morning.

Family Bathroom Plans

What was previously a large en-suite is now being reconfigured to become the family bathroom.

We have blocked up the door between the kitchen (previously a bedroom) and en-suite and reopened an old doorway. The original doorway leads out into the hallway so is more accessible now.

A decision was made for all of the waste from the kitchen (sink and dishwasher) to be plumbed under the floor into the family bathroom therefore avoiding drilling holes into the outside walls helping to preserve the integrity of the building.

I relocated the radiator to the opposite side of the bathroom so that the antique Victorian style sink could be fitted to the centre of the wall. It’s an imposing sink which deserves to be showcased on its own.

To make sure that everything fit, the plumbers, Neil and Frank from Redcar Plumbing and Bathrooms Ltd helped me place the porcelain in the bathroom and even made Frank sit on the toilet to ensure there was enough space between the bath, toilet and sink.

So how do you plan your bathroom?……

Always start with the layout. This usually starts with the location of the soil pipe for the toilet. Can it be moved? This can be limited due to the fall of the waste, ideally you need as few bends in pipes as possible to avoid blockages. In our case, the toilet has remained in the same location, there are no external walls in the bathroom so moving the toilet would be very tricky in a first floor apartment, but it’s not impossible if you are thinking of moving yours.

Once the toilet position is decided you can then think about where you want everything else. What do you want to see first as you enter the bathroom? Then; which way will your eye travel? For this bathroom I want the antique fireplace to be the first thing you see, I have then planned the bathroom so your eye travels to the left so you see the Victorian style sink next.

‘Once your layout is complete and have arranged your plumber, plasterer and tiler/flooring specialist then the fun begins! Mood-boards and products to choose. I will cover this in more detail in another post.

Sparky in the spotlight

My appointed electrician from JPN Electrical, John has been working hard in the apartment to rewire the whole space. Everything is in place now with most of the lights renewed now and all of the wiring in place for the hallway lights and sockets.

Next to the family bathroom is a great space which can be used as an office. Due to a previous leak from some years ago the ceiling in this area was sagging and needed to be replaced. In the meantime, John drilled a hole ready to install a spotlight however that what was the ‘straw which broke the camel’s back’ as the ceiling fell in all on top of John! He wasn’t hurt at all and said that he half expected it. However I couldn’t do anything but laugh and take a pic.

Thanks John you saved me a dirty job 🤣

What a find!

Original Victorian stencil in the hallway.

So whilst stripping back wallpaper in the hallway (this was originally the hotel corridor) I discovered an original stencil design painted onto the walls. The emblem ‘CH’ stands for ‘Coatham Hotel’. It would appear that lining the hallway with paper has actually preserved and protected the design. The plan is to skim all of the walls, so what do I do with this bit of history?

The Victorian Era ranged from the early 1800’s up to the beginning of the 20th century. The style of architecture and its colours continually changed. Darker and richer colours were used in the latter part of the era. The lower part of the wall (below the stencil) is a very rich dark blue colour.

Victorian style emphasised the size of the building using its colour; the larger the building the darker the hue and the milder the pigment would be layered. Smaller properties with less of an impact would be painted brighter colours to compensate.